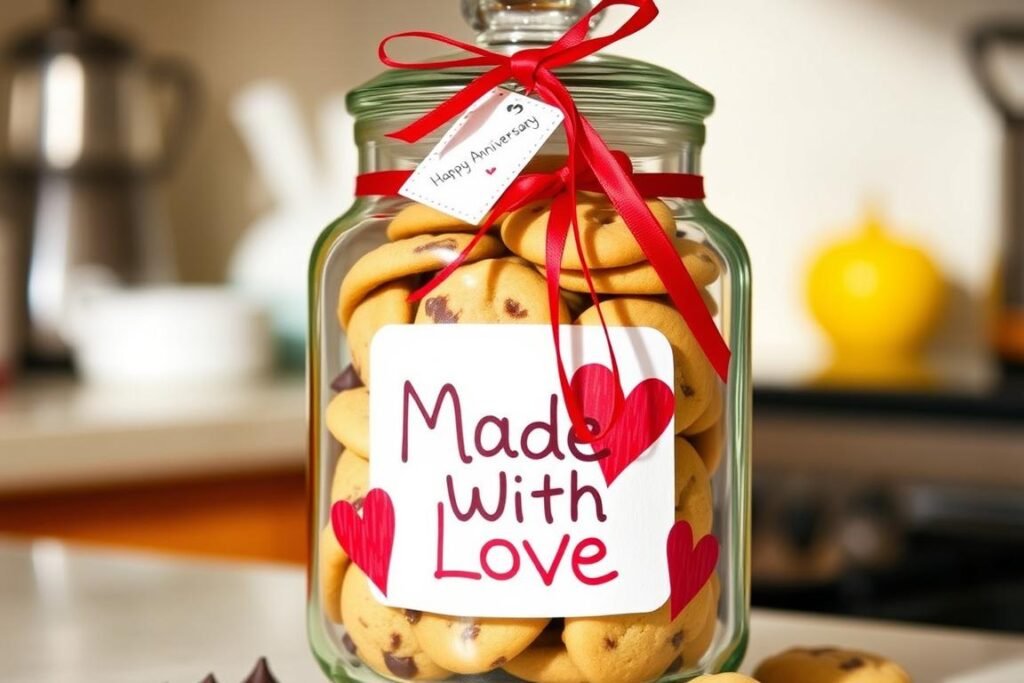
Anniversary celebrations call for gifts that speak from the heart, and nothing says “I love you” quite like something made with your own hands. DIY anniversary gifts for him aren’t just budget-friendly alternatives to store-bought presents—they’re treasured keepsakes that capture your unique relationship. Whether you’re celebrating your first paper anniversary or your fiftieth golden year together, these handcrafted gifts will show your man just how much thought and care you’ve put into commemorating your special day.
This Website contains affiliate links. That means I may earn a small commission if you purchase through my links, at no extra cost to you.
In this guide, you’ll discover 35 creative DIY anniversary gifts that range from simple projects anyone can make to more detailed creations for the crafty at heart. Each idea comes with step-by-step instructions and a materials list to help you create something truly special. From sentimental memory jars to practical everyday items with a personal touch, these DIY gifts will become cherished reminders of your love story.
Handcrafted gifts add a personal touch that store-bought items simply can’t match
Sentimental DIY Anniversary Gifts That Capture Your Love Story
These heartfelt creations focus on preserving memories and celebrating your journey together. They’re perfect for the man who treasures the emotional connection you share and appreciates gifts that tell your unique story.
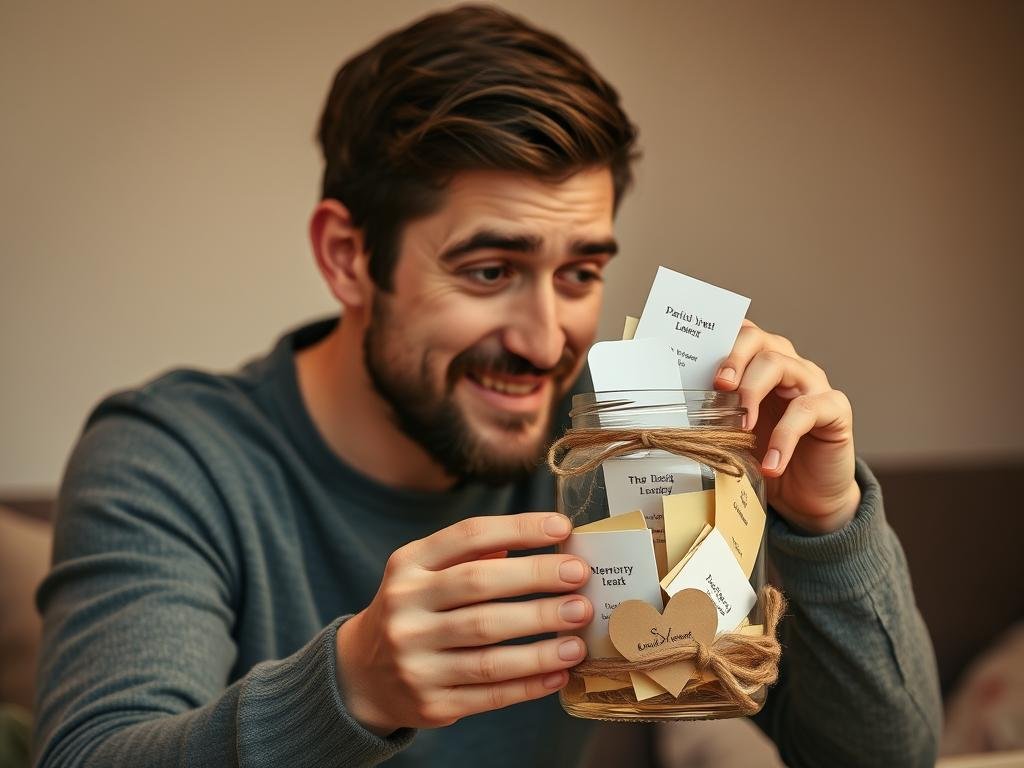
1. “Reasons Why I Love You” Memory Jar
This classic DIY gift never fails to touch the heart. Create a beautiful container filled with personalized notes detailing all the reasons you love him. It’s a gift he can turn to whenever he needs a reminder of your affection.
Cut paper into small strips or fold into tiny origami hearts.
On each piece, write one reason why you love him. Aim for at least 52 reasons (one for each week of the year) or 365 (one for each day).
Include specific memories, inside jokes, and qualities you admire.
Fold each note and place them in the jar.
Decorate the jar with ribbon and attach a tag with instructions like “Open when you need a reminder of how much I love you” or “One reason to read each day.”
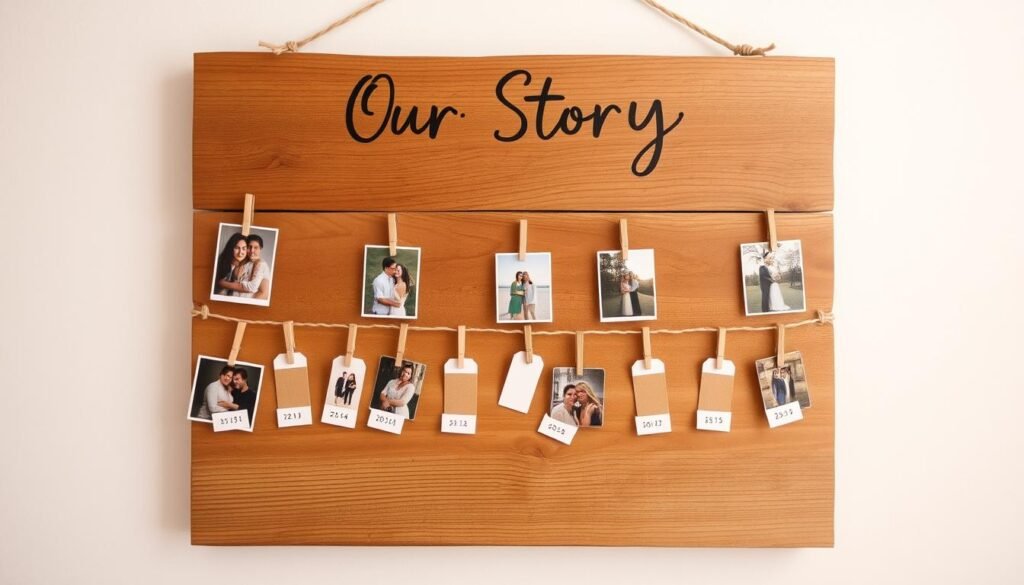
2. Relationship Timeline Photo Display
Create a visual journey of your relationship that he can proudly display. This project combines photographs with important dates and milestones to tell the story of your love.
Paint or stain your wooden board and let it dry completely.
Arrange your photos in chronological order and select the most meaningful ones.
Attach small nails or adhesive hooks in a line or pattern across the board.
String twine between the hooks or nails.
Use the mini clothespins to attach photos and date tags to the twine.
Add captions or milestone descriptions beneath each photo.
3. Love Letter Book
In our digital age, handwritten letters have become rare treasures. Create a collection of heartfelt letters for your partner to read on special occasions or whenever he needs to feel your love.
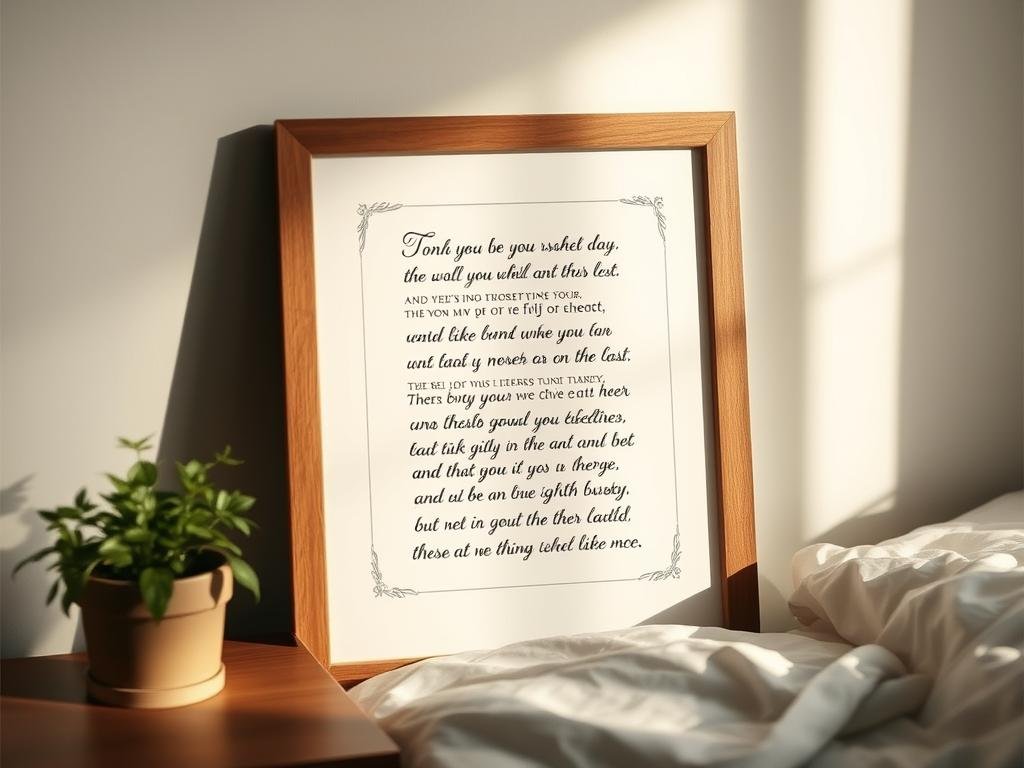
Transform the lyrics of “your song” into a beautiful piece of art he can display. This thoughtful gift combines sentimentality with home decor.
Materials Needed:
Canvas or high-quality paper
Acrylic paints or calligraphy pens
Pencil for sketching
Frame (if using paper)
Lyrics to your special song
Step-by-Step Instructions:
Choose the most meaningful lyrics from your special song.
Sketch a light outline of your design on the canvas or paper.
Use calligraphy or different font styles to write out the lyrics.
Add decorative elements like music notes, hearts, or a silhouette of a couple.
Let dry completely before framing (if on paper).
5. Memory Scrapbook
Create a personalized scrapbook that documents your relationship journey. This classic gift allows you to get creative while preserving your most precious memories together.
Adhesive (glue sticks, double-sided tape, or photo corners)
Scissors and/or paper cutter
Markers, pens, and stickers
Mementos (ticket stubs, maps, etc.)
Step-by-Step Instructions:
Organize your photos and mementos chronologically or by theme.
Create a layout for each page, combining photos with decorative elements.
Add journaling to describe the memories and your feelings.
Include special mementos like ticket stubs, dried flowers, or other flat keepsakes.
Create dividers for different years or categories of memories.
Add a personal message on the first or last page.
Practical DIY Anniversary Gifts He’ll Use Every Day
These useful gifts combine sentimentality with functionality. They’re perfect for the practical man who appreciates gifts he can use regularly while still being reminded of your love.
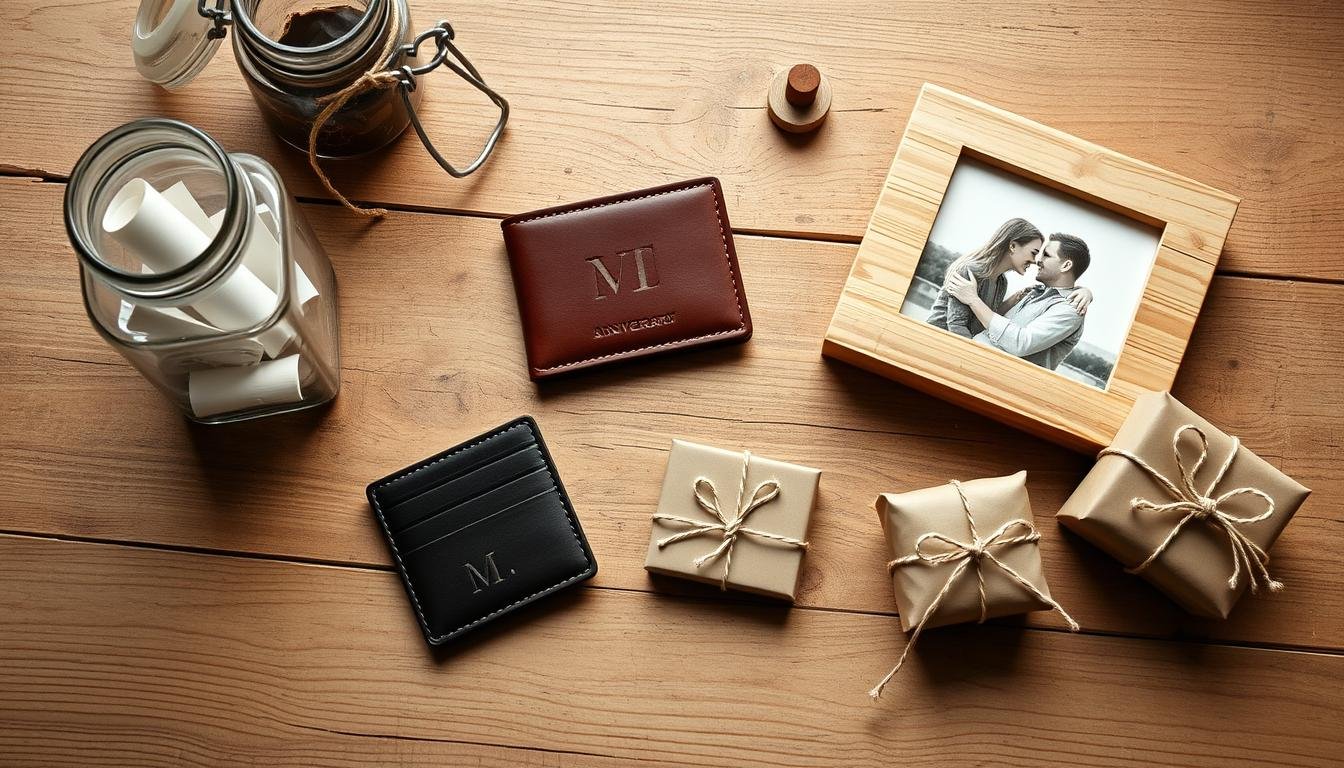
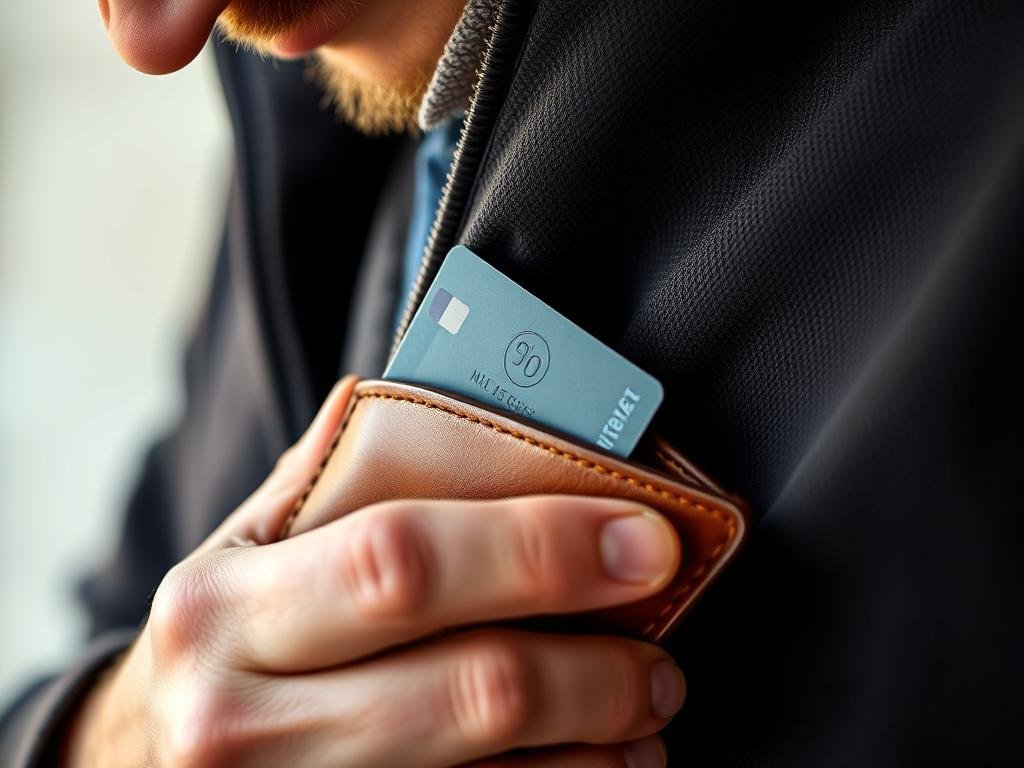
6. Personalized Leather Wallet
Create a custom wallet that he’ll carry with him everywhere. With basic leatherworking techniques, you can make a professional-looking wallet that’s both practical and meaningful.
If using a kit, follow the included instructions for assembly.
For pre-cut leather, arrange pieces in the desired wallet configuration.
Punch holes along the edges where pieces will be joined.
Sew pieces together using a saddle stitch with waxed thread.
Stamp his initials or a special date on the outside or inside.
Apply leather conditioner and allow to dry before gifting.
Beginner Tip: If leatherworking seems too advanced, consider purchasing a plain leather wallet and customizing it with leather stamps, paint, or by burning a design with a wood-burning tool.
7. Custom Coffee Mug
Design a one-of-a-kind coffee mug that will make him smile with every morning cup. This simple project requires minimal crafting skills but creates a thoughtful daily reminder of your love.
Clean the mug thoroughly with rubbing alcohol and let dry.
Sketch your design lightly with pencil (it will wash away later).
Trace over your design with paint pens or ceramic markers.
Let the paint dry according to pen instructions (usually 24 hours).
Bake the mug according to pen instructions (typically 350°F for 30 minutes).
Allow to cool completely in the oven before handling.
Hand wash only to preserve your design.
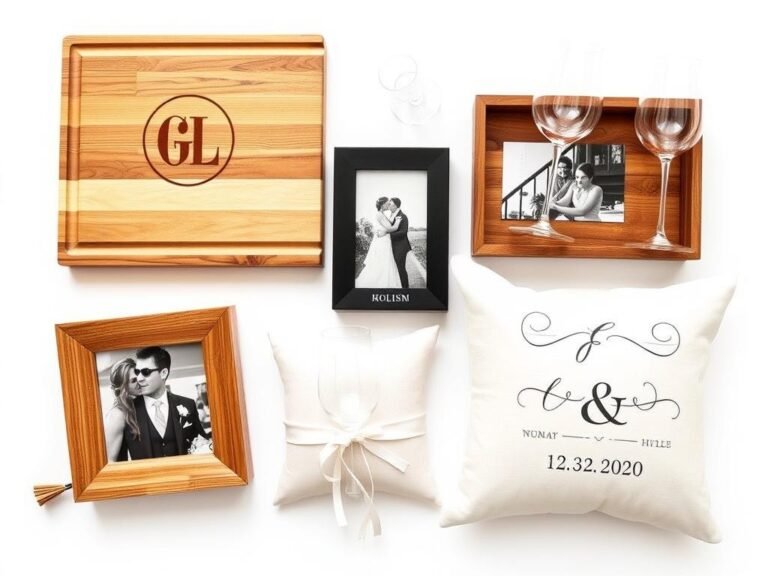
8. Customized Wooden Cutting Board
For the man who loves to cook, a personalized cutting board makes a thoughtful and practical gift. This project allows you to create a kitchen essential with a personal touch.
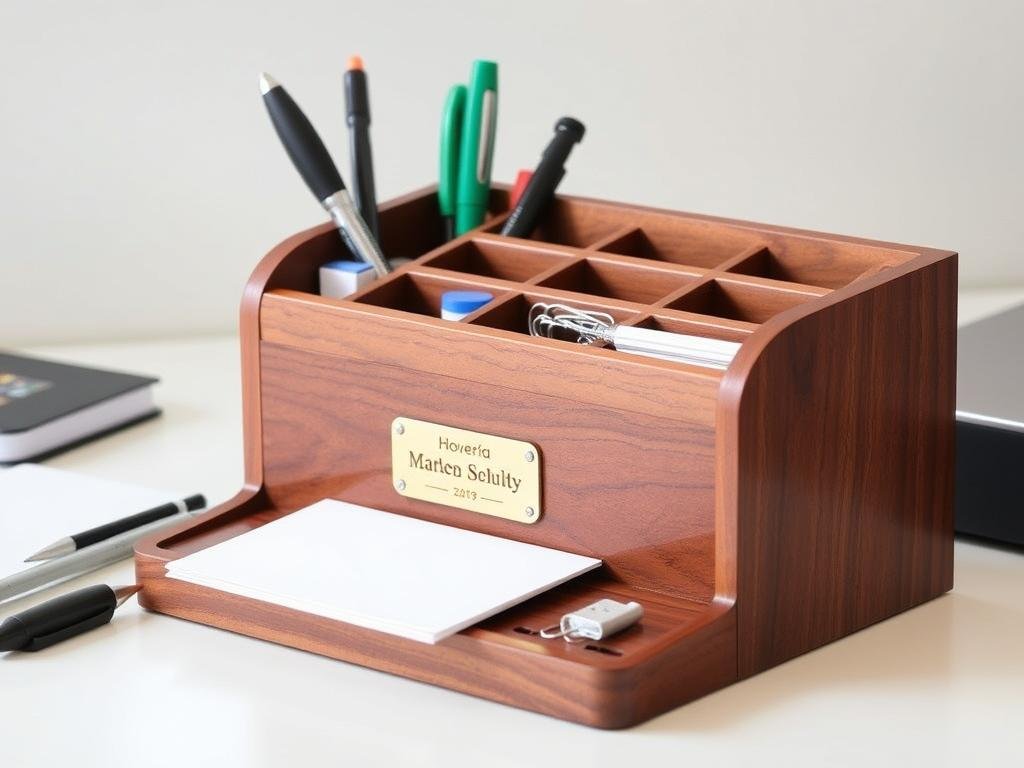
Help him keep his workspace tidy with a custom desk organizer. This practical gift can be tailored to his specific needs while adding a personal touch to his office or study.
Materials Needed:
Wooden box or plain desk organizer
Paint or wood stain
Paintbrushes
Sandpaper
Clear sealer
Decorative elements (optional)
Small dividers (optional)
Step-by-Step Instructions:
Sand the wooden box or organizer to prepare the surface.
Apply paint or stain according to your design plan.
Add personalization with his name, initials, or a special message.
Create compartments using small dividers if needed.
Apply a clear sealer to protect the finish.
Consider adding small decorative elements that reflect his interests.
10. Custom Phone Charging Station
Create a personalized spot for him to charge his devices. This practical gift combines functionality with a personal touch that will make him think of you every time he uses it.
Materials Needed:
Wooden base (small cutting board or piece of wood)
Wood glue
Sandpaper
Paint or stain
Clear sealer
Drill with appropriate bits
Charging cables (optional)
Step-by-Step Instructions:
Sand all wooden pieces until smooth.
Design your charging station based on his devices (phone, watch, earbuds, etc.).
Drill holes for charging cables to pass through.
Assemble pieces with wood glue and allow to dry completely.
Apply paint or stain in his favorite color or to match his decor.
Add personalization with his name or a special message.
Apply clear sealer and allow to dry before threading cables.
DIY Experience Gifts That Create Lasting Memories
Sometimes the best gifts aren’t things but experiences you can share together. These DIY ideas focus on creating special moments and new memories rather than physical items.
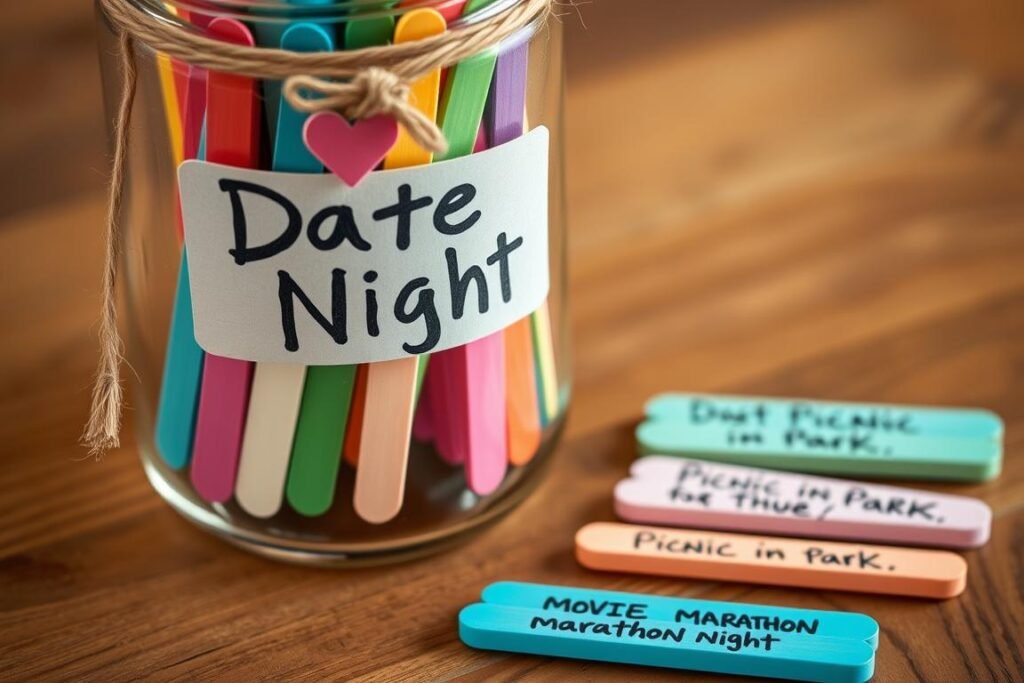
11. Date Night Jar
Create a collection of date ideas that you can randomly select for spontaneous adventures together. This gift keeps on giving throughout the year as you enjoy new experiences together.
Materials Needed:
Mason jar or decorative container
Colored popsicle sticks or paper strips
Markers or pens
Decorative ribbon or twine
Label or tag
Optional: categorize by color (red for romantic dates, blue for outdoor activities, etc.)
Step-by-Step Instructions:
Brainstorm at least 20-30 date ideas ranging from simple (movie night at home) to more elaborate (weekend getaway).
Write each date idea on a popsicle stick or paper strip.
If categorizing, use different colored sticks or papers for different types of dates.
Place all date ideas in the jar.
Decorate the jar and add a label like “Our Next Adventure” or “Date Night Ideas.”
Include a note explaining that you’ll draw a date idea regularly (weekly, monthly, etc.).
12. Homemade Coupon Book
Create a book of redeemable coupons for services, favors, and experiences. This thoughtful gift allows him to “cash in” on special treats whenever he wants.
Materials Needed:
Cardstock or thick paper in various colors
Scissors or paper cutter
Hole punch
Ribbon, string, or metal rings to bind
Markers, colored pencils, or stamps for decoration
Ruler
Step-by-Step Instructions:
Cut cardstock into equal-sized rectangles (about the size of a business card).
Create a cover page with a title like “Love Coupons” or “Redeemable for Love.”
Design individual coupons with offers like “Good for one back massage,” “Your choice of movie night,” or “I’ll cook your favorite meal.”
Add expiration dates (or mark as “No Expiration”) and any terms and conditions.
Punch holes in one corner or along the side and bind together.
For extra creativity, design coupons around his interests or inside jokes.
Make Your Coupon Book Extra Special
Find beautiful cardstock, markers, and crafting supplies to create a coupon book he’ll love to redeem.
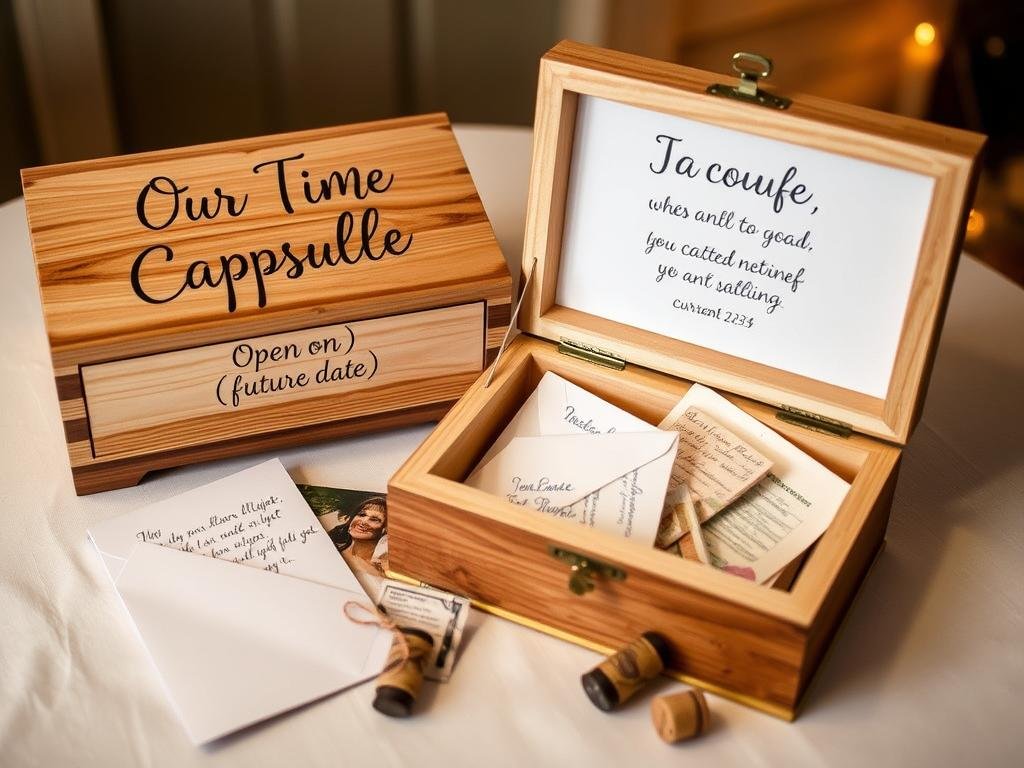
Create a special box filled with mementos from your current year together, to be opened on a future anniversary. This gift creates both a present activity and a future experience to look forward to.
Decorate the box with your names, the current date, and the future date when it should be opened.
Write letters to your future selves, discussing your current life and relationship.
Include predictions about where you’ll be when you open the capsule.
Add small mementos from your current year together (ticket stubs, photos, etc.).
Consider including a bottle of wine or other item that improves with age.
Seal the box and agree not to open it until the designated future anniversary.
14. Year of Dates Gift Box
Pre-plan and package 12 special dates—one for each month of the coming year. This thoughtful gift provides a year of adventures and quality time together.
Materials Needed:
12 envelopes or small boxes
Decorative paper
Large gift box or basket
Calendar or date cards
Small gifts or items related to each date
Gift cards (optional)
Step-by-Step Instructions:
Plan 12 different date experiences, one for each month.
Create an envelope or small box for each date, labeled with the month.
In each package, include a description of the date and any necessary items.
For example, a movie night envelope might include movie tickets or a streaming service gift card, popcorn, and candy.
Arrange all 12 date packages in a large gift box or basket.
Include a calendar with the dates marked or suggested.
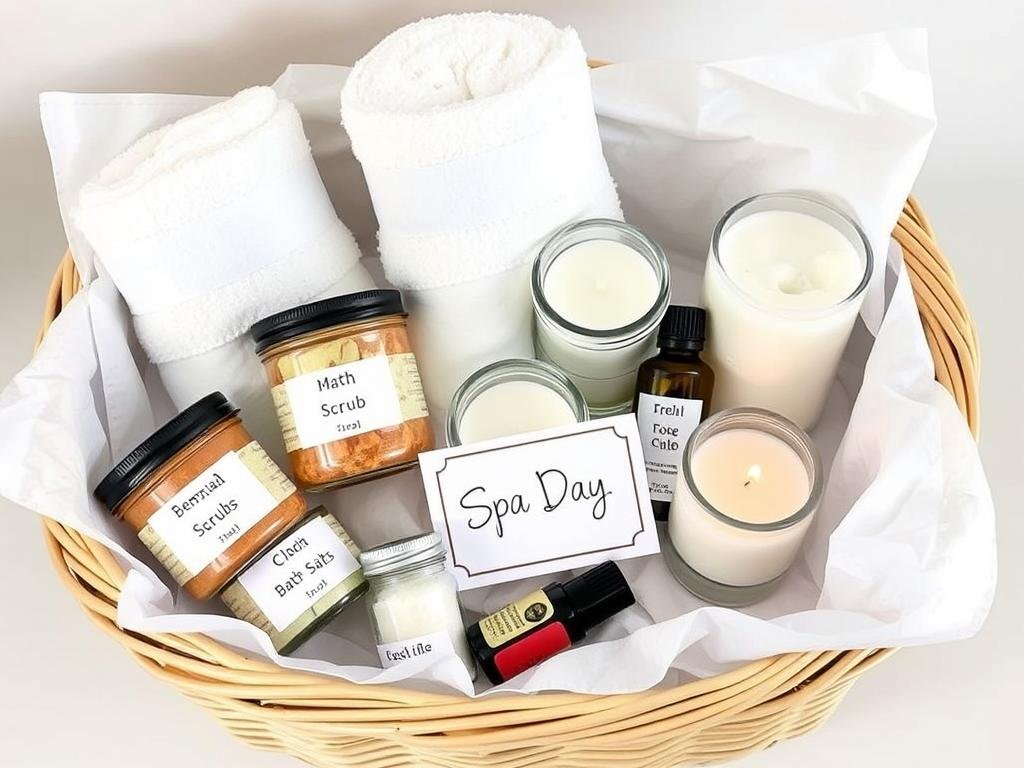
15. DIY Spa Day Kit
Create a relaxing spa experience at home with homemade products and thoughtful touches. This gift offers both products and the promise of quality relaxation time together.
Materials Needed:
Decorative basket or box
Ingredients for homemade scrubs, masks, or bath bombs
Create custom-flavored spirits or cooking oils that reflect his taste preferences. These elegant bottles make impressive gifts that can be enjoyed over time.
Materials Needed:
Base spirit (vodka, bourbon, etc.) or high-quality oil
For spirits: Combine base spirit with chosen infusion ingredients in a clean jar.
For oils: Gently heat oil with infusion ingredients, then cool.
Allow the infusion to develop for the appropriate time (days to weeks depending on ingredients).
Strain the infused liquid through cheesecloth into clean bottles.
Create custom labels with the flavor, date, and any special message.
Decorate bottles with ribbon, twine, or other elements.
Include serving suggestions or cocktail recipes if appropriate.
19. Anniversary Breakfast in Bed Kit
Prepare a special breakfast experience with homemade mixes and thoughtful touches. This gift combines food with a memorable experience.
Materials Needed:
Decorative basket or tray
Mason jars or containers for mixes
Ingredients for pancake or waffle mix
Homemade granola or other breakfast items
Special coffee or tea
Small bottle of maple syrup or homemade fruit syrup
Recipe cards with instructions
Optional: small vase for a single flower
Step-by-Step Instructions:
Prepare dry mixes for pancakes, waffles, or other breakfast items.
Package mixes in attractive jars with labels and instructions.
Include special coffee beans or tea that he enjoys.
Add homemade granola, syrup, or jam in separate containers.
Arrange everything in a basket or on a serving tray.
Include a handwritten note promising to prepare this special breakfast.
Optional: Add a small vase that can hold a fresh flower on the morning you serve breakfast.
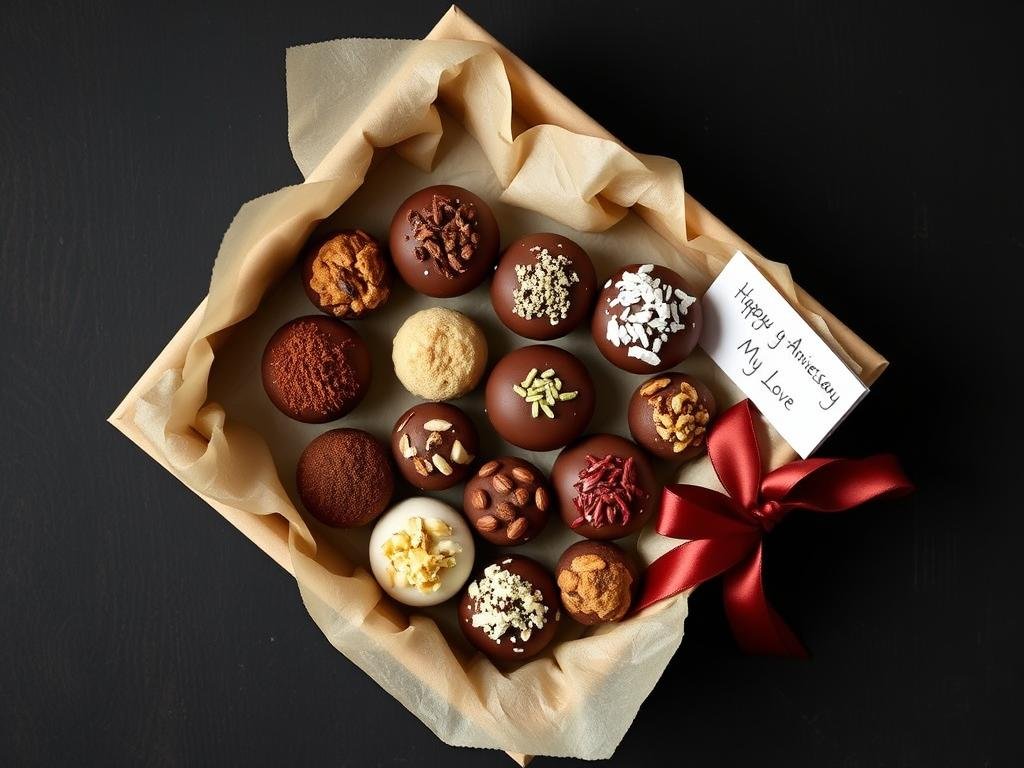
20. Homemade Candy or Chocolate Truffles
Create decadent sweets that cater to his taste preferences. These homemade treats show your love through careful preparation and presentation.
Materials Needed:
Ingredients for candy or truffles
Candy molds (optional)
Thermometer for candy making
Decorative box or tin
Parchment paper or mini cupcake liners
Ribbon or decorative elements
Custom label or tag
Step-by-Step Instructions:
Select recipes based on his favorite flavors (chocolate, caramel, fruit, etc.).
Prepare candies or truffles according to recipes.
Allow to set or cool completely.
Line a decorative box or tin with parchment paper or place individual candies in mini cupcake liners.
Arrange candies attractively in the container.
Add a personalized label or tag with the flavors and a loving message.
Finish with ribbon or other decorative elements.
Creative DIY Anniversary Gifts for the Artistic Soul
These projects let you express your creativity while making something truly unique. They’re perfect for the man who appreciates artistic expression and one-of-a-kind creations.
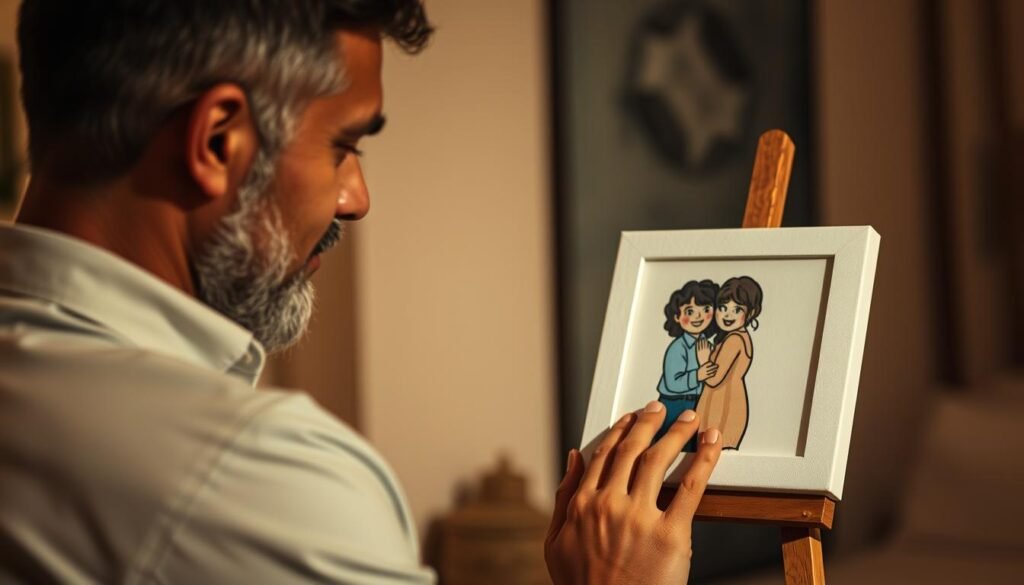
21. Hand-Painted Portrait
Create a personal piece of art by painting a portrait of the two of you or a special place. This deeply personal gift showcases your creativity and the special bond you share.
Lightly sketch the basic outline on your canvas or paper.
Begin painting with base colors, working from background to foreground.
Add details gradually, building up layers of color.
Allow the painting to dry completely.
If desired, add a protective varnish to acrylic paintings.
Frame the finished piece if appropriate.
Not Confident in Your Painting Skills? Consider a paint-by-numbers kit based on your own photo. Many companies can create custom kits from your uploaded images, allowing you to create a personalized painting even as a beginner.
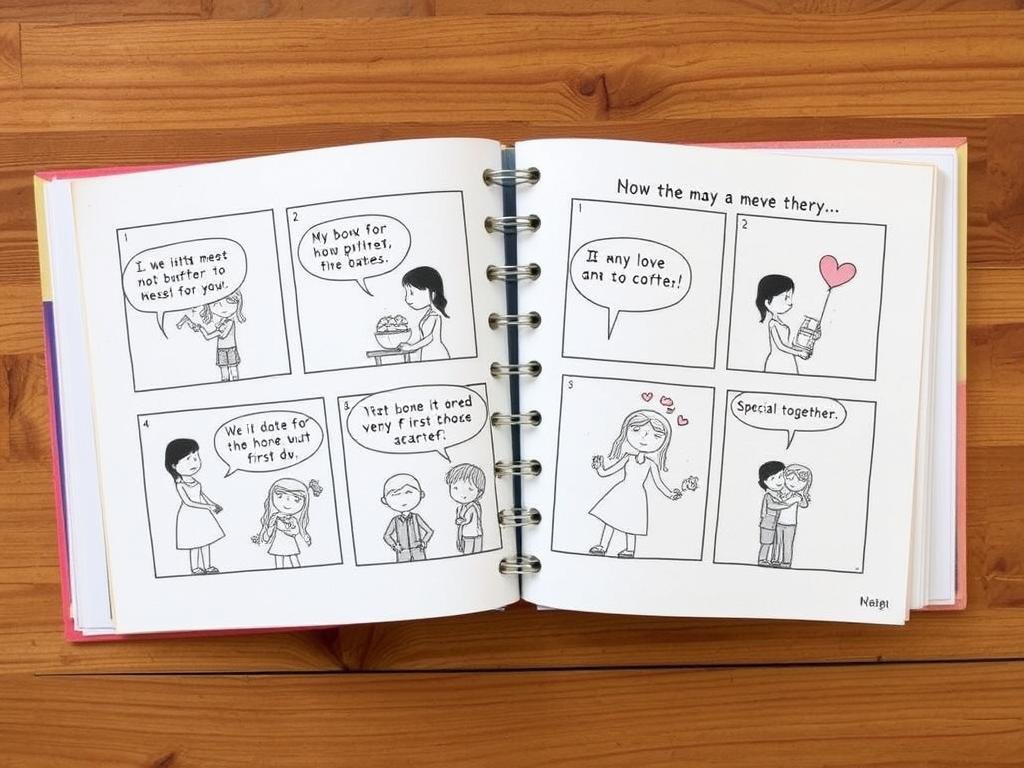
22. Custom Comic Book of Your Love Story
Create a personalized comic book that tells the story of your relationship. This unique gift combines storytelling with visual art for a truly special keepsake.
Materials Needed:
Drawing paper or sketchbook
Pencils, pens, and markers
Ruler for panel layouts
Reference photos
Colored pencils or watercolors (optional)
Binding materials (staples, thread, etc.)
Cover stock
Step-by-Step Instructions:
Plan your story, focusing on key moments in your relationship.
Sketch page layouts with panels for each scene.
Draw simple characters and scenes—stick figures are fine if you’re not an artist!
Add dialogue and narration in speech bubbles and captions.
Ink over pencil lines and add color if desired.
Create a cover with a title like “Our Love Story” or “[Your Names]: The Adventure Begins.”
Bind pages together into a book format.
23. Handcrafted Wooden Picture Frame
Create a custom frame for a special photo. This project allows you to combine woodworking with personalization for a gift that highlights a cherished memory.
Materials Needed:
Wood boards (1×2 or similar)
Saw
Sandpaper (various grits)
Wood glue
Clamps
Stain or paint
Clear sealer
Glass or plexiglass
Backing material
Hardware for hanging
Step-by-Step Instructions:
Measure and cut wood pieces to create a frame for your chosen photo size.
Sand all pieces until smooth.
Create mitered corners or simple butt joints.
Assemble the frame with wood glue and clamps.
Once dry, sand again lightly.
Apply stain or paint in his favorite color.
Add personalization by wood burning or painting a message or date.
Apply clear sealer for protection.
Add glass, photo, backing, and hanging hardware.
New to Woodworking?
Get started with a beginner-friendly woodworking kit that includes all the tools you need for simple projects like picture frames.
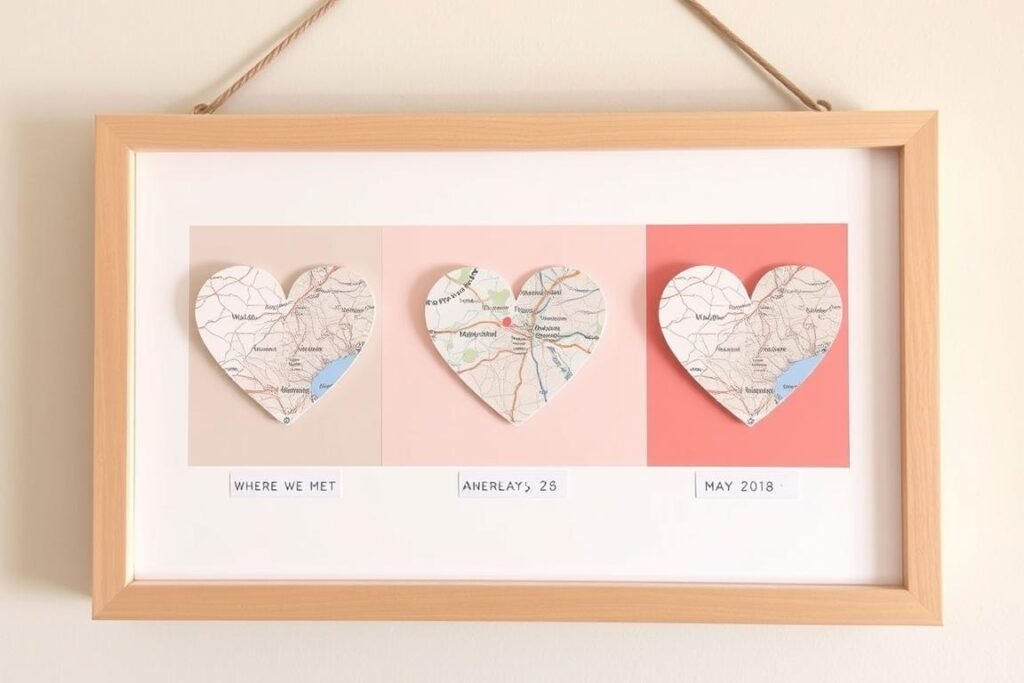
Create artistic map-based artwork highlighting locations that are meaningful to your relationship. This personalized wall art combines geography with sentiment.
Materials Needed:
Printed maps or map images
Frame
Cardstock or mat board
Scissors or X-acto knife
Adhesive
Markers or pens
Decorative elements (optional)
Step-by-Step Instructions:
Obtain maps of significant locations (where you met, first date, proposal, etc.).
Cut maps into heart shapes, circles, or other meaningful forms.
Mount cut maps on contrasting cardstock or mat board.
Add labels, dates, or short descriptions of why each location is special.
Arrange in a collage or series format.
Frame the finished piece(s).
Consider adding a title like “Our Journey Together” or “The Places That Made Us.”
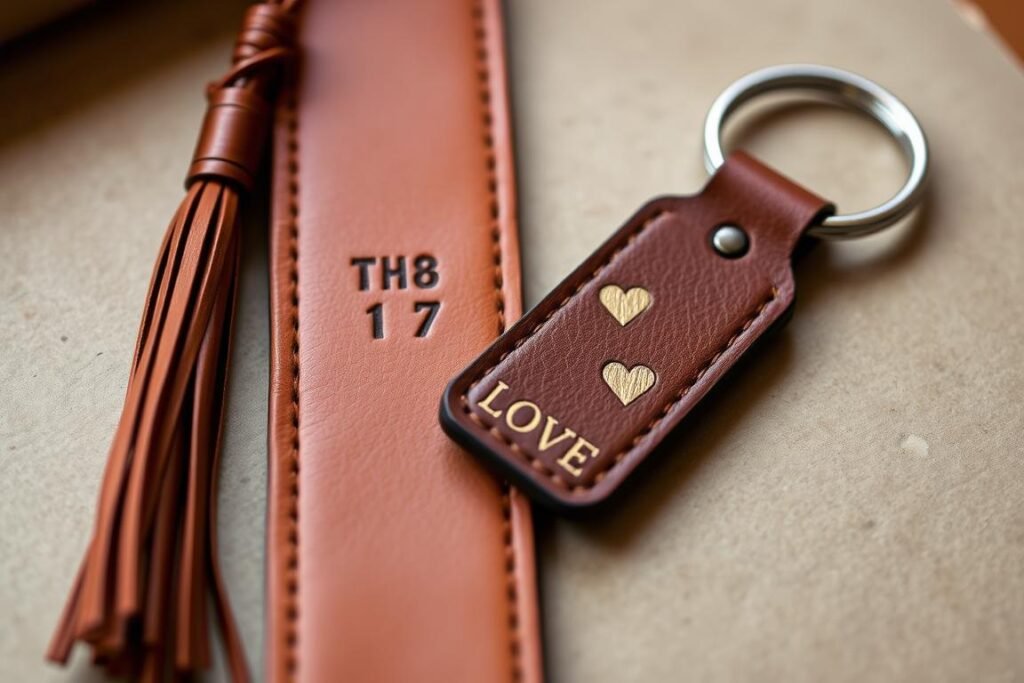
25. Hand-Stamped Metal Keychain
Create a durable metal keychain with a personalized message. This practical gift allows him to carry your sentiment with him everywhere.
Plan your message or design (keep it short due to space limitations).
Place the metal blank on the steel block.
Position the first letter stamp and strike firmly with the hammer.
Continue with remaining letters, maintaining even spacing.
Trace over the stamped impressions with permanent marker.
Wipe the surface with alcohol, leaving ink only in the impressions.
Polish the metal with a cloth.
Attach jump rings and keychain hardware using pliers.
DIY Tech Gifts for the Modern Man
These projects combine technology with personalization. They’re perfect for the tech-savvy man who appreciates both innovation and thoughtful customization.
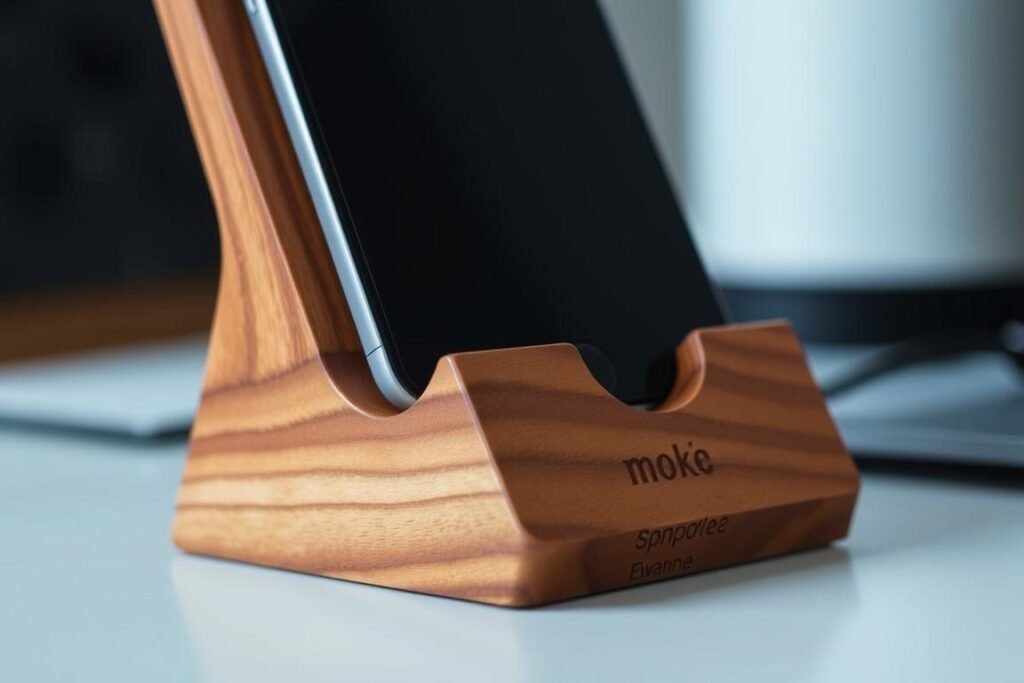
26. Custom Wooden Phone Stand
Create a personalized stand for his smartphone or tablet. This practical gift combines woodworking with everyday utility.
Materials Needed:
Hardwood board (about 3/4″ thick)
Saw
Sandpaper (various grits)
Wood stain or finish
Clear sealer
Router or chisel (optional)
Wood burning tool (optional)
Felt pads
Step-by-Step Instructions:
Design a simple phone stand with a slot for the phone and a base.
Cut the wood according to your design.
Sand all pieces until smooth.
Create a slot or groove for the phone to rest in.
Personalize with his name, initials, or a special message using a wood burning tool.
Apply wood stain or finish and allow to dry.
Apply clear sealer for protection.
Add felt pads to the bottom to prevent scratching surfaces.
27. Custom Laptop Sleeve
Create a personalized protective sleeve for his laptop or tablet. This practical gift combines sewing skills with everyday functionality.
Materials Needed:
Fabric for exterior (canvas, denim, etc.)
Soft fabric for lining (flannel, fleece, etc.)
Padding material (foam, batting, etc.)
Zipper or velcro closure
Thread
Sewing machine or needle
Pins
Scissors
Iron
Fabric markers or patches for personalization
Step-by-Step Instructions:
Measure his laptop or tablet and add 1/2 inch on all sides for seam allowance.
Cut two pieces each of exterior fabric, lining fabric, and padding material.
Personalize the exterior fabric with his initials, a design, or appliqué.
Layer the materials: lining fabric (right side up), padding, exterior fabric (right side down).
Pin layers together and sew around three sides, leaving one short end open.
Turn right side out and press.
Install zipper or velcro closure at the open end.
Topstitch around all edges for a finished look.
Create a Professional-Looking Laptop Sleeve
Find quality fabrics, closures, and sewing supplies to make a laptop sleeve he’ll be proud to use.
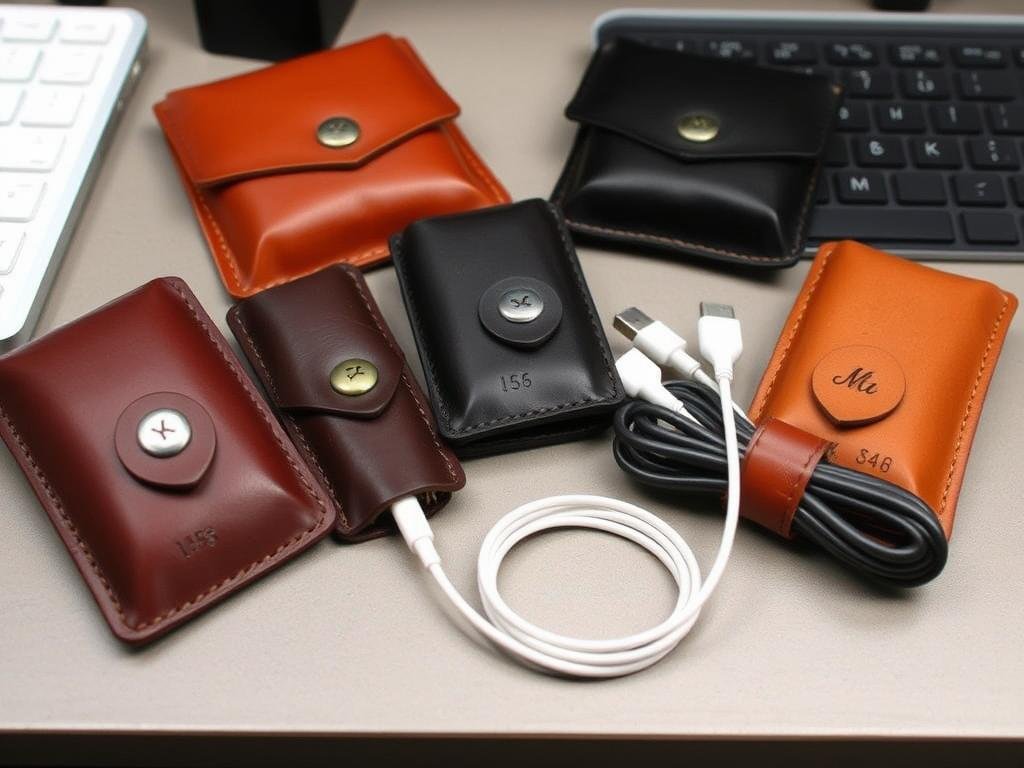
Create personalized solutions for managing his tech cables and cords. These practical gifts help eliminate desk clutter while showing your thoughtfulness.
Materials Needed:
Leather or felt scraps
Scissors
Hole punch
Snaps or buttons
Needle and thread
Ruler
Pen or marker
Optional: leather stamp for personalization
Step-by-Step Instructions:
Design simple cable wraps or organizers based on his specific needs.
Cut leather or felt into rectangles approximately 1″ x 3″.
Round the corners for a finished look.
Add a snap, button, or slit-and-tab closure.
Personalize with his initials or a small design.
Create several in different sizes for various cables.
Package in a small box or pouch with a label.
29. DIY Bluetooth Speaker
For the more technically inclined, create a custom Bluetooth speaker with a personalized enclosure. This impressive gift combines electronics with personalization.
Follow the instructions included with your Bluetooth speaker kit for the electronics.
Design and create an enclosure that reflects his style or interests.
Cut holes for speakers, controls, and power input.
Sand and finish the enclosure.
Add personalization with paint, wood burning, or engraving.
Install the electronics according to the kit instructions.
Test thoroughly before gifting.
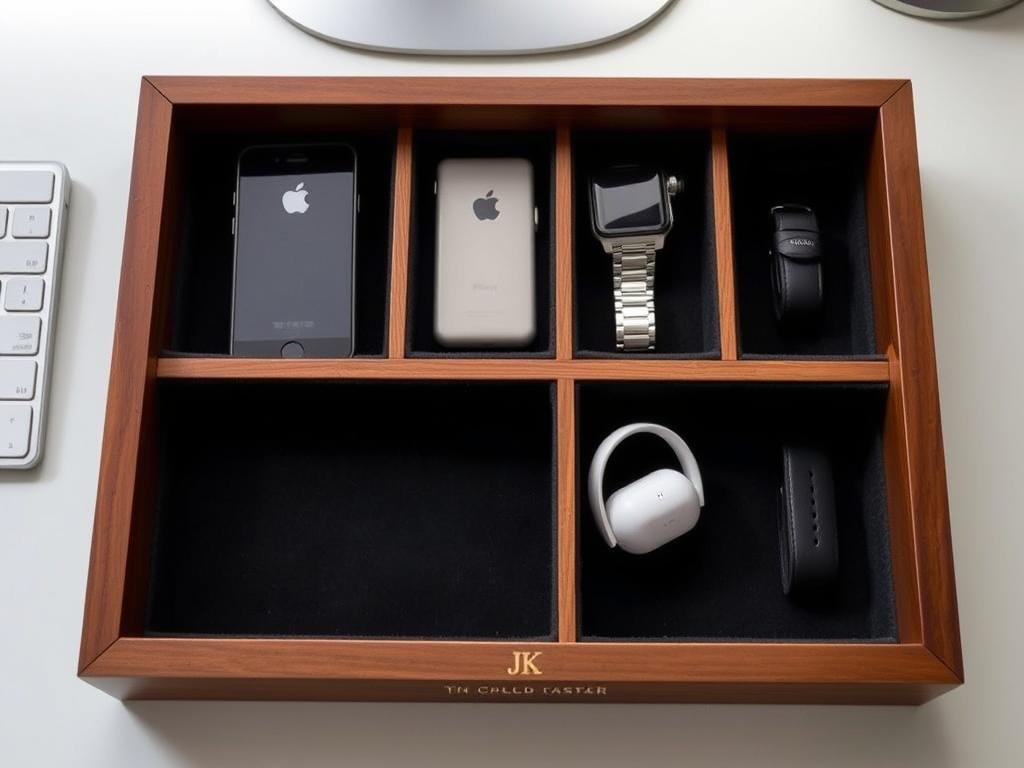
30. Personalized Tech Accessory Tray
Create a custom tray for organizing his everyday tech items like phone, watch, and earbuds. This practical gift helps keep his essentials organized and accessible.
Materials Needed:
Wooden tray or shallow box
Felt or soft fabric
Scissors
Craft glue
Paint or stain
Clear sealer
Optional: wood burning tool for personalization
Optional: dividers for different sections
Step-by-Step Instructions:
Sand the wooden tray until smooth.
Apply paint or stain in his favorite color and allow to dry.
Add personalization with his name, initials, or a special message.
Apply clear sealer for protection.
Cut felt to fit the bottom of the tray and glue in place.
If desired, create dividers for different items (watch, phone, keys, etc.).
Allow all adhesives to dry completely before gifting.
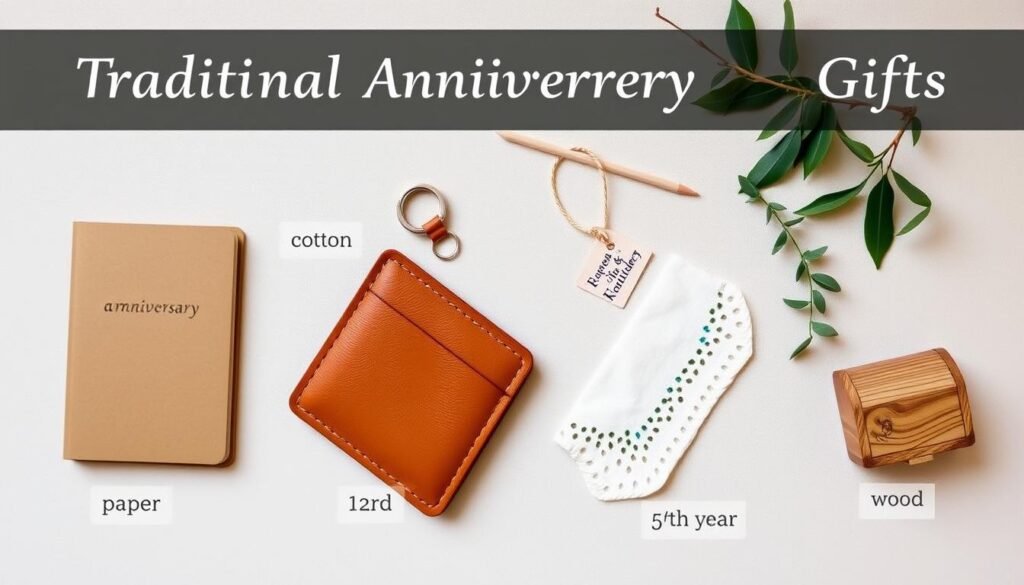
Traditional Anniversary Gifts by Year with a DIY Twist
Each anniversary year traditionally corresponds to a specific material. These ideas honor those traditions while adding a personal, handmade touch.
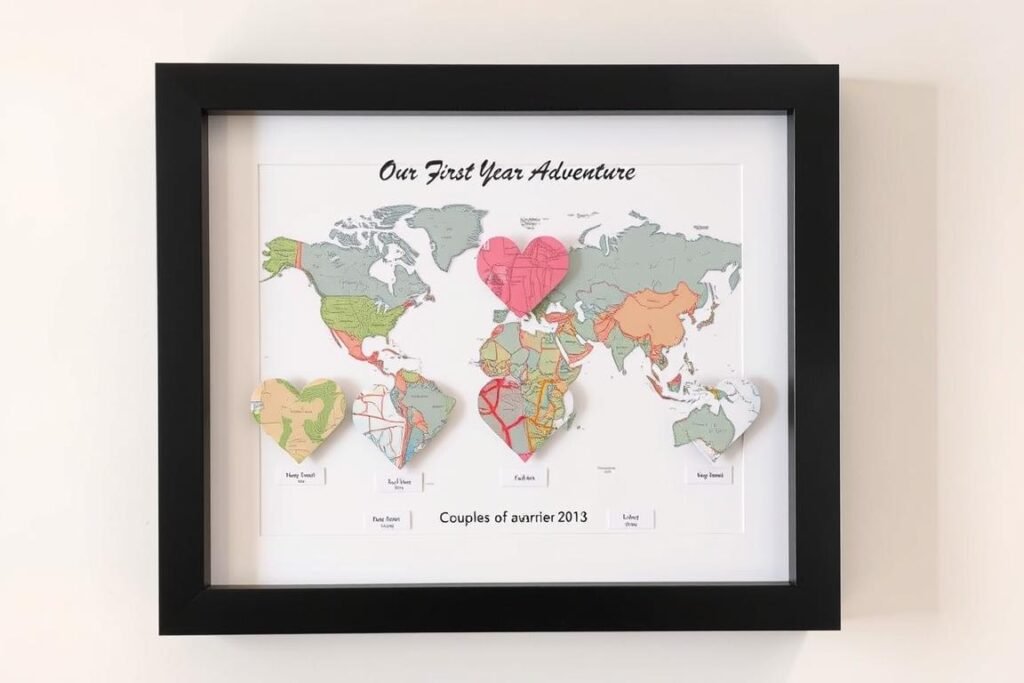
31. First Anniversary: Paper Map Collage
Honor the traditional first anniversary gift of paper with a creative map collage highlighting places significant to your relationship.
Materials Needed:
Maps or atlas pages
Cardstock backing
Frame
Scissors or X-acto knife
Adhesive
Markers or pens
Optional: heart-shaped or other templates
Step-by-Step Instructions:
Collect maps of significant locations in your relationship.
Cut out the specific areas using heart shapes or other meaningful forms.
Arrange on cardstock in a pleasing composition.
Add labels with location names and significant dates.
Include a title like “Our First Year Together” or “The Journey Begins.”
Frame the finished piece for display.
32. Second Anniversary: Cotton Star Map
Celebrate your second anniversary with a cotton gift that captures the night sky exactly as it appeared on a special date in your relationship.
Materials Needed:
White or natural cotton fabric
Embroidery hoop
Blue or black fabric paint
Small paintbrush
Star map printout for reference
White or metallic paint pen
Frame (optional)
Step-by-Step Instructions:
Generate a star map online for a significant date (first date, wedding, etc.).
Stretch cotton fabric in an embroidery hoop.
Paint the fabric with blue or black fabric paint for the night sky.
Once dry, use the white or metallic paint pen to add stars according to your map.
Add a small heart or marker for the exact constellation under which you met or married.
Include text with the date and location.
Frame if desired or leave in the embroidery hoop for display.
Create an Accurate Star Map
Find quality cotton fabric and embroidery supplies to create a beautiful star map commemorating your special day.
Add personalization with wood burning or paint (names, anniversary date, “Our Memories,” etc.).
Apply clear sealer for protection.
Line the inside with felt or fabric if desired.
Add decorative hardware like hinges or a clasp if desired.
Consider including a few special mementos to start the collection.
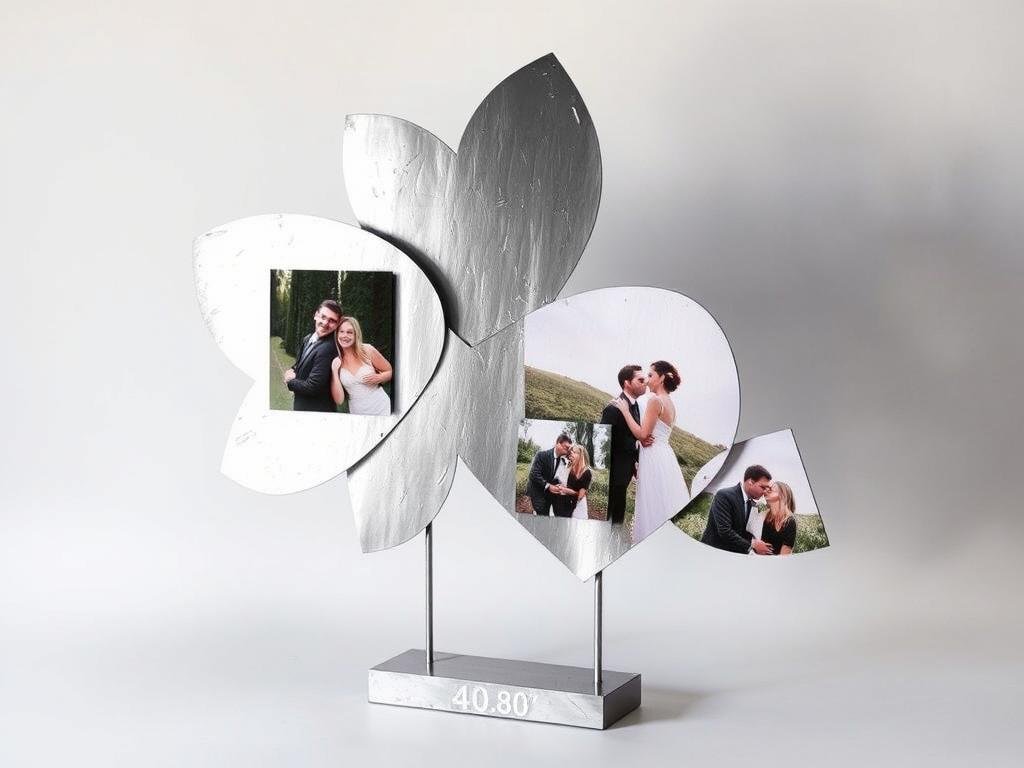
35. Tenth Anniversary: Tin or Aluminum Photo Sculpture
Honor the tenth anniversary tradition of tin or aluminum with a creative metal photo display or sculpture.
Materials Needed:
Aluminum sheet metal (thin gauge)
Printed photos
Mod Podge or photo transfer medium
Brushes
Tin snips or strong scissors
Metal file for edges
Hammer and nail for texture (optional)
Wire for stand or hanging
Pliers
Step-by-Step Instructions:
Cut aluminum sheet into desired shapes.
File edges to remove any sharp points.
Add texture with hammer and nail if desired.
Transfer photos to metal using Mod Podge or photo transfer medium according to product instructions.
Allow to dry completely.
Create a stand with wire or add hanging hardware.
Consider creating multiple pieces that tell your relationship story.
Wrapping Your DIY Anniversary Gift with Love
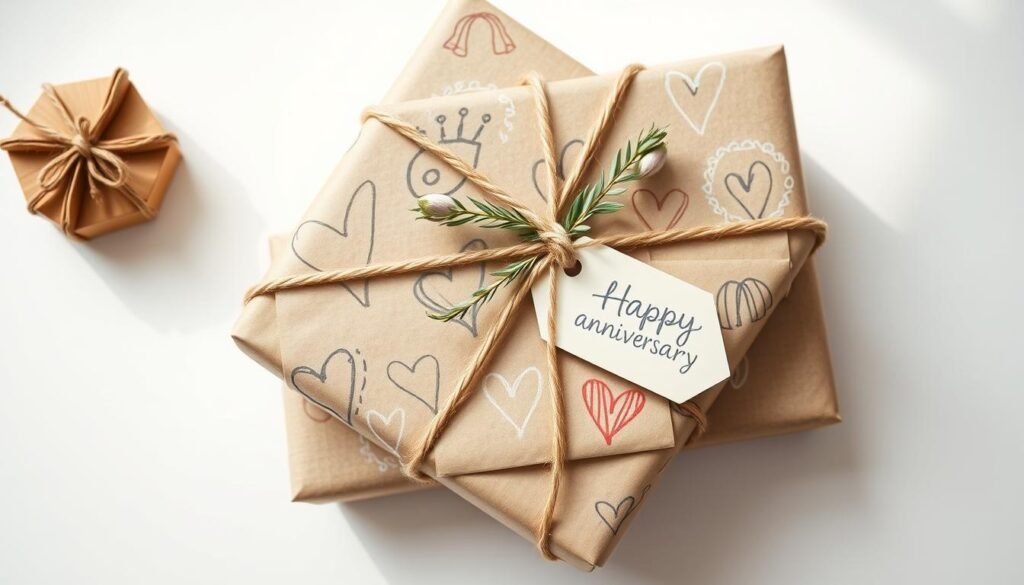
The presentation of your handmade gift adds an extra layer of thoughtfulness. Consider these ideas for packaging your DIY creation:
Use kraft paper with hand-drawn designs or stamps
Add a handwritten card explaining the meaning behind your gift
Include a small additional surprise like his favorite candy
Create a treasure hunt leading to the main gift
Plan a special presentation moment that adds to the experience
Remember, the most important element of any DIY anniversary gift is the love and thought you put into creating it. Your partner will treasure not just the item itself, but the time and care you invested in making something especially for him.
Whether you’re crafting a simple keepsake or embarking on a more ambitious project, these DIY anniversary gifts for him will create lasting memories and strengthen the bond you share. Each handmade creation tells a story—your story—and becomes a tangible symbol of your love and commitment.
Ready to Start Your DIY Anniversary Gift?
Find all the supplies you need to create a meaningful, handmade gift that will show him just how much you care.
Finding the perfect wedding gift can feel like a delightful challenge. You want something meaningful that the couple will treasure for years to come, yet practical enough to enhance their new life together. Whether you’re shopping for close friends, family members, or colleagues, the right gift speaks volumes about your thoughtfulness and care. In this…
Your gut does more than just digest food. It shapes your overall health in ways scientists are only beginning to understand. The trillions of bacteria living in your digestive system influence everything from your immune response to your mental clarity.This Website contains affiliate links. That means I may earn a small commission if you purchase…
Your brain deserves the same attention you give to your body. Every day, millions of people search for ways to enhance their mental clarity and protect their cognitive health. The truth is simple: small, consistent habits create powerful changes in how your brain functions.This Website contains affiliate links. That means I may earn a small…
Woodworking offers children a unique opportunity to create something tangible with their own hands. Kids woodworking projects teach patience, problem-solving, and practical skills that last a lifetime. Unlike screen-based activities, working with wood engages multiple senses and develops fine motor coordination.This Website contains affiliate links. That means I may earn a small commission if you…
Finding meals that satisfy your hunger without using up your daily points feels like discovering treasure. Zero point foods form the foundation of successful weight loss on the Weight Watchers program. These nutrient-rich options let you eat until satisfied without tracking every bite.This Website contains affiliate links. That means I may earn a small commission…
Your smile reflects your overall health, yet many people struggle with weak teeth and gum problems. The good news is that you can strengthen teeth naturally without relying solely on expensive dental treatments or harsh chemical products. Nature provides powerful tools to improve your oral health, and simple changes to your diet and daily habits…