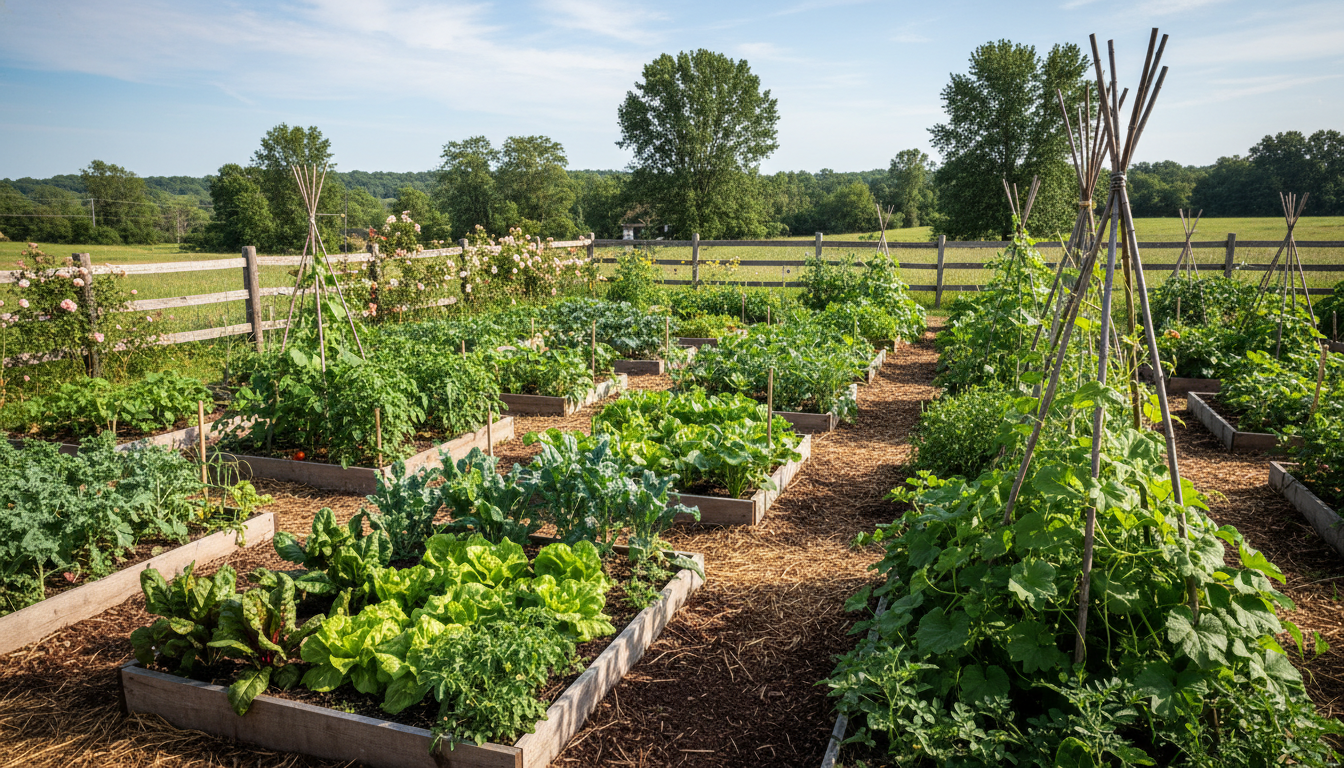
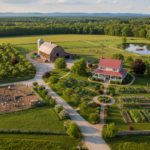
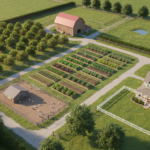
Creating a homestead garden transforms your land into a productive space that feeds your family throughout the year. Many people dream of growing their own food but feel overwhelmed by where to start. The journey from empty land to abundant garden becomes manageable when you break it down into clear steps.
This Website contains affiliate links. That means I may earn a small commission if you purchase through my links, at no extra cost to you.
A successful homestead garden provides fresh vegetables, reduces grocery costs, and gives you control over what goes into your food. Whether you have acres of land or just a small backyard space, you can design a garden that works for your situation. The key lies in planning your crops carefully and understanding how to maximize every square foot of growing space.
This guide walks you through everything needed to establish and maintain a thriving homestead garden. You’ll learn how to choose the right crops, prepare your soil properly, and plan for multiple growing seasons. Let’s dig into the practical steps that turn gardening dreams into reality.
Ready to Start Your Food Independence Journey?
Discover the complete system thousands of homesteaders use to grow abundant food year-round, even as complete beginners.
The foundation of any productive homestead garden starts with thoughtful planning. Before you plant a single seed, you need to assess your available space and understand how to use it efficiently. Even a small plot of land can produce impressive amounts of food when organized properly.
Start by measuring your available growing area. Walk your land and identify spots that receive at least six hours of direct sunlight daily. Most vegetables need full sun to produce well. Note areas with good drainage and those that tend to stay wet after rain. This information guides where you place different types of crops.
Determining Garden Size and Bed Configuration
The size of your homestead garden depends on several factors. Consider how much time you can dedicate to gardening each week. A larger garden produces more food but requires more maintenance. Start with a manageable size and expand as you gain experience.
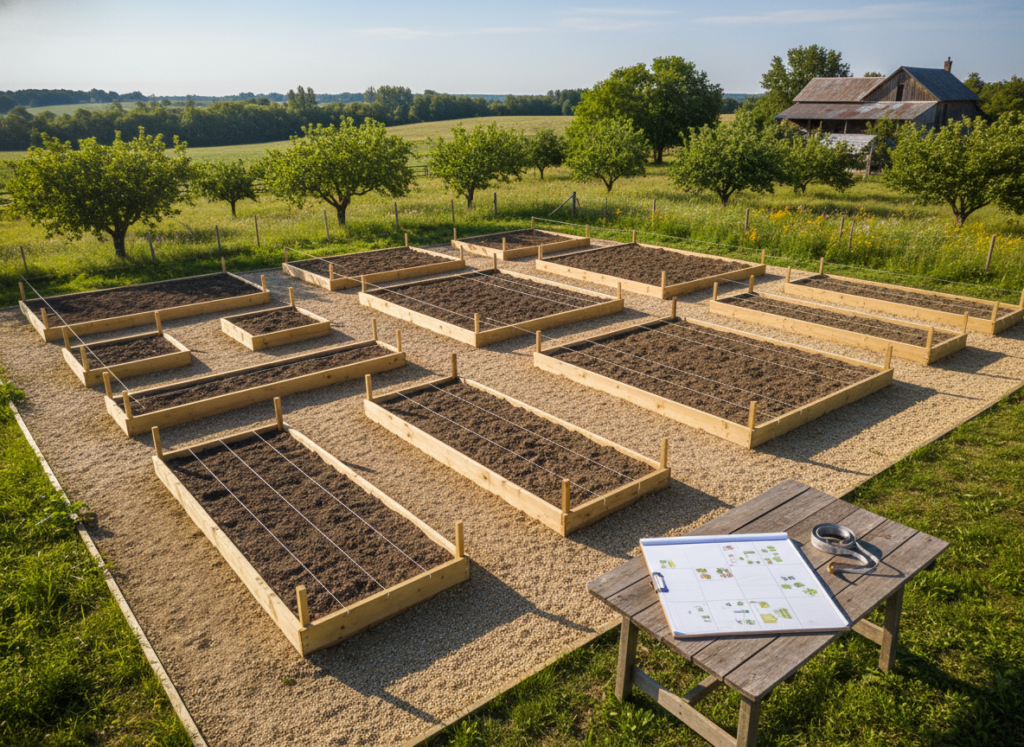
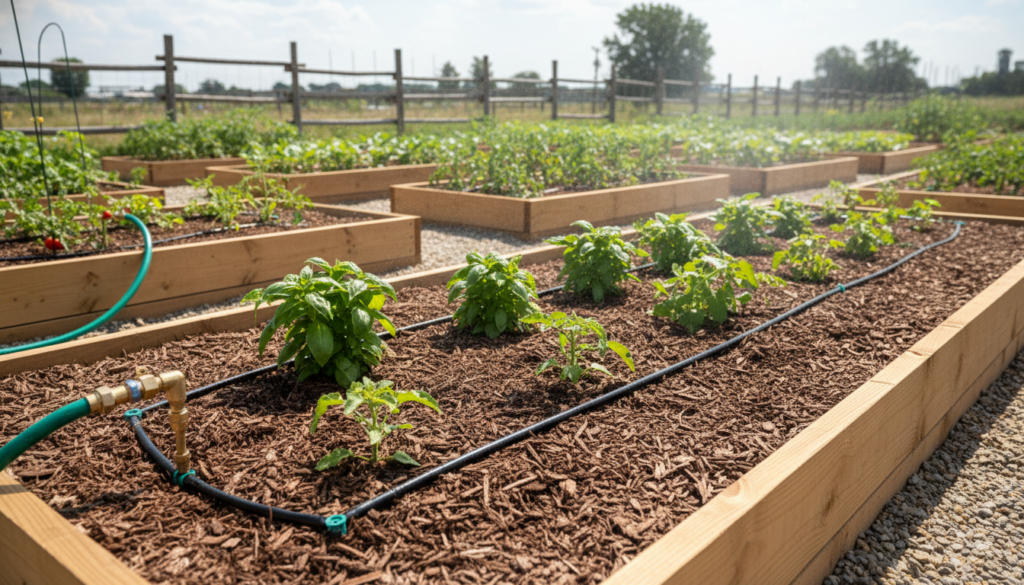
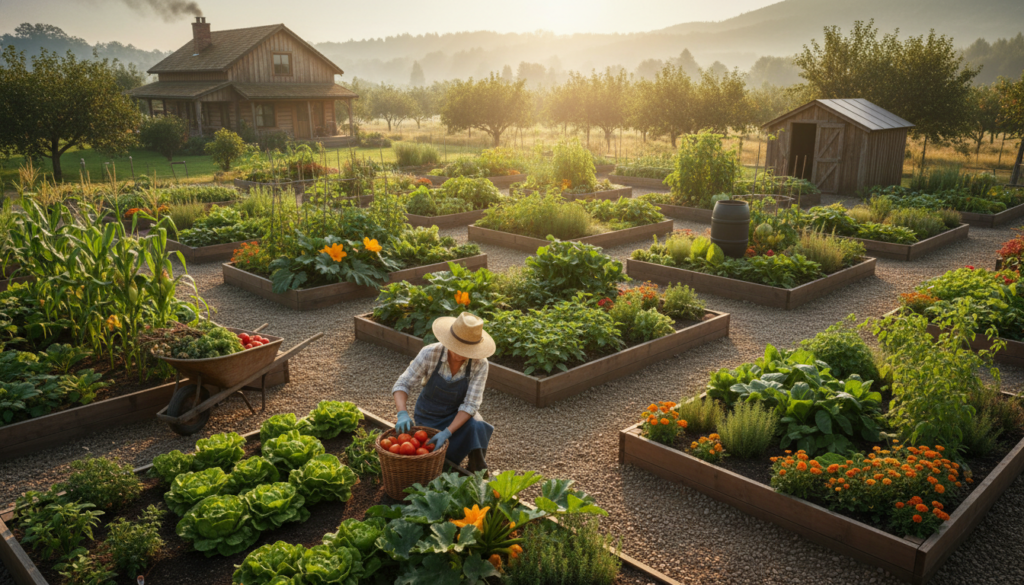
Raised beds offer excellent advantages for homestead gardens. They provide better drainage, warm up faster in spring, and make it easier to control soil quality. Standard bed dimensions of four feet wide by eight feet long work well because you can reach the center from either side without stepping on the soil.
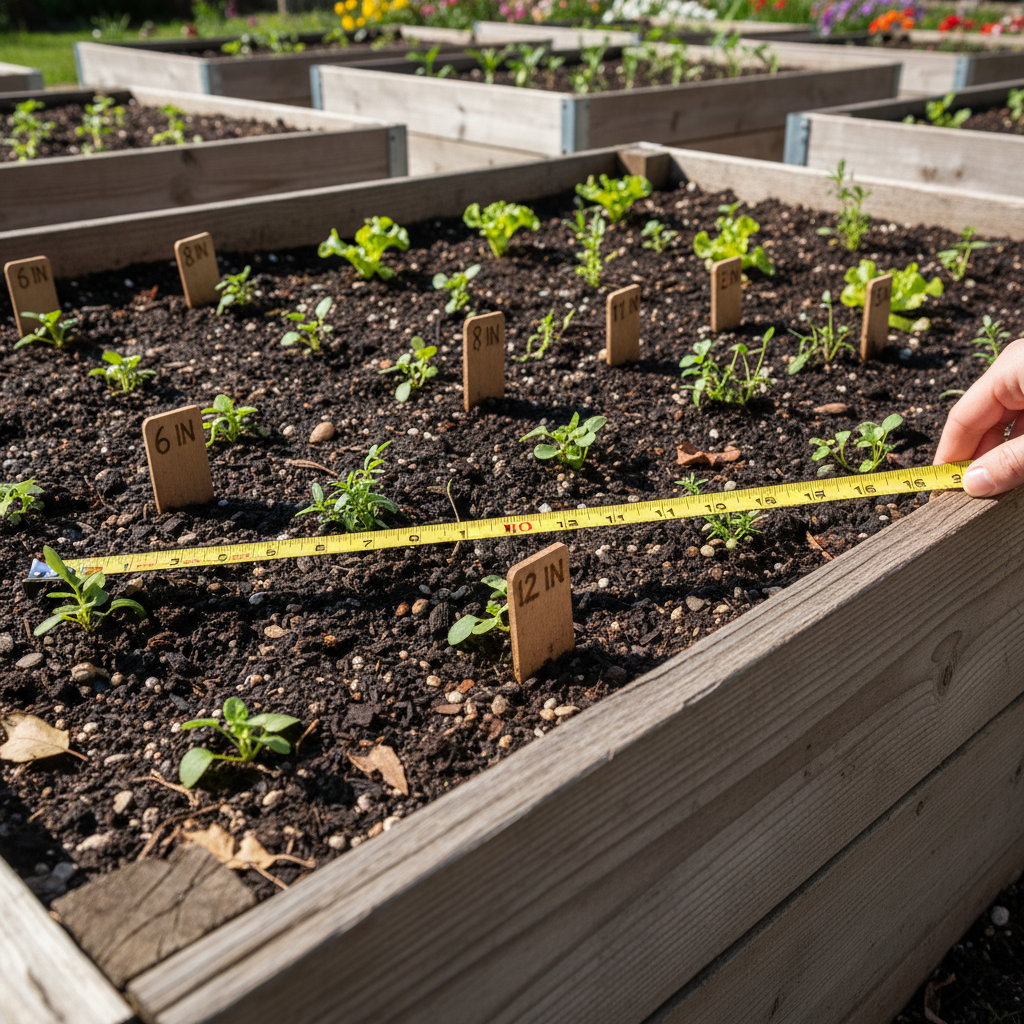
Space Requirements for Common Crops
Potatoes need 12-18 inches between plants
Carrots require just 2-3 inches of spacing
Squash plants demand 3-4 feet per plant
Onions grow well with 4-6 inch spacing
Corn needs 12 inches between stalks
Beans thrive with 3-4 inches apart
Creating Pathways and Access Routes
Good pathways make garden maintenance easier and prevent soil compaction. Plan for pathways at least two feet wide between beds. This gives you room to walk comfortably with a wheelbarrow or garden cart. Wider main pathways of three to four feet accommodate larger equipment.
Consider covering pathways with mulch, wood chips, or straw. These materials suppress weeds and create clean walking surfaces. Some gardeners use landscape fabric under the mulch for extra weed control. Permanent pathways save time each year because you don’t need to reestablish them.
Selecting the Right Crops for Your Homestead Garden
Choosing which crops to grow shapes your entire homestead garden experience. Focus on vegetables your family actually eats and those that provide good yields for the space they require. Some crops offer better returns than others in terms of food produced per square foot.
Start with easy-to-grow vegetables that forgive beginner mistakes. Lettuce, radishes, beans, and peas all grow reliably with basic care. These crops build your confidence while you learn more challenging plants. Save difficult crops like cauliflower or celery for later seasons when you have more experience.
High-Yield Vegetables for Maximum Production
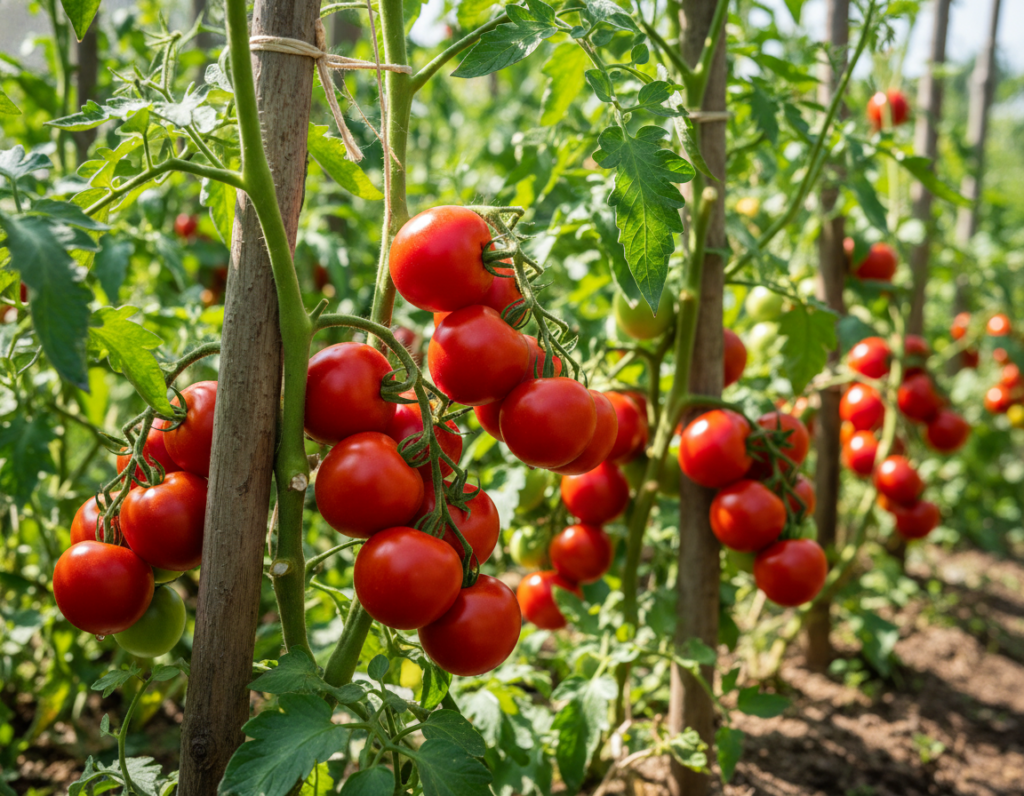
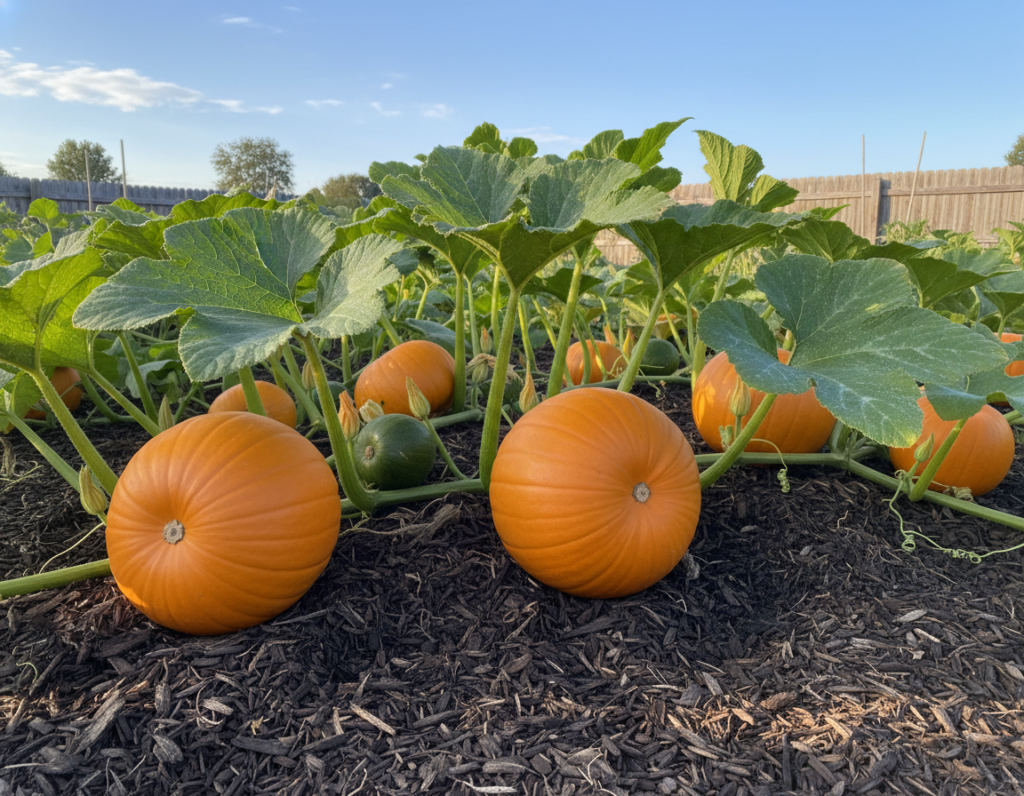
Certain vegetables consistently produce large harvests from relatively small spaces. Tomatoes top this list because a few plants provide pounds of fruit throughout summer. Squash plants take up more room but generate impressive yields. A single winter squash vine can produce eight to twelve large squash.
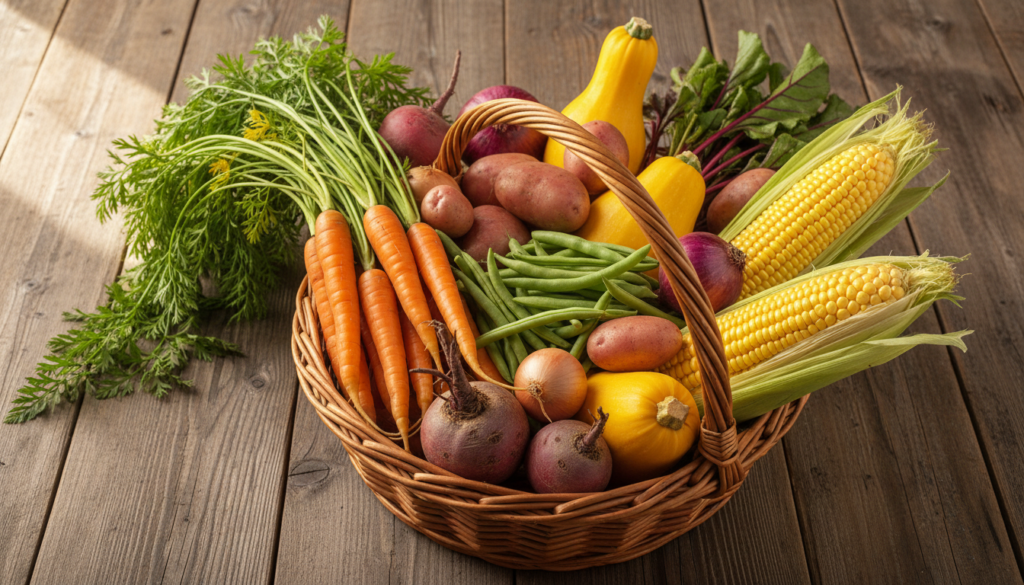
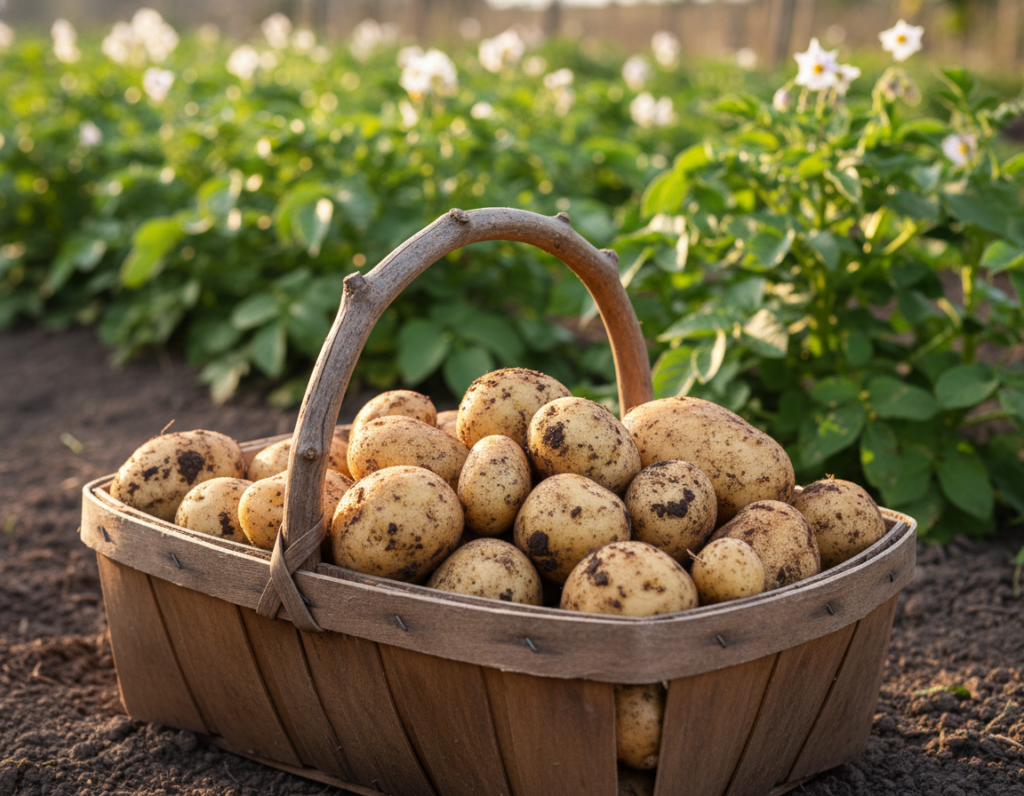
Root vegetables pack a lot of food into underground space. Potatoes produce multiple pounds of food from each plant. Carrots grow closely together and store well for months. Beets give you both edible roots and nutritious greens. Onions take up minimal space and every kitchen uses them regularly.
Tomatoes
Each plant produces 10-20 pounds of fruit across the season. They need support from cages or stakes but reward you with fresh produce all summer.
Winter Squash
One vine generates 8-12 large squash that store for months. These space-hungry plants justify their footprint through long-term food security.
Potatoes
Plant a pound of seed potatoes and harvest 10-20 pounds of food. They grow in ground or raised beds and store excellently in cool conditions.
Master Crop Planning for Maximum Harvests
Learn the exact crop rotation strategies and planting schedules that professional homesteaders use to harvest fresh food every single month.
Don’t plant everything at once. Succession planting means sowing small amounts of crops every few weeks. This strategy extends your harvest period and prevents feast-or-famine situations. Plant lettuce seeds every two weeks for constant salad greens instead of one overwhelming harvest.
Quick-growing crops like radishes, lettuce, and spinach work perfectly for succession planting. These vegetables mature in 30-45 days, allowing multiple plantings per season. When you harvest one planting, the next one is already growing. This approach maximizes your garden’s productivity throughout the year.
Soil Preparation and Building Healthy Garden Beds
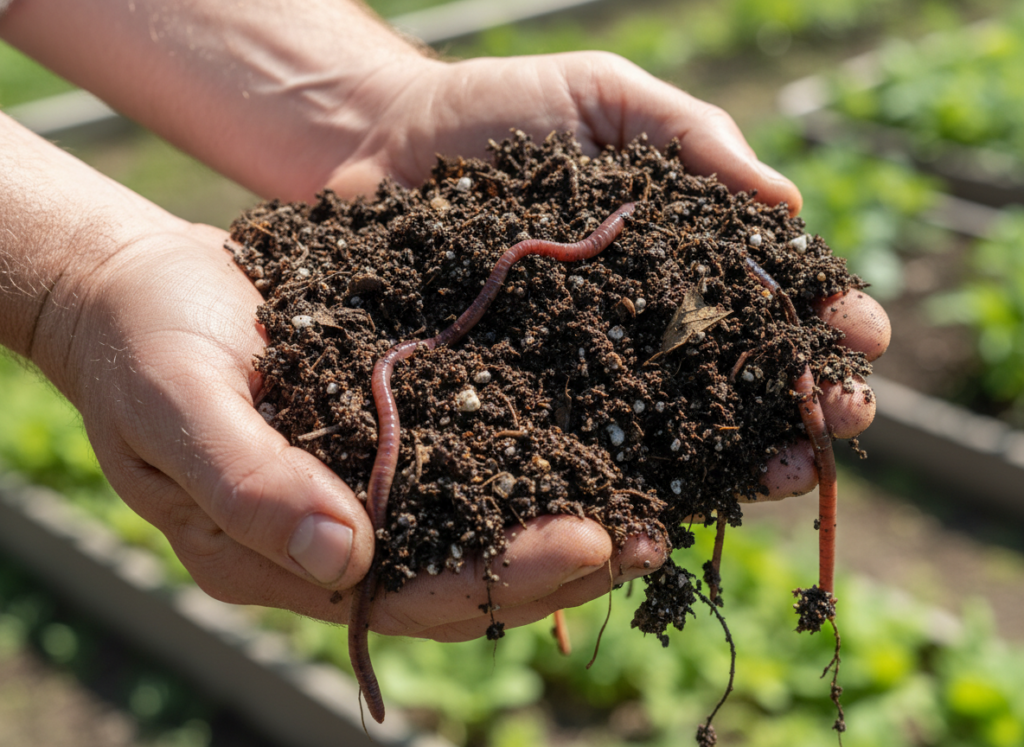
Healthy soil forms the foundation of a productive homestead garden. Your plants derive all their nutrients from soil, so investing time in soil improvement pays dividends for years. Good soil retains moisture while draining excess water and contains abundant organic matter that feeds beneficial microorganisms.
Test your soil before adding amendments. Simple home test kits reveal pH levels and basic nutrient content. Most vegetables prefer slightly acidic soil with a pH between 6.0 and 7.0. Testing prevents guesswork and helps you make informed decisions about what your soil needs.
Building and Amending Garden Beds
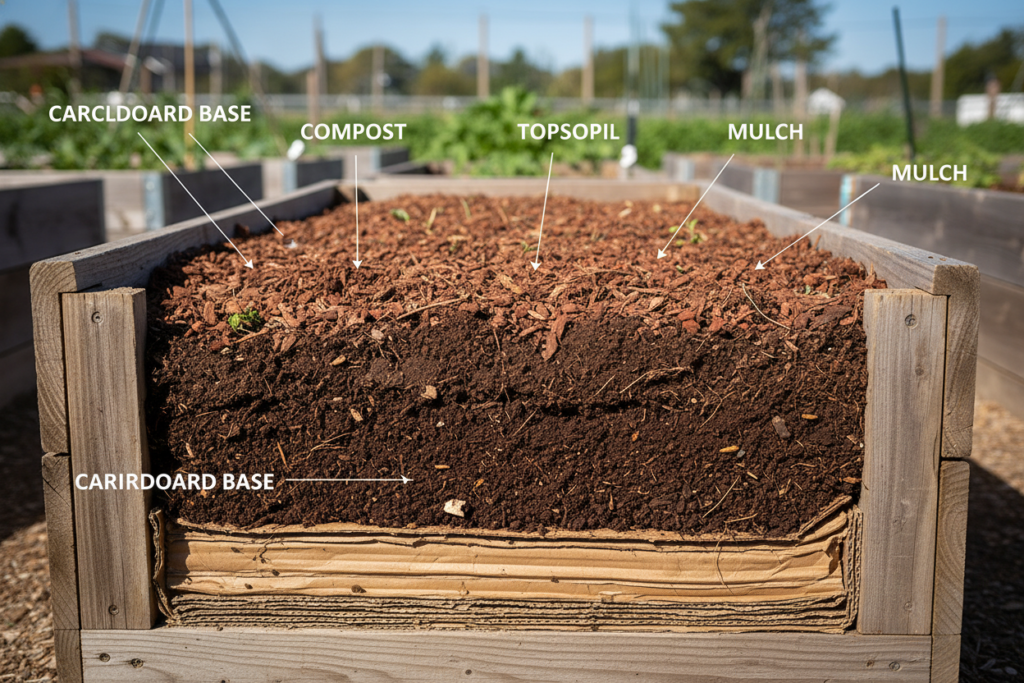
Start with a layer of organic material at the bottom of your bed. Cardboard or newspaper works well to suppress existing grass and weeds. This layer breaks down over time and adds organic matter to your soil. Wet the layer thoroughly so it stays in place.
Add a mixture of topsoil, compost, and other amendments to create your growing medium. A good base recipe combines equal parts topsoil, compost, and peat moss or coconut coir. This mixture provides nutrients, improves drainage, and retains appropriate moisture levels for most vegetables.
Essential Soil Amendments
Compost adds nutrients and improves soil structure throughout the growing season
Aged manure provides nitrogen and organic matter that vegetables need
Peat moss or coconut coir improves water retention in sandy soils
Perlite or vermiculite enhances drainage in heavy clay soils
Lime raises pH in acidic soils over several weeks
Sulfur lowers pH in alkaline soils gradually
Mulching for Moisture and Weed Control
Apply a layer of organic mulch around your plants after they establish. Mulch serves multiple purposes in your homestead garden. It suppresses weeds, retains soil moisture, regulates soil temperature, and adds organic matter as it decomposes. These benefits reduce your maintenance workload significantly.
Straw makes excellent mulch for vegetable gardens. Apply it 2-3 inches deep around plants but keep it away from stems to prevent rot. Wood chips work well in pathways but break down slowly, making them less ideal around annual vegetables. Grass clippings provide nitrogen as they decompose but apply them in thin layers to prevent matting.
Seasonal Planning and Crop Rotation Strategies
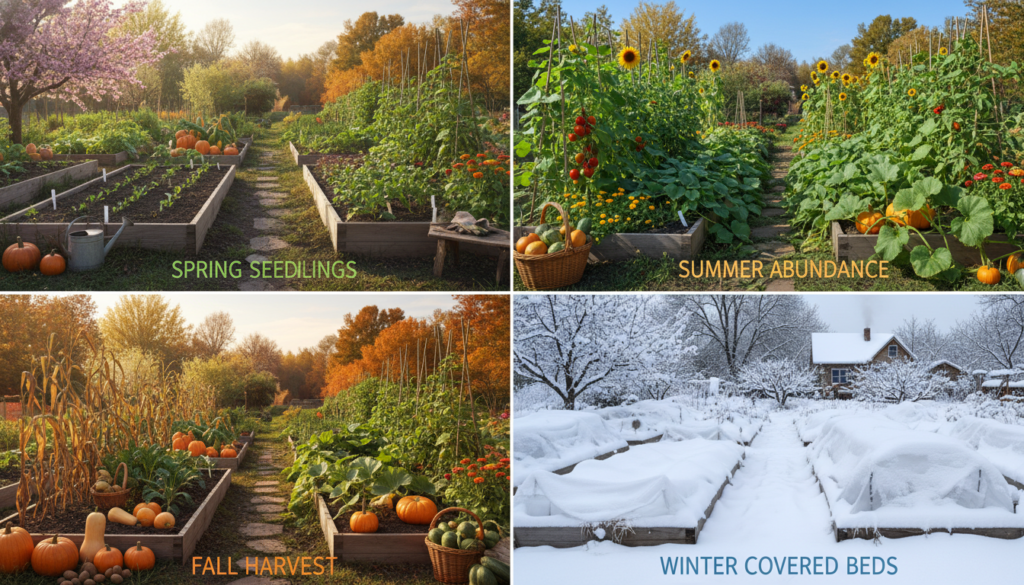
Understanding seasons transforms your homestead garden from a summer-only project into a year-round food source. Different crops thrive in different temperatures and day lengths. Planning your garden around these natural cycles maximizes productivity and extends your harvest season significantly.
Cool-season crops prefer temperatures between 40-70°F and tolerate frost. These include lettuce, peas, carrots, beets, and many greens. Plant them in early spring and again in late summer for fall harvests. Warm-season crops like tomatoes, squash, corn, and beans need temperatures above 50°F and produce during summer months.
Spring Garden Planning and Planting
Spring arrives at different times across the country. Your last frost date determines when to plant warm-season crops outdoors. Find this date through local extension offices or online resources. Count backward from this date when planning indoor seed starting for crops like tomatoes that need 6-8 weeks of growth before transplanting.
Start cool-season crops as soon as soil becomes workable in spring. Peas, lettuce, and radishes handle cold soil temperatures well. These crops grow quickly and finish before summer heat arrives. Plant them 4-6 weeks before your last frost date for the earliest possible harvests from your homestead garden.
Spring Planting Timeline
8 weeks before last frost: Start tomato and pepper seeds indoors
4 weeks before: Direct sow carrots, beets, radishes
2 weeks before: Plant onion sets and early potatoes
Last frost date: Transplant tomatoes with protection
2 weeks after: Plant beans, corn, squash directly
Summer Maintenance Focus
Water deeply 1-2 times weekly during dry periods
Harvest crops regularly to encourage continued production
Monitor for pests and address problems early
Add mulch to conserve moisture and suppress weeds
Start second succession plantings of quick crops
Begin planning fall garden in late summer
Fall Growing Season
10 weeks before first frost: Plant fall broccoli and cabbage
8 weeks before: Direct sow carrots, beets for fall harvest
6 weeks before: Plant lettuce, spinach, kale outdoors
4 weeks before: Sow quick radishes, turnips
First frost: Harvest tender crops, protect hardy ones
After frost: Continue harvesting cold-hardy vegetables
Implementing Crop Rotation for Soil Health
Crop rotation prevents soil depletion and reduces pest problems in your homestead garden. Different plant families use different nutrients and attract different pests. Moving crops to new locations each year maintains soil fertility and breaks pest life cycles naturally.
Divide your garden into three or four sections. Rotate plant families through these sections on a schedule. For example, grow tomatoes and peppers in section one the first year, beans and peas the second year, and root vegetables the third year. This system ensures no plant family occupies the same space more than once every three years.
Never Run Out of Fresh Vegetables Again
Get the proven four-season planting system that produces fresh food 365 days a year, even in cold climates.
How you plant seeds and transplants directly affects their growth and productivity. Proper planting depth, spacing, and technique give your crops the best start possible. Small mistakes during planting can reduce yields or cause complete crop failure, while good practices set the stage for abundant harvests.
Most seed packets provide specific planting depth and spacing information. Follow these guidelines carefully. Seeds planted too deep may not emerge, while those planted too shallow dry out quickly. Proper spacing prevents overcrowding and ensures each plant receives adequate light, water, and nutrients.
Direct Seeding Vegetables
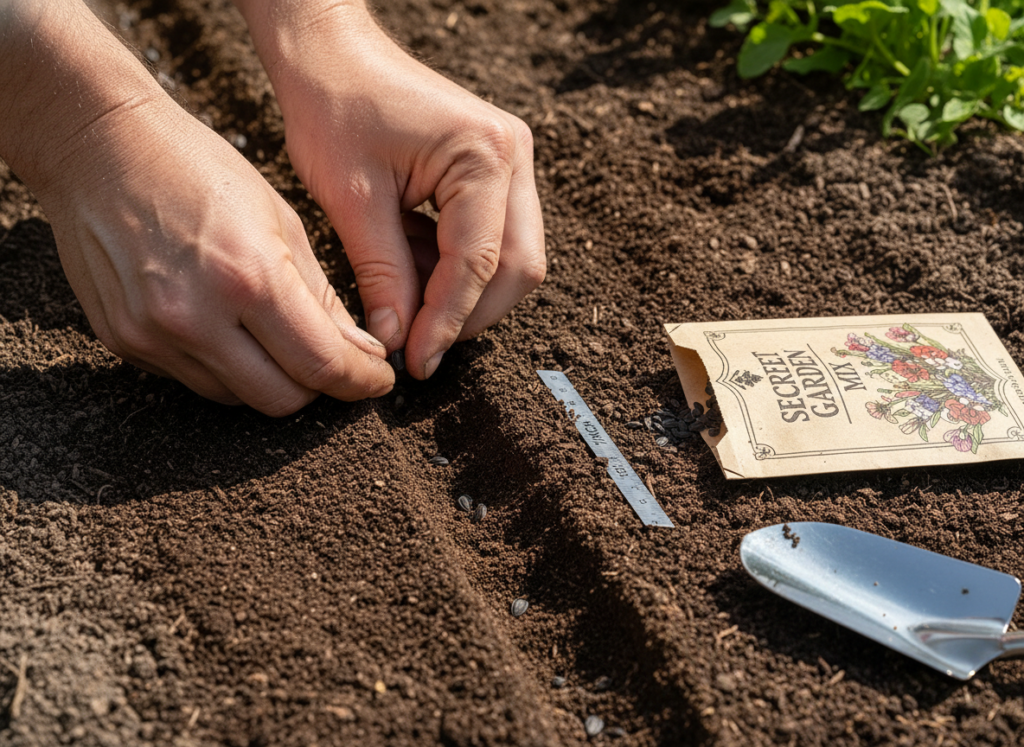
Some crops grow best when sown directly in garden beds. Carrots, beans, peas, corn, and squash all transplant poorly and should be direct seeded. Prepare the soil by creating a smooth, fine surface free of large clumps. This helps tiny seeds make good contact with soil moisture.
Create furrows at the recommended depth using your finger, a tool handle, or a hoe. Space seeds according to packet directions. Cover seeds with soil and firm gently to ensure good seed-to-soil contact. Water thoroughly with a gentle spray to avoid washing seeds away. Keep soil moist until seeds germinate.
Transplanting Seedlings Successfully
Transplants allow you to start warm-season crops indoors while frost still threatens. This extends your growing season and gives plants a head start. Tomatoes, peppers, squash, and many other vegetables benefit from transplanting. Purchase healthy transplants from nurseries or start your own seeds indoors 6-8 weeks before planting time.
Harden off transplants before moving them to the garden permanently. This process gradually acclimates indoor-grown plants to outdoor conditions. Place transplants outside for a few hours daily, increasing exposure over 7-10 days. This prevents shock and helps plants transition successfully to their permanent home in your homestead garden.
Transplanting Best Practices
Water transplants thoroughly several hours before planting to reduce stress
Choose an overcast day or plant in evening to minimize shock
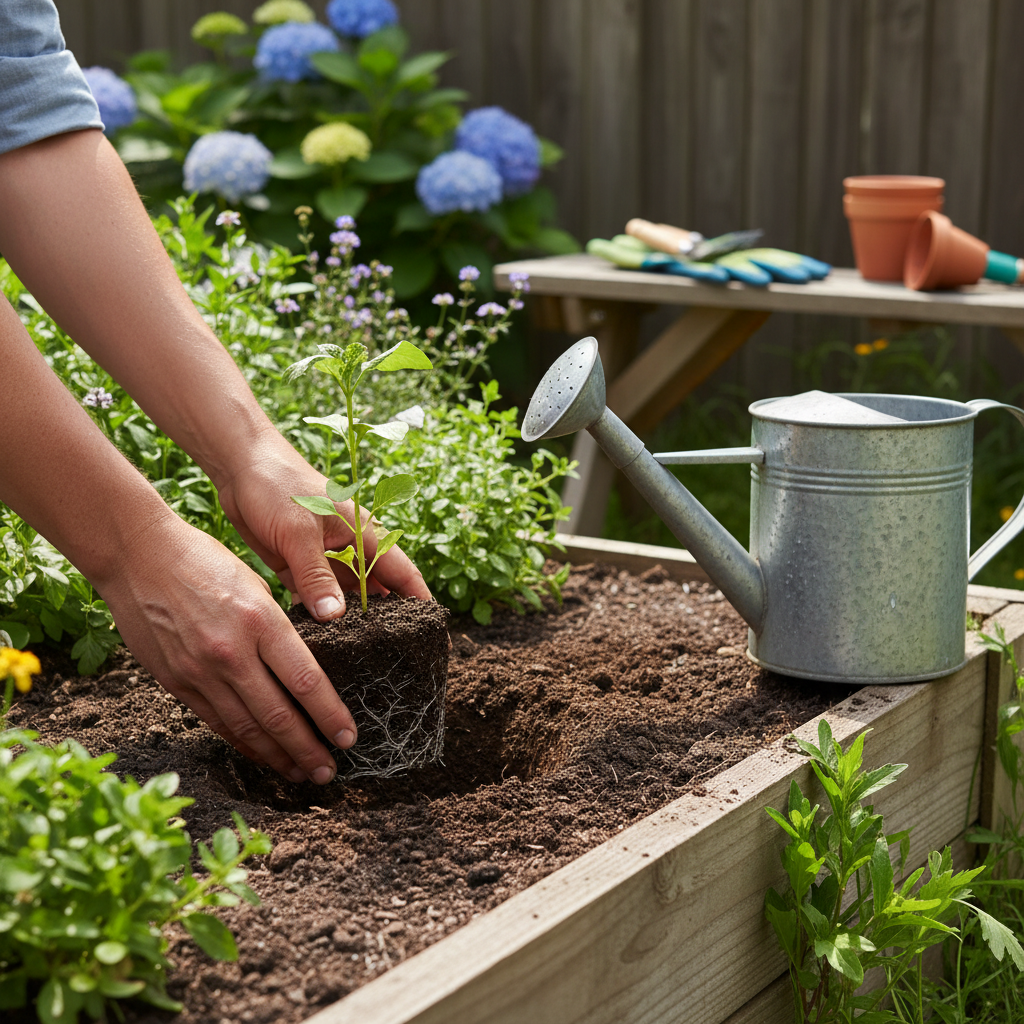
Dig holes slightly larger than root balls for easy placement
Set plants at the same depth they grew in containers
Firm soil around roots to eliminate air pockets
Water immediately after planting to settle soil
Provide shade for first few days if weather is hot
Watering Strategies and Irrigation Systems
Water management makes or breaks your homestead garden success. Too little water stresses plants and reduces yields. Too much water drowns roots and encourages disease. Understanding proper watering techniques helps your crops thrive while conserving this precious resource.
Most vegetables need about one inch of water per week, including rainfall. Sandy soils require more frequent watering than clay soils because they drain quickly. Check soil moisture by inserting your finger 2-3 inches deep. If soil feels dry at that depth, water thoroughly until moisture reaches deep into the root zone.
Hand Watering vs. Irrigation Systems
Hand watering works well for small gardens. It allows you to monitor each plant closely and adjust water amounts for individual needs. Use a wand with a soft spray to avoid damaging plants or washing away soil. Water at the base of plants rather than overhead to reduce disease problems and water waste.
Drip irrigation delivers water directly to plant roots through a network of tubes and emitters. This system conserves water, reduces disease, and saves time. Set up drip lines at planting time and connect them to a timer for automatic watering. The initial investment pays off through reduced water bills and healthier plants.
Drip Irrigation Benefits
Delivers water directly to root zones with minimal waste
Reduces disease by keeping foliage dry
Saves significant time with automated systems
Works effectively on slopes and uneven terrain
Allows precise control over water amounts
Reduces weed growth between rows
Drip System Considerations
Requires upfront investment in materials and setup
Emitters can clog from minerals or debris
System needs winterization in cold climates
Difficult to see if system is working properly
May need adjustments as plants grow
Watering Times and Frequency
Water your homestead garden in early morning when possible. This timing allows foliage to dry before evening, reducing disease risk. Morning watering also ensures plants have adequate moisture to handle afternoon heat. Avoid watering during the hottest part of the day when evaporation rates peak.
Deep, infrequent watering encourages deeper root growth than frequent shallow watering. Apply enough water to moisten soil 6-8 inches deep. This may require running sprinklers or drip systems for several hours. Check soil moisture at different depths to confirm water penetrates adequately.
Natural Pest Control and Disease Prevention
Every homestead garden faces pest and disease challenges. The key is catching problems early and addressing them with the least toxic methods first. Healthy plants resist pests and diseases better than stressed plants, so proper watering, fertilizing, and spacing form your first line of defense.
Check plants regularly for signs of trouble. Look at leaf undersides where many pests hide. Watch for chewed leaves, discolored spots, wilting, or stunted growth. Early detection allows you to remove affected leaves or hand-pick pests before populations explode. A few minutes of daily observation prevents major problems.
Common Garden Pests and Solutions
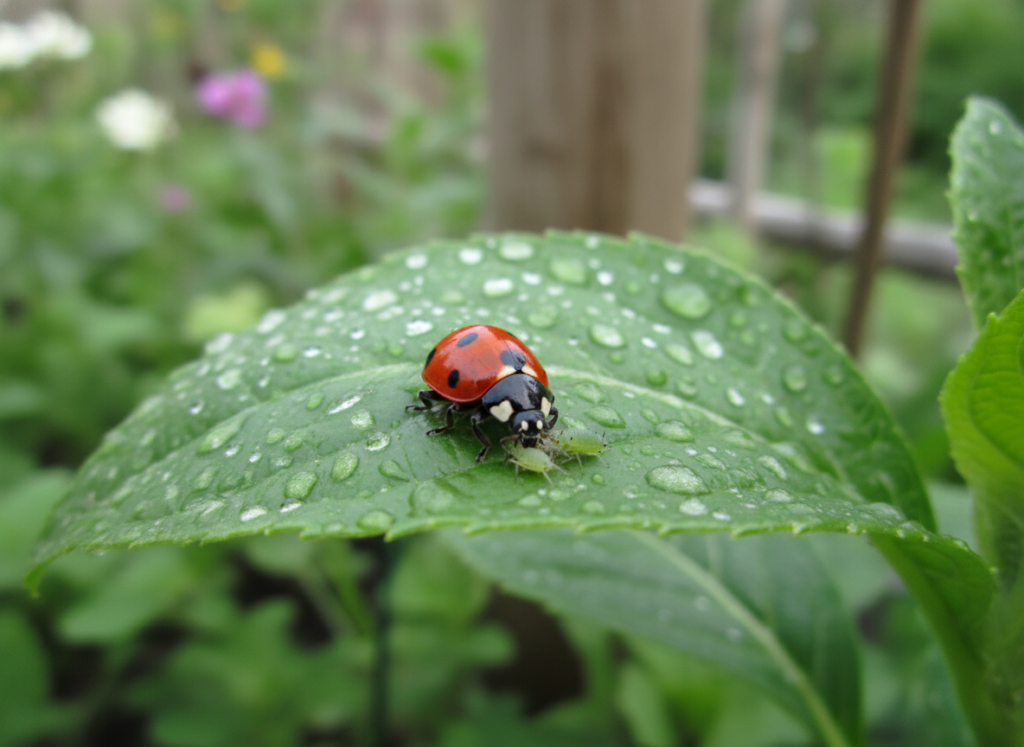
Aphids cluster on new growth and suck plant juices. Spray them off with a strong stream of water or use insecticidal soap for severe infestations. Encourage beneficial insects like ladybugs that eat aphids naturally. These predators provide ongoing control without chemicals in your homestead garden.
Caterpillars chew holes in leaves and fruits. Hand-pick them in small gardens. For larger areas, use Bacillus thuringiensis (Bt), a natural bacteria that kills caterpillars but doesn’t harm beneficial insects. Apply Bt in late afternoon as it breaks down in sunlight.
Row Covers
Lightweight fabric placed over crops physically blocks flying insects from reaching plants. Works excellently for preventing cabbage worms and squash bugs. Remove when plants flower and need pollination.
Companion Planting
Certain plants repel pests when grown together. Marigolds deter many insects. Basil planted near tomatoes may reduce hornworms. These relationships create natural pest control systems in mixed plantings.
Crop Rotation
Moving crops annually breaks pest life cycles. Many pests overwinter in soil and attack the same crop family the next spring. Rotation prevents pest buildup and reduces disease in your homestead garden beds over time.
Disease Prevention Strategies
Most plant diseases thrive in wet conditions. Water at soil level rather than overhead to keep foliage dry. Space plants properly to ensure good air circulation. Remove diseased plant material immediately and dispose of it away from your garden to prevent disease spread.
Choose disease-resistant varieties when available. Seed catalogs indicate resistance with letters like VFN (verticillium wilt, fusarium wilt, nematodes). These varieties cost the same as susceptible ones but save frustration and lost harvests. Building disease resistance into your crop selection simplifies long-term garden management.
Grow Healthier Gardens with Less Work
Access expert strategies for preventing pests and diseases naturally, plus get detailed organic gardening techniques that eliminate toxic chemicals from your food production.
Knowing when and how to harvest crops ensures peak flavor and nutrition. Different vegetables have different harvest indicators. Some crops taste best when young and tender, while others need full maturity. Harvesting at the right time also encourages continued production in many vegetables.
Most vegetables taste best when harvested in the morning after dew dries but before afternoon heat. This timing maximizes sugar content and crispness. Bring a sharp knife or pruning shears to make clean cuts that don’t damage plants. Handle produce gently to prevent bruising that shortens storage life.
Vegetable-Specific Harvest Guidelines
Tomatoes develop full flavor when they ripen on the vine. Pick them when color is uniform and fruit gives slightly to gentle pressure. Green tomatoes ripen indoors if frost threatens. Harvest regularly to encourage plants to set more fruit throughout the season in your homestead garden.
Root vegetables like carrots, beets, and potatoes can stay in the ground longer than you might think. Carrots and beets actually sweeten after light frosts. Potatoes are ready when plants die back completely. Dig carefully to avoid damaging roots. Cure potatoes in a dark location for two weeks before long-term storage.
Vegetable
Harvest Timing
Storage Method
Storage Duration
Tomatoes
When fully colored and slightly soft
Room temperature for 1 week, then refrigerate
1-2 weeks fresh
Carrots
When roots reach desired size
Cold storage in damp sand or sawdust
4-6 months
Potatoes
2 weeks after plant dies back
Dark, cool location after curing
6-8 months
Winter Squash
When skin cannot be dented with fingernail
Cool, dry location with good ventilation
3-6 months
Onions
When tops fall over and begin drying
Cure for 2 weeks, store in mesh bags
4-8 months
Beans
When pods are firm but before seeds bulge
Refrigerate in plastic bags
1 week fresh
Preservation Methods for Long-Term Storage
Extend your homestead garden harvest through preservation. Canning preserves high-acid foods like tomatoes safely with a water bath canner. Low-acid vegetables require pressure canning for safety. Follow tested recipes exactly to prevent food safety issues. Properly canned foods last a year or more in your pantry.
Freezing preserves flavor and nutrition well for most vegetables. Blanch vegetables briefly in boiling water before freezing to stop enzyme activity. Cool immediately in ice water, drain well, and package in freezer bags with air removed. Label packages with contents and date for easy identification later.
Root cellaring stores certain crops without processing. Winter squash, potatoes, carrots, and beets all keep for months in cool, humid conditions. An unheated basement or garage often provides suitable conditions. Check stored produce regularly and remove any showing signs of spoilage to prevent spread.
Extending Your Growing Season for More Harvests
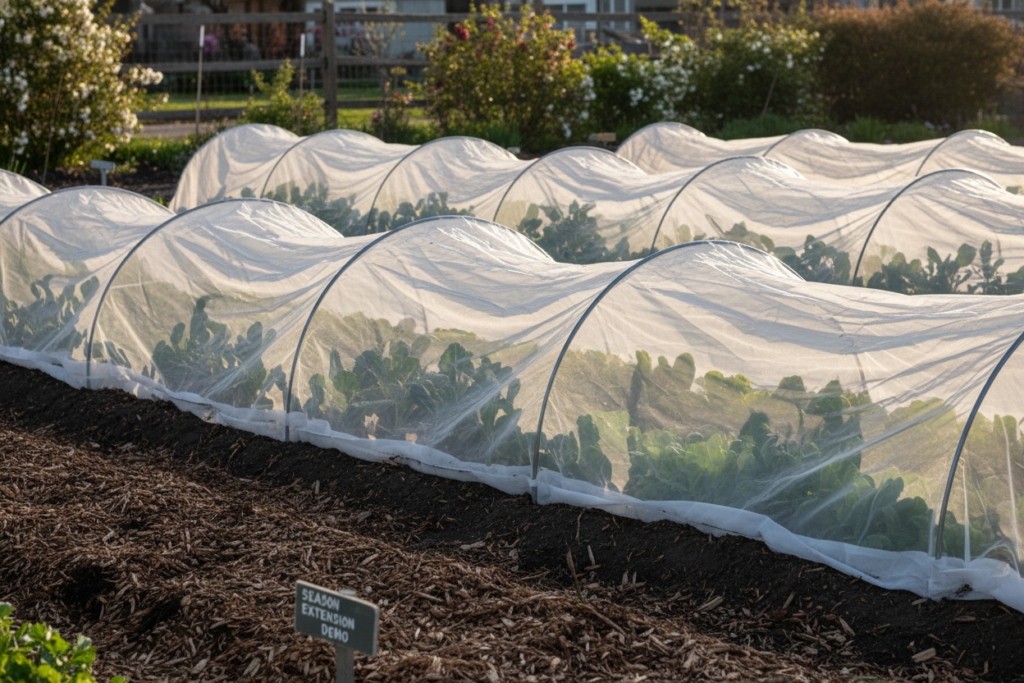
The growing season doesn’t have to end with the first frost. Simple season extension techniques add weeks or months to your productive period. These methods protect crops from cold temperatures and create microclimates that allow tender plants to thrive longer.
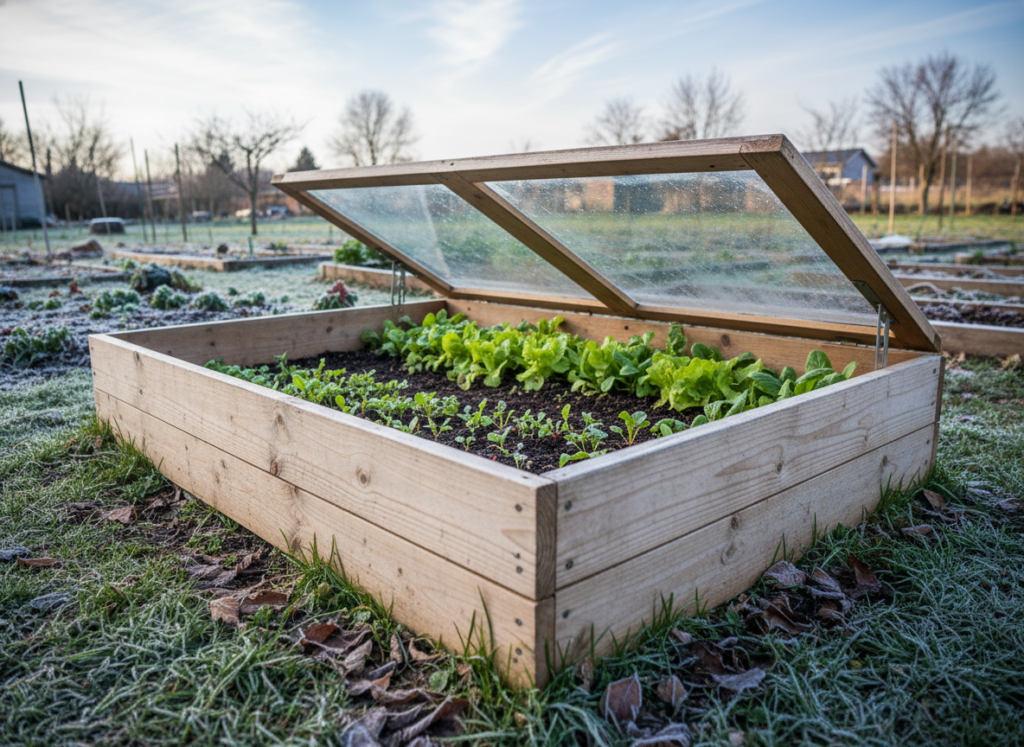
Cold frames are bottomless boxes with transparent tops that trap solar heat. Place them over beds of cold-hardy crops in fall and spring. The enclosed space stays 5-10 degrees warmer than outside air, protecting plants from frost. Vent frames on warm days to prevent overheating.
Using Row Covers and Cloches
Row covers made from spun fabric float directly on plants or rest on wire hoops. They protect crops from light frosts while allowing light and water through. Cover fall crops before the first frost and leave covers in place throughout fall. Many greens continue growing slowly under covers even in winter.
Individual cloches protect single plants from cold and wind. Make simple cloches from gallon milk jugs with bottoms removed. Place them over transplants in early spring to create warm microclimates. Remove caps on sunny days for ventilation. Wall-o-water products surround plants with water-filled tubes that release heat at night.
Season Extension Benefits
Harvest fresh salad greens through early winter months
Start warm-season crops 2-4 weeks earlier in spring
Protect fall crops from first several frosts
Grow cool-season vegetables during summer heat with shade cloth
Reduce watering needs through microclimate humidity
Increase total annual yield from same garden space
Building a Simple Hoop House
Hoop houses are unheated greenhouses that extend seasons dramatically. Build a simple structure using PVC pipe bent into hoops and covered with greenhouse plastic. Even an unheated hoop house protects plants from temperatures 10-20 degrees colder than outside air would kill them.
A 10×20 foot hoop house provides substantial growing space for a homestead garden. Grow cold-hardy crops like kale, spinach, and lettuce through winter in many climates. In spring, start transplants weeks before outdoor planting time. The structure pays for itself quickly through increased production and earlier harvests.
Seed Saving for Self-Sufficient Gardening
Saving seeds from your harvest creates a sustainable, self-sufficient homestead garden cycle. You eliminate annual seed purchases and develop locally adapted varieties that perform well in your specific conditions. Not all vegetables work well for seed saving, but many common crops produce viable seeds easily.
Start with open-pollinated or heirloom varieties. These produce seeds that grow plants identical to parents. Hybrid varieties don’t breed true and produce unpredictable offspring. Check seed catalogs for “OP” (open-pollinated) designation. Focus on easy crops like beans, peas, tomatoes, and lettuce for your first seed-saving attempts.
Basic Seed Saving Techniques
Let seed crops mature completely before harvesting. Beans and peas need dry pods that rattle. Tomato seeds require full fruit ripeness plus a fermentation process. Lettuce and other greens bolt to produce flowers and eventually seeds. This takes space and time, so dedicate specific plants for seed production.
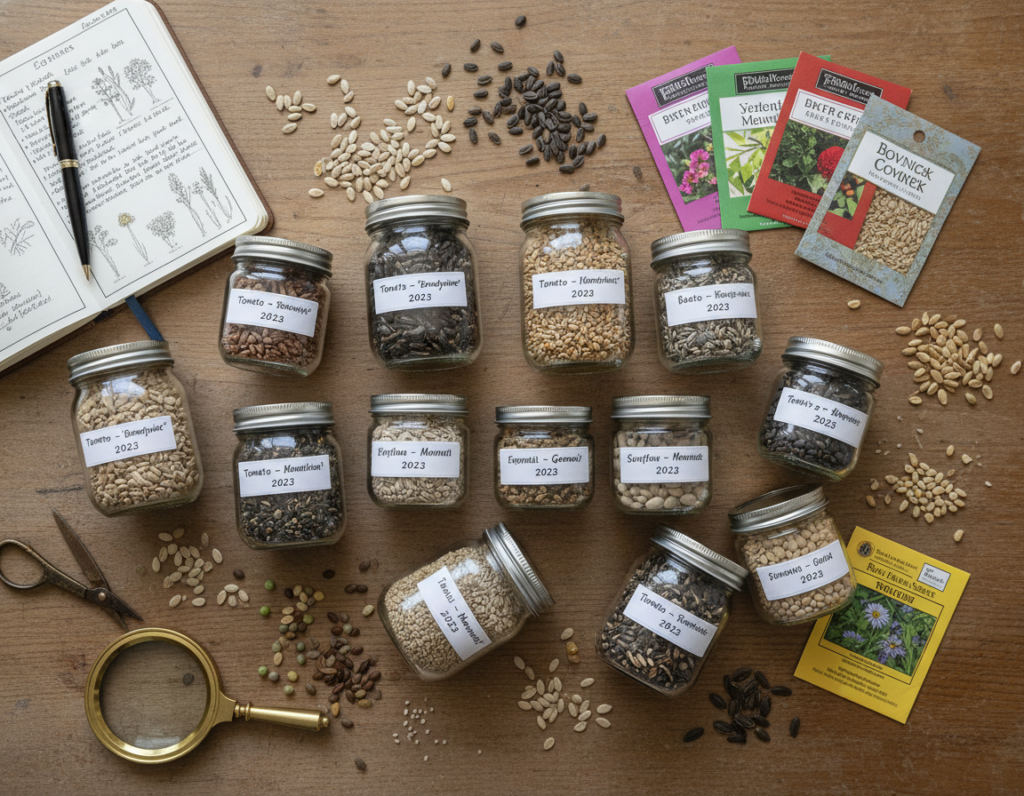
Clean and dry seeds thoroughly before storage. Moisture causes mold and reduces germination rates. Spread seeds on paper towels or screens in a warm, dry location for 1-2 weeks. Store completely dry seeds in paper envelopes or glass jars in a cool, dark place. Label containers with variety and year collected.
Easy Seeds to Save
Beans produce abundant seeds in dry pods at season’s end
Peas save identically to beans with similar ease
Tomatoes require fermentation but save reliably for beginners
Lettuce self-sows freely or collect from seed heads
Peppers dry easily and store for years
Radishes bolt quickly and produce lots of seed pods
Challenging Seeds
Corn requires isolation to prevent cross-pollination with neighbors
Squash family cross-pollinates easily, producing mixed results
Carrots are biennials, requiring two years to produce seed
Beets also need two seasons for seed production
Onions produce seeds the second year after overwintering
Brassicas cross-pollinate and need isolation or caging
Building a Seed Library
Develop your own collection of locally adapted seeds over time. Save seeds from the best-performing plants each year. This selection process creates varieties suited to your specific climate, soil, and growing conditions. After a few years, your seeds may outperform commercial varieties in your location.
Store seeds in a cool, dry, dark location for maximum longevity. Most seeds remain viable for 2-5 years when properly stored. Some, like onions, lose viability quickly. Others, like tomatoes, last a decade or more. Test germination rates by sprouting a few seeds before each planting season to ensure viability.
Building Your Successful Homestead Garden Future
Creating a productive homestead garden represents a journey of continuous learning and improvement. Each season teaches new lessons about your land, climate, and the crops that thrive in your conditions. Start with manageable goals and expand your knowledge and garden size as confidence grows.
The techniques covered in this guide provide a solid foundation for successful food production. Remember that perfect gardens don’t exist. Every gardener faces challenges with weather, pests, and crop failures. The difference between successful and struggling gardens often lies in persistence and willingness to learn from mistakes.
Your homestead garden becomes more productive each year as you build soil health, develop skills, and understand your microclimate. The investment of time and effort pays dividends through fresh, nutritious food, reduced grocery bills, and the satisfaction of growing your own sustenance. Small steps taken consistently create lasting results that transform your relationship with food.
Start Growing Your Food Independence Today
Join thousands of successful homesteaders who have transformed their lives through sustainable food production. Get instant access to comprehensive growing guides, seasonal planting calendars, and expert techniques that guarantee results.
The skills you develop through homestead gardening extend far beyond growing food. You’ll gain understanding of natural cycles, develop problem-solving abilities, and connect more deeply with the seasons and your local environment. These benefits enrich life in ways that transcend the practical value of the vegetables you harvest.
Begin your homestead garden journey with a single raised bed or a small plot. Focus on a few reliable crops that your family enjoys eating. Success with a small space builds confidence and skills that allow expansion in future seasons. The most important step is simply starting, even if conditions aren’t perfect.
Your gut health affects everything. From energy levels to immune function, digestive balance shapes how you feel every single day. Millions of people struggle with bloating, irregular digestion, and discomfort that never seems to go away.This Website contains affiliate links. That means I may earn a small commission if you purchase through my links, at…
Finding the right snacks can make or break your weight loss journey. Many people struggle with hunger between meals. They reach for convenient options that sabotage their progress. The good news is that healthy snacks for weight losing exist in abundance.This Website contains affiliate links. That means I may earn a small commission if you…
Want to give your boyfriend a birthday gift that feels personal and thoughtful without spending hours on complicated crafts? You’re in the right place! These DIY birthday gifts for boyfriend options require minimal effort but deliver maximum impact. The secret is starting with ready-made items that you can easily personalize to create something that looks…
Your brain deserves the best care possible. Many people search for ways to increase brain power without supplements because they want natural solutions that work with their body’s systems. The good news is that research shows numerous effective methods to enhance cognitive function naturally.This Website contains affiliate links. That means I may earn a small…
Finding the perfect birthday gifts for best friend can feel like a delightful challenge. After all, this is the person who knows all your secrets, has been there through your highs and lows, and deserves something as special as your friendship. Whether you’re shopping for your childhood bestie or the friend who became family later…
Gift baskets are the perfect way to show someone you care with a thoughtfully curated collection of items tailored to their interests. Whether you’re celebrating a birthday, holiday, housewarming, or just want to brighten someone’s day, a personalized gift basket makes a memorable impression. In this comprehensive guide, we’ll explore 30 creative gift basket ideas…