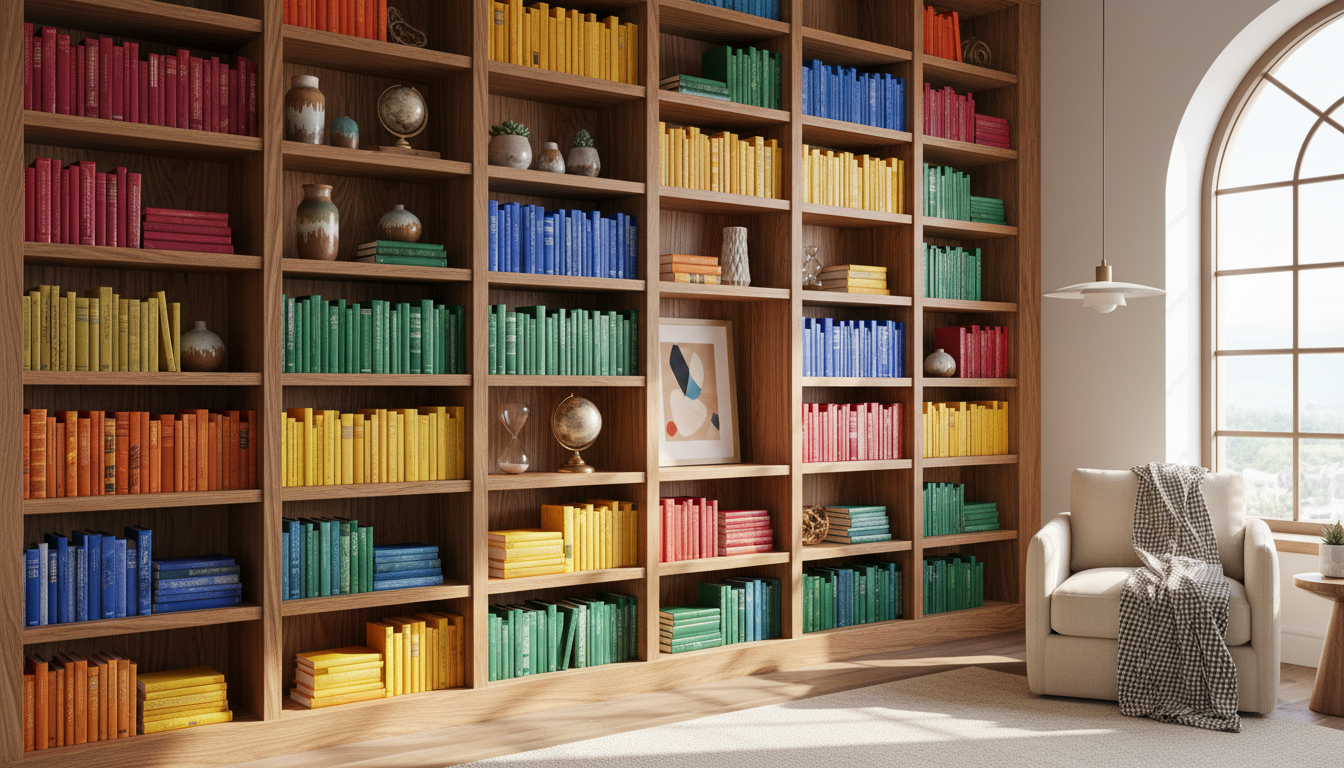
Building your own bookshelf brings together creativity and practicality in one rewarding project. Custom shelving fits your exact space requirements while costing a fraction of store-bought furniture. Whether you need storage for a small apartment or want to fill an entire wall, diy bookshelf plans give you control over every detail.
This Website contains affiliate links. That means I may earn a small commission if you purchase through my links, at no extra cost to you.
This guide walks you through everything needed to create sturdy, attractive bookshelves. You’ll discover which materials work best and which tools make the job easier. The right plan transforms a weekend into something you’ll admire for years.
Why Build Your Own Bookcase Instead of Buying
Store-bought bookshelves rarely fit perfectly into your available space. Standard sizes leave awkward gaps or don’t reach the ceiling. When you build a bookcase yourself, you create exactly what your home needs.
Cost savings make DIY projects attractive to many homeowners. Quality lumber and basic hardware cost far less than finished furniture from retailers. A bookshelf project that might sell for $400 in stores can be built for under $100 in materials.
Customization extends beyond dimensions. You choose the wood type, finish color, and shelf spacing. Adjustable shelves accommodate tall art books or small paperbacks. Your bookshelf reflects your style rather than mass-market trends.
Financial Benefits
Material costs 60-75% less than retail furniture
No delivery fees or assembly charges
Reuse leftover lumber for future projects
Increase home value with built-in features
Personal Advantages
Perfect fit for unusual wall spaces
Match existing woodwork and decor
Learn valuable woodworking skills
Pride in handcrafted furniture
Building furniture strengthens problem-solving abilities. Each project teaches new techniques that apply to future work. What starts as one bookshelf often becomes a gateway to more ambitious woodworking.
Ready to Build Your Perfect Bookshelf?
Skip the guesswork and get professional blueprints with exact measurements, detailed cut lists, and step-by-step instructions. Thousands of DIY enthusiasts have used these plans to create stunning bookshelves on their first try.
Selecting the Right Bookshelf Design for Your Space
Your available space determines which bookshelf design works best. Measure the wall area carefully, noting any obstacles like outlets, vents, or windows. Standard bookshelves stand 72 to 84 inches tall, but custom heights maximize storage.
Simple box construction suits beginners and provides plenty of storage. This style uses basic joinery and requires fewer specialized tools. The straightforward design still looks professional when sanded smooth and finished properly.
Traditional bookcase styles feature decorative elements like crown molding or face frames. These details add visual interest but require more advanced techniques. Start with a simpler plan and add embellishments as your skills grow.
Basic Box Design
Perfect for beginners, this design uses simple butt joints and wood screws. The clean lines work in modern spaces and take less time to complete.
Weekend completion time
Minimal tool requirements
Beginner-friendly construction
Classic Bookcase
Features traditional face frames and decorative trim. This timeless style suits formal rooms and showcases woodworking skills.
Elegant finished appearance
Stronger structural joints
Intermediate skill level
Built-In Style
Attaches directly to walls for a custom look. This approach maximizes storage while appearing part of the architecture.
Space-efficient design
Professional appearance
Requires wall mounting
Shelf depth matters for both function and stability. Standard depth runs 10 to 12 inches for books. Deeper shelves hold larger items but require stronger materials to prevent sagging. Consider what you’ll store before cutting wood.
Height between shelves needs planning too. Standard spacing of 10 to 12 inches fits most books comfortably. Adjustable shelves offer flexibility for changing needs. Plan for at least one taller section to accommodate oversized volumes.
Essential Tools and Materials for Building a Bookshelf
Quality materials form the foundation of any sturdy bookshelf. Pine boards offer an economical choice that’s easy to work with. Plywood provides strength and stability for larger projects. Each material has specific advantages depending on your design.
A circular saw cuts boards to length quickly and accurately. This versatile tool handles both rip cuts and crosscuts. Safety equipment like eye protection and hearing protection isn’t optional when using power tools.
Core Tools Required
Circular saw or miter saw for cutting lumber
Power drill with various bit sizes
Tape measure and carpenter’s square
Clamps to hold pieces during assembly
Sandpaper in multiple grits (80, 120, 220)
Level for ensuring straight installation
Material Shopping List
Plywood sheets for sides and shelves
Pine boards for face frames and trim
Wood screws in assorted lengths
Wood glue for stronger joints
Finishing nails for trim work
Sandpaper and wood filler
Paint or stain for final finish
Plywood thickness affects shelf strength significantly. Three-quarter inch plywood resists sagging better than thinner options. The back panel can use thinner material since it mainly provides stability rather than bearing weight.
Wood glue creates bonds stronger than the wood itself. Apply it to all joints before inserting screws. This extra step takes minutes but dramatically increases the finished bookcase’s durability.
Pre-drilling holes prevents wood from splitting when driving screws. Use a drill bit slightly smaller than the screw diameter. This simple technique saves materials and frustration, especially near board ends.
Stop Wasting Time and Materials on Trial and Error
Professional diy bookshelf plans include complete materials lists with exact quantities, recommended brands, and money-saving tips. Get precise cutting diagrams that minimize waste and detailed assembly instructions that prevent costly mistakes.
Careful planning prevents mistakes that waste materials. Sketch your bookcase with all dimensions labeled clearly. Double-check measurements before making any cuts. The old carpenter’s rule applies: measure twice, cut once.
Start construction with the box frame. Cut two side pieces and top and bottom shelves to create the basic structure. These four pieces form the foundation everything else attaches to.
Cut all pieces according to your plan’s cut list
Sand all surfaces before assembly begins
Drill pilot holes for screws in marked locations
Apply wood glue to joints before fastening
Attach bottom shelf between the two side pieces
Add top shelf to complete the basic box
Install back panel for stability and squareness
Add remaining shelves at planned heights
Attach any face frames or decorative trim
Fill screw holes and imperfections with wood filler
Sand entire piece smooth, starting with coarse grit
Apply finish according to product instructions
The back panel serves multiple purposes beyond appearance. It keeps the bookcase square and prevents racking. Quarter-inch plywood works well for this component, saving money without sacrificing function.
Adjustable shelves add versatility to your finished bookcase. Drill evenly-spaced holes along the interior sides. Shelf pins inserted in these holes support shelves that move up or down as needs change.
Corner clamps help maintain right angles during assembly. These inexpensive tools ensure your bookshelf goes together square. A square bookcase looks better and functions properly when installed.
Face frames cover plywood edges and provide a polished look. These narrow strips of solid wood attach to the front edges. Miter corners for the most professional appearance, though butt joints work for simpler projects.
Finishing Techniques That Make Your Bookshelf Shine
Thorough sanding creates the foundation for any good finish. Start with 80-grit sandpaper to remove major imperfections. Progress through 120-grit and finish with 220-grit for smooth surfaces that feel good to touch.
Wood filler hides screw holes and small gaps. Apply it with a putty knife and let it dry completely. Sand filled areas smooth so they blend invisibly with surrounding wood.
Stain enhances natural wood grain while adding color. Test your chosen stain on scrap pieces first. Apply with a brush or rag, following the wood grain direction. Wipe off excess before it dries for even color.
Paint Finishing Steps
Apply primer to all surfaces
Let primer dry per manufacturer timing
Lightly sand with 220-grit paper
Apply first coat of paint
Sand lightly between coats
Apply final coat for coverage
Stain and Seal Process
Apply pre-stain wood conditioner
Brush on stain following grain
Wipe excess after 5-10 minutes
Allow complete drying overnight
Apply polyurethane topcoat
Light sand between poly coats
Polyurethane protects wood from moisture and daily wear. Choose water-based formulas for low odor and easy cleanup. Oil-based versions provide slightly more durable protection but take longer to dry.
Multiple thin coats produce better results than one thick application. Let each coat dry completely before adding the next. Light sanding between coats creates better adhesion and a smoother final surface.
Allow adequate drying time before loading your new bookshelf with books. Finishes need days to cure fully even when dry to touch. Patience at this final step protects all your hard work.
Professional Tips for a Perfect DIY Bookshelf
Planning shelf spacing around your book collection makes sense. Measure your tallest books before finalizing dimensions. Leave extra space above books for easy removal and air circulation.
Shelf support becomes critical for longer spans. Shelves wider than 32 inches benefit from center support. A simple vertical divider prevents sagging while adding visual interest to the design.
Pro Tip: Install wall anchors if your bookshelf will hold heavy items. A fully loaded bookcase weighs hundreds of pounds. Secure attachment to wall studs prevents tipping accidents, especially in homes with children.
Cabinet-grade plywood costs more but delivers superior results. The smooth faces require less sanding and look better under clear finishes. Bargain plywood often has voids and rough surfaces that create more work.
Common Mistakes to Avoid
Skipping the planning phase
Using incorrect screw lengths
Not pre-drilling pilot holes
Rushing through sanding steps
Applying finish too thick
Time-Saving Shortcuts
Have lumber yard make major cuts
Use pocket hole jigs for hidden joinery
Pre-finish pieces before assembly
Organize all materials before starting
Work in production batches
Quality Upgrades Worth Making
Invest in sharp saw blades
Use quality brushes for finishing
Buy hardwood for visible edges
Add LED strip lighting
Install glass doors on sections
Test your finish on scrap wood that matches your project. This reveals how stain colors look on your specific lumber. Making adjustments on scrap costs nothing compared to refinishing completed work.
Work in a well-ventilated area when applying finishes. Open windows and use fans to move air. Many finishing products release fumes that require proper ventilation for safety and proper drying.
Build Beautiful Bookshelves with Confidence
Join thousands of successful DIY builders who used professional plans to create stunning custom bookshelves. Get instant access to detailed blueprints, cut lists, shopping guides, and step-by-step photo instructions that guarantee your project turns out perfectly the first time.
Personal touches transform basic bookshelves into unique furniture pieces. Built-in lighting highlights favorite books and creates ambiance. LED strip lights install easily and consume minimal electricity.
Mixed shelf depths add visual variety and function. Deeper bottom shelves hold large books or decorative boxes. Shallower top shelves display small items without wasting space.
Color blocking creates dramatic effects with paint. Paint the back panel a contrasting color while keeping shelves neutral. This technique adds personality without overwhelming your room’s decor.
Functional Additions
Add cabinet doors to lower sections for hidden storage
Install pull-out shelves for easy access to back items
Include drawers for small items organization
Add a fold-down desk section for workspace
Incorporate wine rack sections between shelves
Decorative Enhancements
Apply wallpaper or fabric to back panels
Add crown molding for elegant finish
Install decorative corbels under shelves
Use glass shelves for modern look
Add trim details matching room architecture
Corner bookshelves maximize awkward spaces that standard furniture can’t fill. These triangular designs turn wasted corners into valuable storage. The unique shape becomes a conversation piece.
Ladder-style bookshelves lean against walls without mounting. This portable design works great for renters who can’t drill into walls. The angled profile creates interesting shadow patterns.
Multi-function designs serve additional purposes beyond book storage. Include a bench seat on the bottom section. Add hooks on the sides for bags or coats. Your bookshelf becomes a hardworking piece of furniture.
Maintaining Your DIY Bookshelf for Long-Term Durability
Regular dusting prevents buildup that dulls finish over time. Microfiber cloths work better than feather dusters for capturing particles. Dust weekly to maintain that freshly-built appearance.
Avoid placing bookshelves in direct sunlight whenever possible. UV rays fade finishes and dry out wood over years. If sun exposure is unavoidable, apply UV-protective finish during construction.
Distribute weight evenly across shelves to prevent warping. Don’t overload one section while leaving others empty. Balanced loading maintains the bookcase’s structural integrity for decades.
Maintenance Schedule: Dust weekly, check for loose screws monthly, reapply furniture polish quarterly, and inspect for water damage or pest issues annually. This simple routine keeps your DIY bookshelf looking and functioning like new.
Touch up scratches and dings as they occur. Small bottles of matching stain or paint fix most minor damage. Addressing issues promptly prevents them from becoming larger problems.
Tighten screws annually as part of routine maintenance. Wood expands and contracts with humidity changes, which can loosen connections. A quick check with a screwdriver keeps everything solid.
Protect wood surfaces from water damage immediately. Wipe up spills quickly before moisture penetrates the finish. Use coasters under plant pots and avoid placing drinks directly on shelves.
Start Building Your Dream Bookshelf Today
Creating custom storage through DIY bookshelf plans delivers satisfaction beyond what store-bought furniture provides. You gain practical skills while crafting something perfectly suited to your space. The project rewards careful planning with furniture that serves your home for years.
Start with a design that matches your skill level and available time. Gather quality materials and tools before beginning construction. Follow each step methodically, and don’t rush through important details like sanding or finishing.
Your completed bookcase becomes more than furniture. It represents your growing capabilities and adds character to your home. Every time you reach for a book, you’ll appreciate the craftsmanship you put into building something lasting. The skills learned on this project open doors to countless future woodworking possibilities.
Whether you choose simple box construction or elaborate traditional styling, professional diy bookshelf plans ensure your success from first cut to final finish.
Finding the perfect birthday gifts for best friend can feel like a delightful challenge. After all, this is the person who knows all your secrets, has been there through your highs and lows, and deserves something as special as your friendship. Whether you’re shopping for your childhood bestie or the friend who became family later…
Planning a 5 acre homestead layout can feel overwhelming at first. You have enough land to create a truly self-sufficient property, but not so much that management becomes impossible. This perfect middle ground offers incredible opportunities for food production, livestock raising, and sustainable living.This Website contains affiliate links. That means I may earn a small…
Losing weight doesn’t mean sacrificing flavor or spending hours in the kitchen. The right healthy recipes for weight losing combine delicious taste with powerful nutrition that supports your goals. These meals work with your body’s natural processes to help you feel satisfied while creating the calorie deficit needed for sustainable weight loss.This Website contains affiliate…
Your gut houses trillions of microorganisms that control everything from digestion to immunity. The foods you eat directly shape this internal ecosystem. Fermented foods offer a powerful way to support your gut health through natural probiotics and beneficial bacteria.This Website contains affiliate links. That means I may earn a small commission if you purchase through…
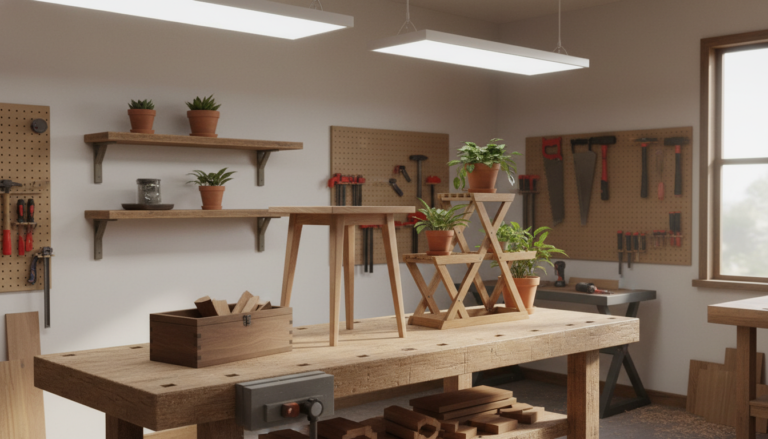
Starting your woodworking journey doesn’t require years of experience or expensive power tools. Whether you want to refresh your living room or create functional pieces for your house, simple projects offer the perfect way to build skills and confidence.This Website contains affiliate links. That means I may earn a small commission if you purchase through…
Your digestive system works tirelessly every day. It processes everything you consume while housing trillions of beneficial bacteria that keep your body running smoothly. When this delicate balance gets disrupted, you might experience bloating, fatigue, or irregular digestion. The good news is that nourishing your gut doesn’t require complicated meal plans or expensive treatments.This Website…