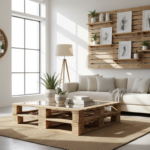
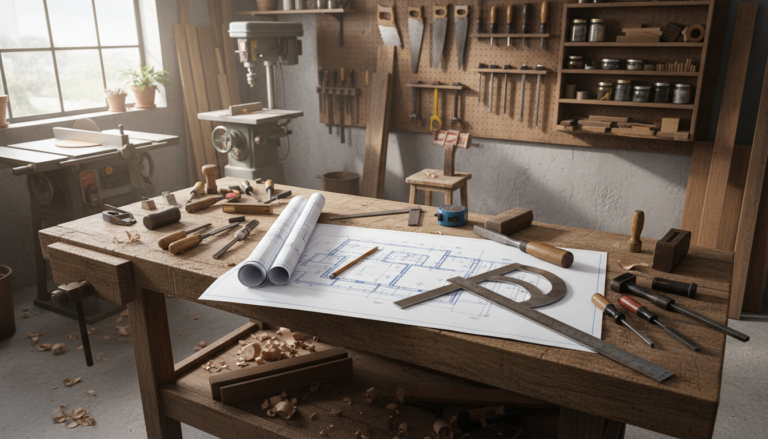
Working with wood opens doors to endless creative possibilities. Whether you dream of crafting custom furniture or adding unique touches to your living room, wood projects let you build exactly what you envision.
This Website contains affiliate links. That means I may earn a small commission if you purchase through my links, at no extra cost to you.
Wood remains one of the most forgiving materials for beginners. You don’t need years of experience to create beautiful, functional pieces.
This guide walks you through practical projects that fit any skill level. From small weekend builds to statement pieces, you’ll find ideas that match your time and expertise.
Essential Tools and Materials for Your First Wood Project
Starting your woodworking journey doesn’t require a workshop full of expensive equipment. A few basic tools and quality lumber will get you building right away.
Must-Have Tools for Beginners
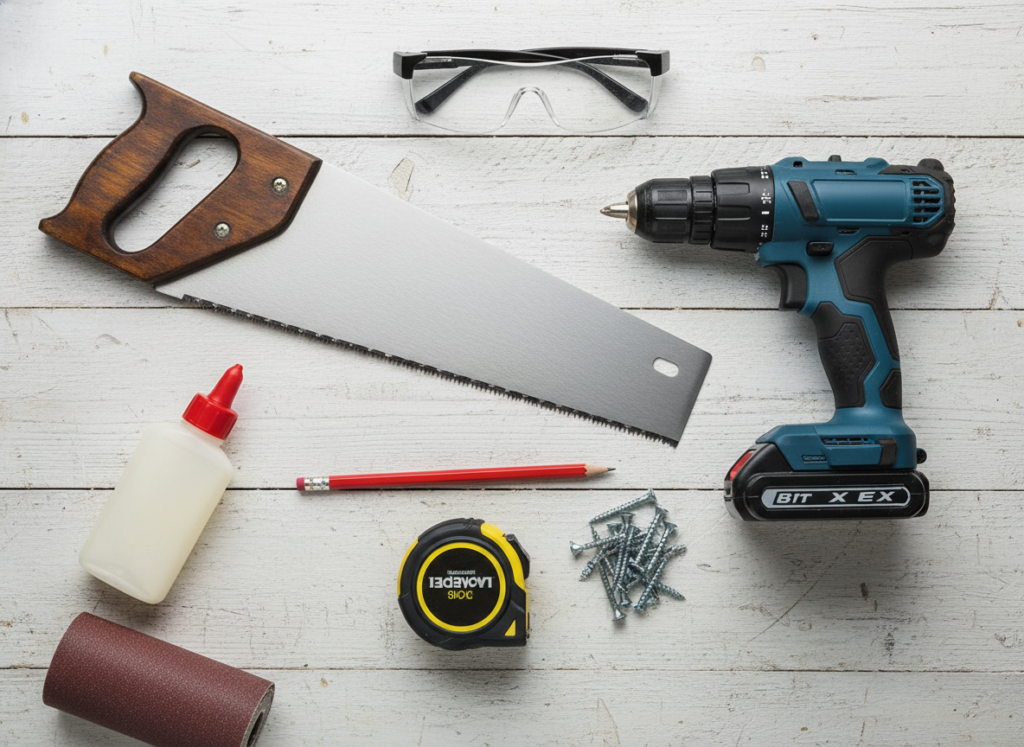
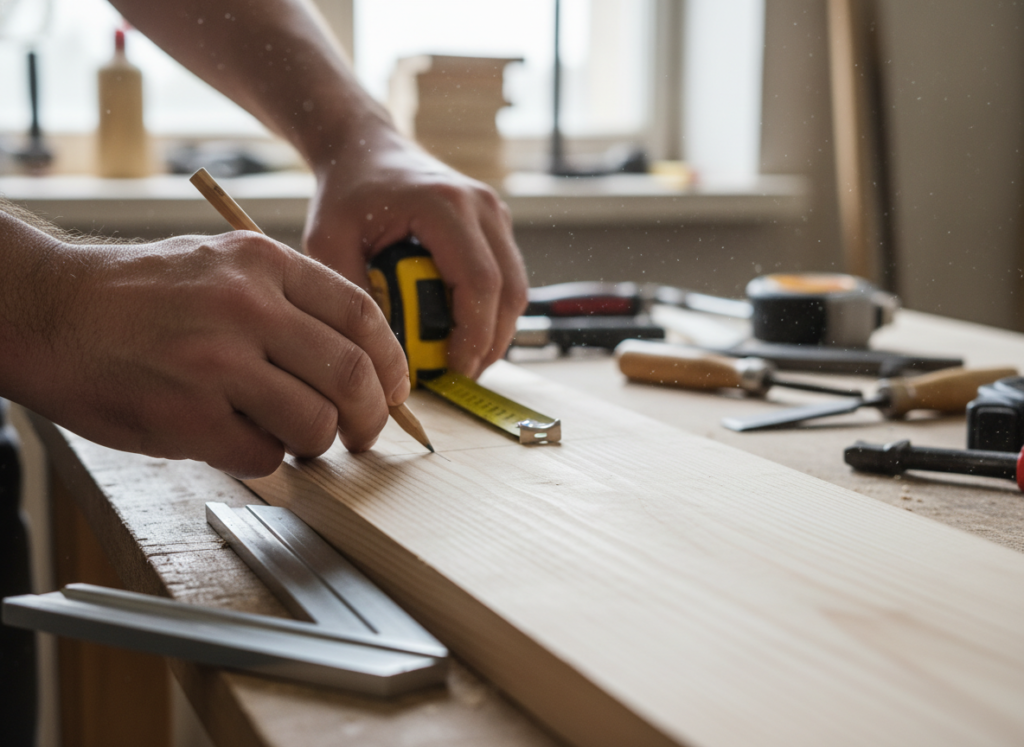
Every woodworker needs reliable measuring tools first. A quality tape measure and carpenter’s square ensure accurate cuts. A cordless drill saves countless hours compared to manual methods.
For cutting, a circular saw handles most projects efficiently. Add a handsaw for detail work. Clamps hold pieces securely while glue dries.
Tape measure and carpenter’s square for precise measurements
Cordless drill with various bit sizes
Circular saw or miter saw for straight cuts
Set of clamps in different sizes
Sandpaper in multiple grits (80, 120, 220)
Safety glasses and hearing protection
Choosing the Right Wood
Pine and cedar work wonderfully for beginners. Both cut easily and cost less than hardwoods. Pine takes stain well, while cedar resists weather naturally.
Oak and maple offer durability for furniture pieces. These hardwoods require sharper tools but create stunning results. Scrap wood from previous projects saves money on small builds.
Softwoods
Pine, cedar, and fir offer affordability and ease of use. Perfect for learning basic techniques.
Pine for indoor furniture and decor
Cedar for outdoor projects and planters
Fir for structural pieces and frames
Hardwoods
Oak, maple, and walnut provide strength and beautiful grain patterns for special pieces.
Oak for tables and shelving units
Maple for cutting boards and desk surfaces
Walnut for accent pieces and decor
Reclaimed Wood
Salvaged lumber adds character and sustainability to your creations while reducing costs.
Pallet wood for rustic projects
Barn wood for wall art and shelves
Old fence boards for garden projects
Plywood
Engineered wood sheets provide stability and consistent thickness for larger builds.
Cabinet-grade for furniture projects
Exterior plywood for outdoor use
Underlayment for painted projects
Get Professional Woodworking Plans
Access thousands of detailed blueprints and step-by-step guides designed for all skill levels. Transform your ideas into reality with expert instructions.
These straightforward builds teach fundamental skills while creating useful items. Each project takes a weekend or less to complete.
Floating Shelves for Any Room
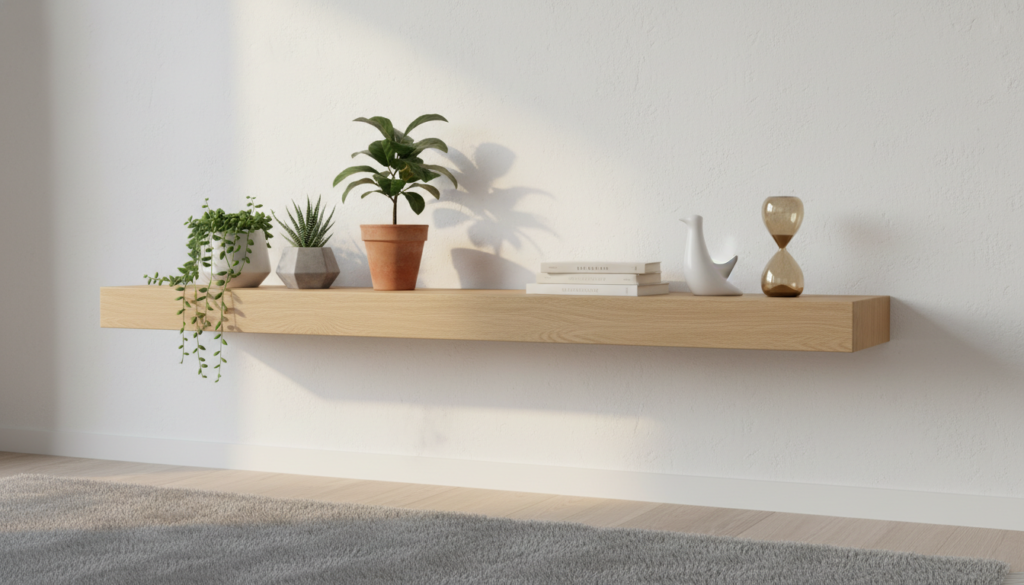
Floating shelves add storage and style to your space. This project requires minimal cuts and introduces basic mounting techniques.
Choose wood thickness based on shelf size. A one-inch thick board works for shelves up to three feet long. Sand all edges smooth before finishing.
Mount shelves using hidden brackets for a clean look. Wall anchors provide extra support in areas without studs. Apply stain or paint to match your room design.
Custom Picture Frames
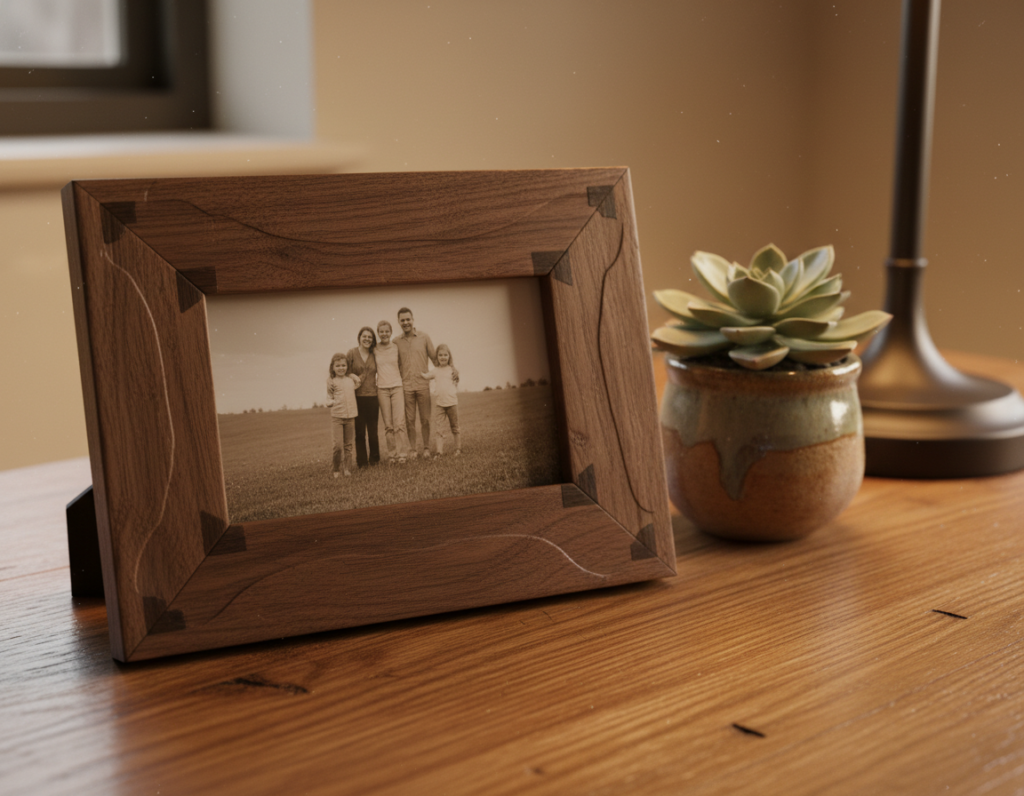
Picture frames make excellent first projects. They use small wood pieces and simple joints. Miter cuts create professional-looking corners.
Start with standard photo sizes like five by seven or eight by ten. Cut your frame pieces slightly longer than needed. Sand the wood before assembly.
Wood glue holds corners together while you add small nails. A frame clamp keeps everything square as it dries. Add a backing board and glass to complete your frame.
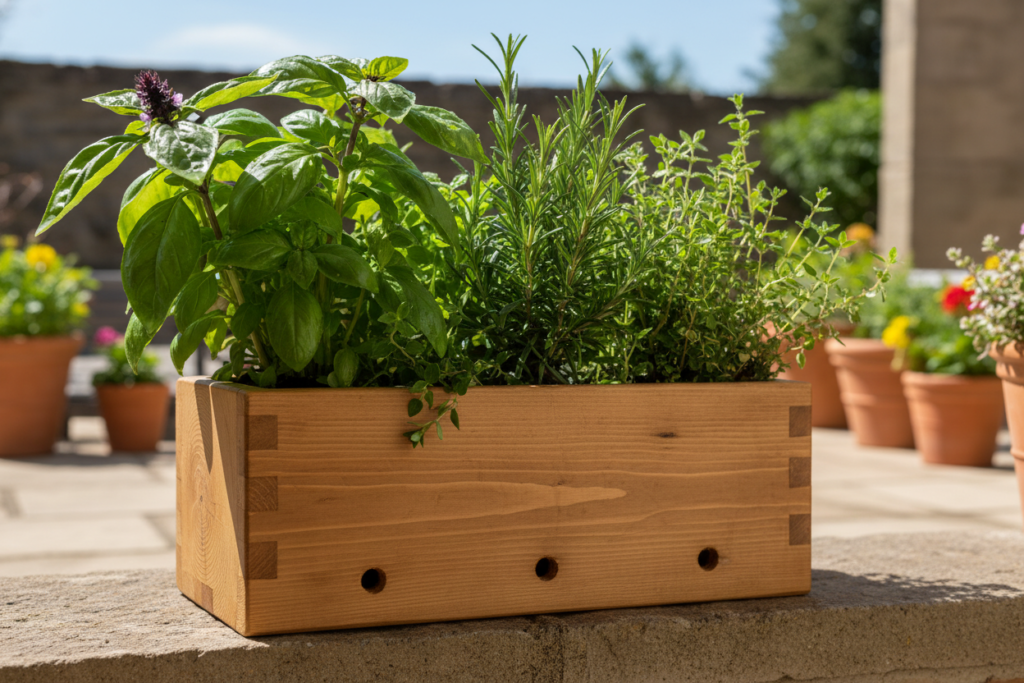
Garden Planter Boxes
Planter boxes bring greenery to patios and balconies. Cedar wood resists rot naturally, making it ideal for outdoor use.
Design your planter based on available space. A basic box needs four sides and a bottom with drainage holes. Use galvanized screws to prevent rust.
Line the inside with landscape fabric before adding soil. This protects the wood while allowing water drainage. Your planter will last years with proper care.
Cut all boards to size before assembly
Pre-drill screw holes to prevent splitting
Add feet or legs for better drainage
Apply exterior wood sealer for longevity
Consider adding a trellis for climbing plants
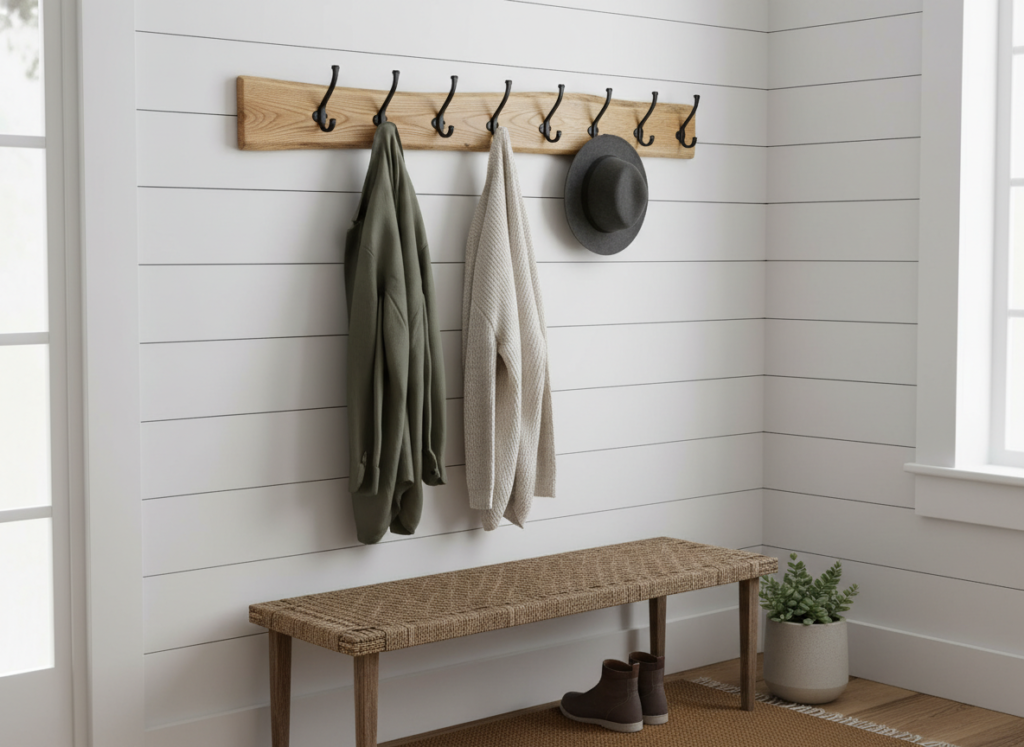
Wall-Mounted Coat Rack
A coat rack organizes your entryway beautifully. This beginner-friendly project takes just a couple of hours to build and install.
Select a board that fits your wall space. Oak or maple provides strength to hold heavy winter coats. Sand thoroughly and apply your chosen finish.
Attach sturdy hooks at regular intervals. Mount the rack to wall studs for maximum strength. Your custom piece adds both function and style to your home.
Master Woodworking Fundamentals
Learn proven techniques from expert craftsmen. Our beginner’s resource covers everything from tool selection to finishing touches.
Building your own furniture saves money while creating custom pieces. These projects require more time but deliver impressive results.
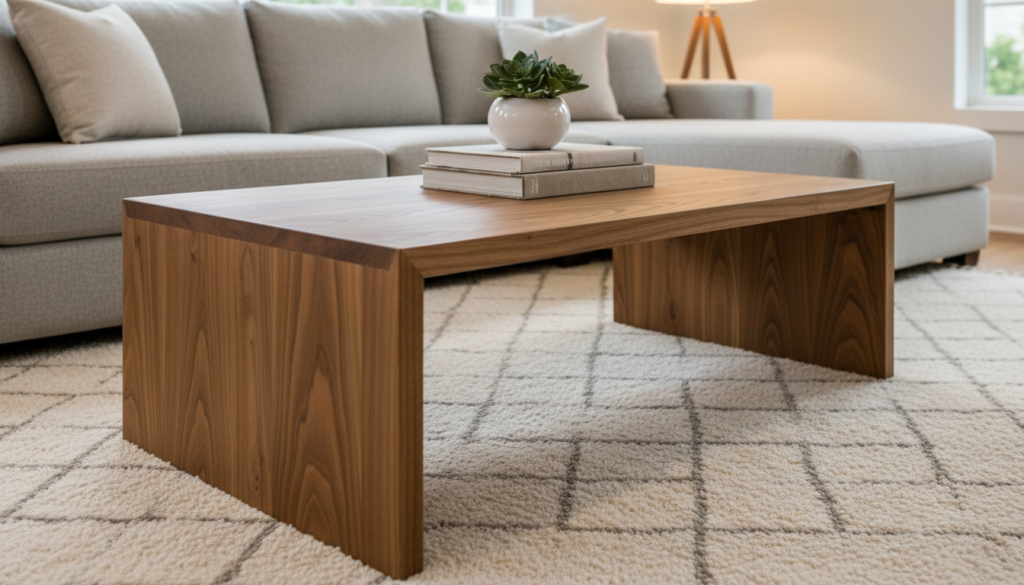
Coffee Table Design
A coffee table serves as a living room centerpiece. Simple designs work best for first-time furniture builders. Choose dimensions that fit your seating arrangement.
Build a sturdy frame first, then add the tabletop. Pocket screws create strong joints without visible hardware. Sand everything smooth before applying finish.
Consider adding a lower shelf for extra storage. This doubles your table’s usefulness while adding visual interest. Apply multiple coats of polyurethane for protection.
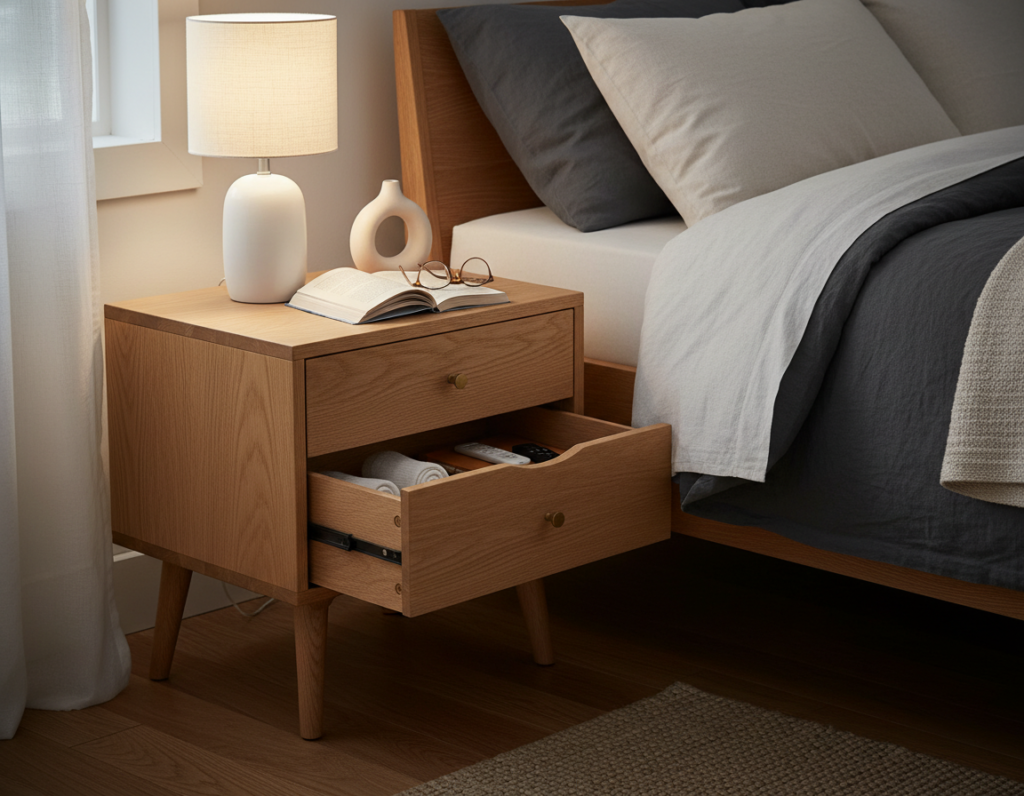
Nightstand with Storage
Nightstands provide essential bedroom storage. A basic design includes a top, sides, and one or two drawers. Pine or oak both work well.
Cut all pieces to size before assembly. Use wood glue and screws for strong connections. Drawer slides make opening and closing smooth.
Finish your nightstand to match existing bedroom furniture. A couple of coats of stain followed by clear sealer creates a professional look.
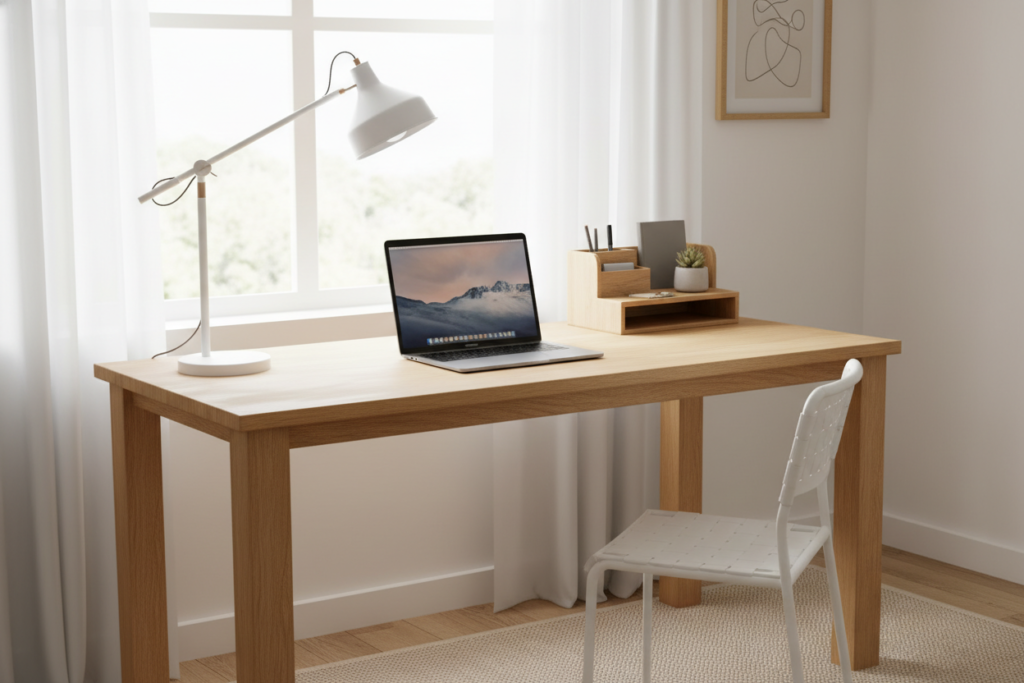
Simple Desk for Home Office
A custom desk fits your workspace perfectly. Measure your available space before cutting any wood. Standard desk height measures around 29 inches.
Build a frame using two-by-four lumber for strength. Attach a plywood or solid wood top. Add legs or a trestle base depending on your style preference.
Sand the entire desk thoroughly. Apply stain if desired, then protect with polyurethane. Your custom desk will serve you for years.
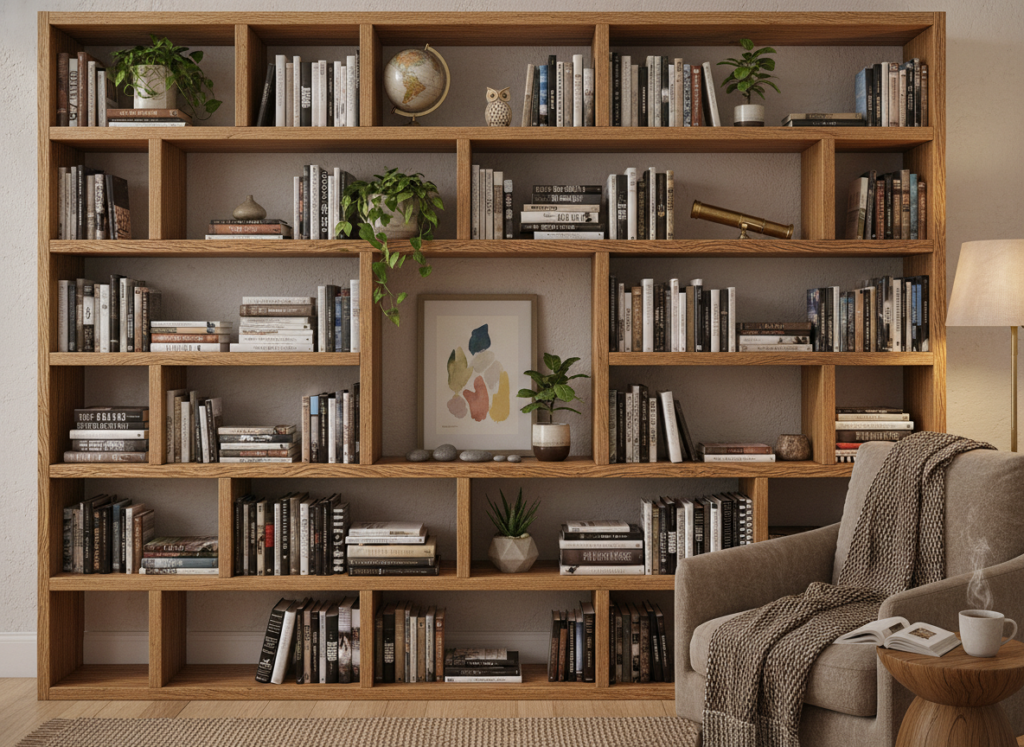
Bookshelf for Any Room
Bookshelves organize and display your collection. A basic design uses vertical sides with horizontal shelves between them.
Space shelves based on what you plan to store. Books need different heights than decorative items. Use adjustable shelf pins for flexibility.
Secure tall bookshelves to the wall for safety. This prevents tipping, especially in homes with children. Finish matches your room decor perfectly.
Plan shelf spacing before cutting boards
Use quality plywood for large shelves
Add a back panel for extra stability
Sand all edges to prevent splinters
Consider adjustable shelving for flexibility
Outdoor Wood Projects for Garden and Patio
Outdoor projects enhance your garden and patio areas. Weather-resistant wood like cedar ensures longevity. These builds withstand sun, rain, and temperature changes.
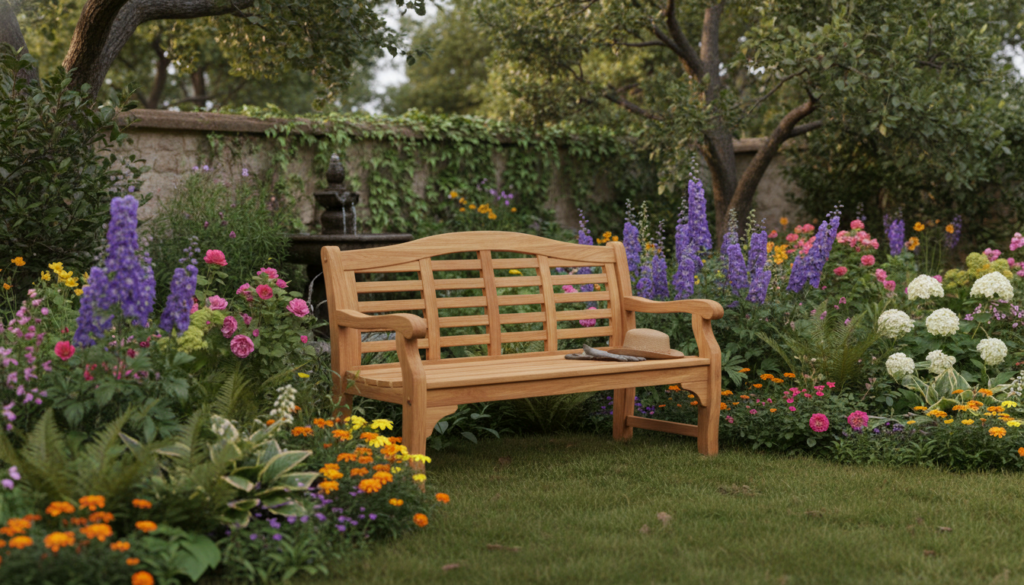
Garden Bench
A garden bench creates a peaceful sitting area. This project combines function with outdoor beauty. Cedar or treated lumber works best.
Design your bench based on available space. A standard size seats two people comfortably. Cut all pieces and sand before assembly.
Use galvanized screws and weatherproof wood glue. Apply outdoor wood sealer to protect against moisture. Your bench will age beautifully over time.
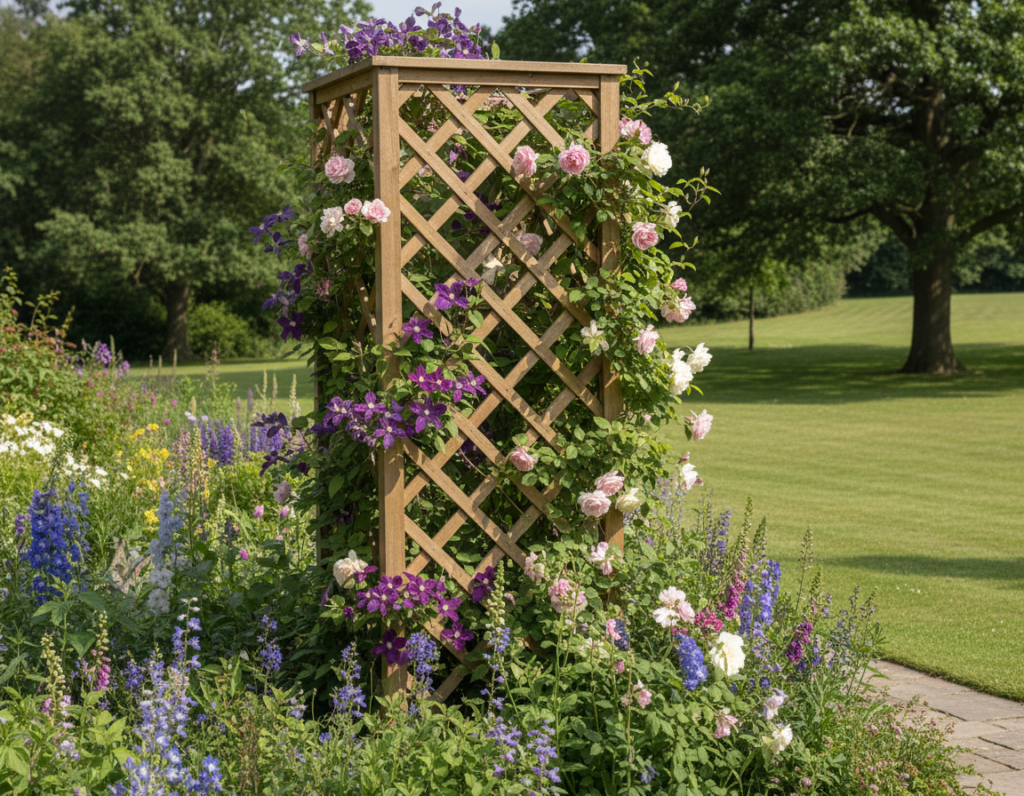
Trellis for Climbing Plants
A trellis supports climbing plants while adding vertical interest. This simple structure uses thin strips of wood in a grid pattern.
Space your grid based on plant needs. Larger openings suit roses, while smaller spaces work for vines. Attach the trellis securely to a wall or posts.
Apply exterior stain to match your garden style. Your plants will climb and thrive on this sturdy support.
Raised Garden Bed
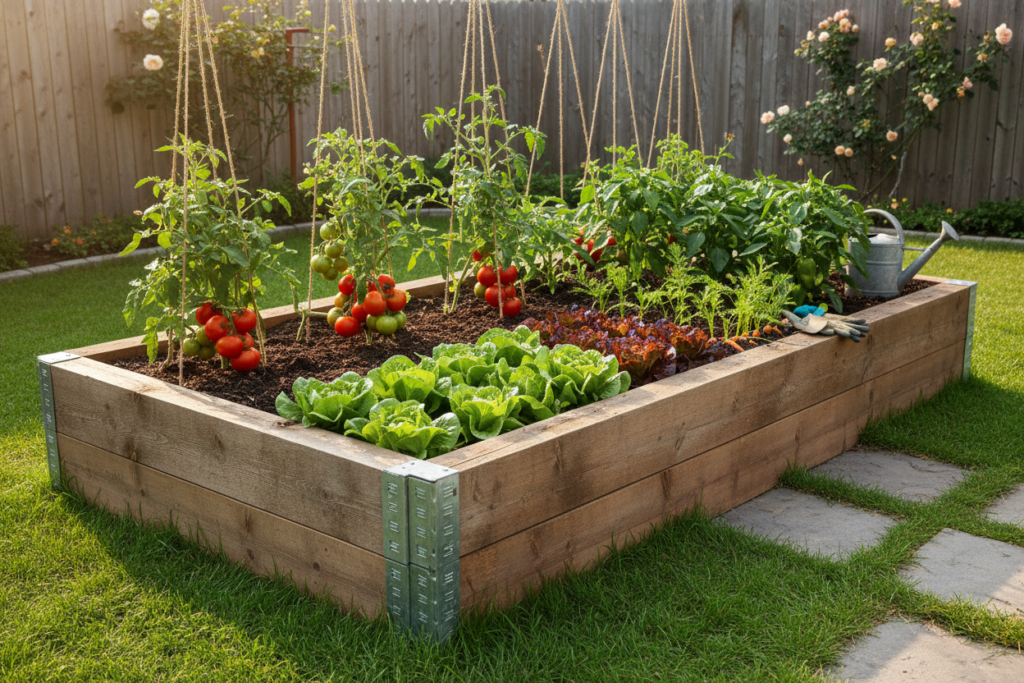
Raised beds improve garden drainage and reduce bending. Build rectangular frames from lumber. Stack two or three boards high for adequate soil depth.
Corner brackets strengthen joints and speed assembly. Line the inside with landscape fabric before filling with soil. This prevents weeds while allowing drainage.
Your raised bed will produce vegetables and flowers for many seasons. The elevated design makes gardening more comfortable.
Outdoor Bar Cart
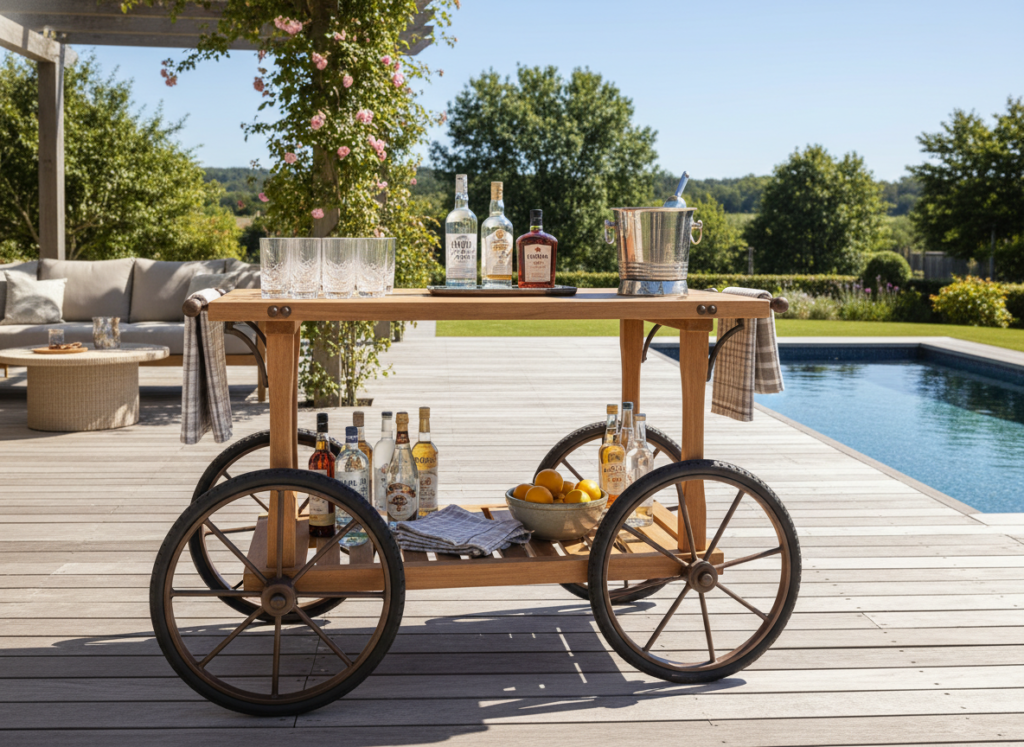
A bar cart brings refreshments to outdoor gatherings. This mobile piece includes a top serving surface and lower shelf storage.
Add wheels for easy movement around your patio. Use weather-resistant wood and outdoor-rated hardware. Apply multiple coats of exterior sealer.
Your custom bar cart becomes the centerpiece of summer entertaining. Build it to match your outdoor furniture style.
Access Premium Design Plans
Discover our exclusive collection of furniture and outdoor project blueprints. Each plan includes detailed measurements, materials lists, and professional tips.
Organization projects reduce clutter while showcasing your woodworking skills. These builds fit into small spaces and provide immediate usefulness.
Desk Organizer
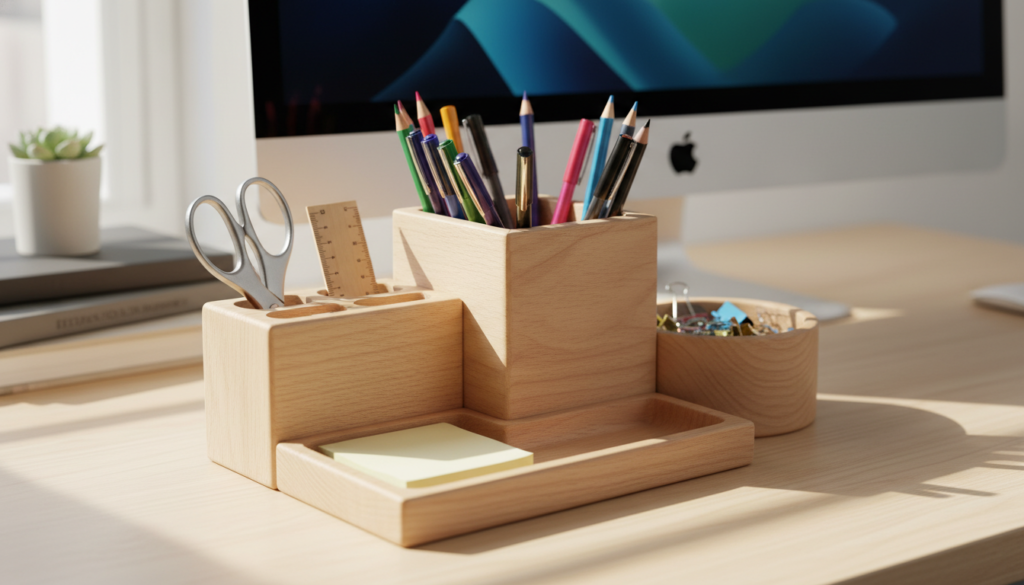
A desk organizer keeps supplies within reach. Design compartments for pens, paper clips, and other small items. Use scrap wood pieces to minimize waste.
Cut dividers to create different sized sections. Sand all inside edges smooth. Apply a clear finish to protect the wood while showing grain.
This quick project takes just one afternoon. Your custom organizer solves desktop clutter permanently.
Wall-Mounted Key Holder
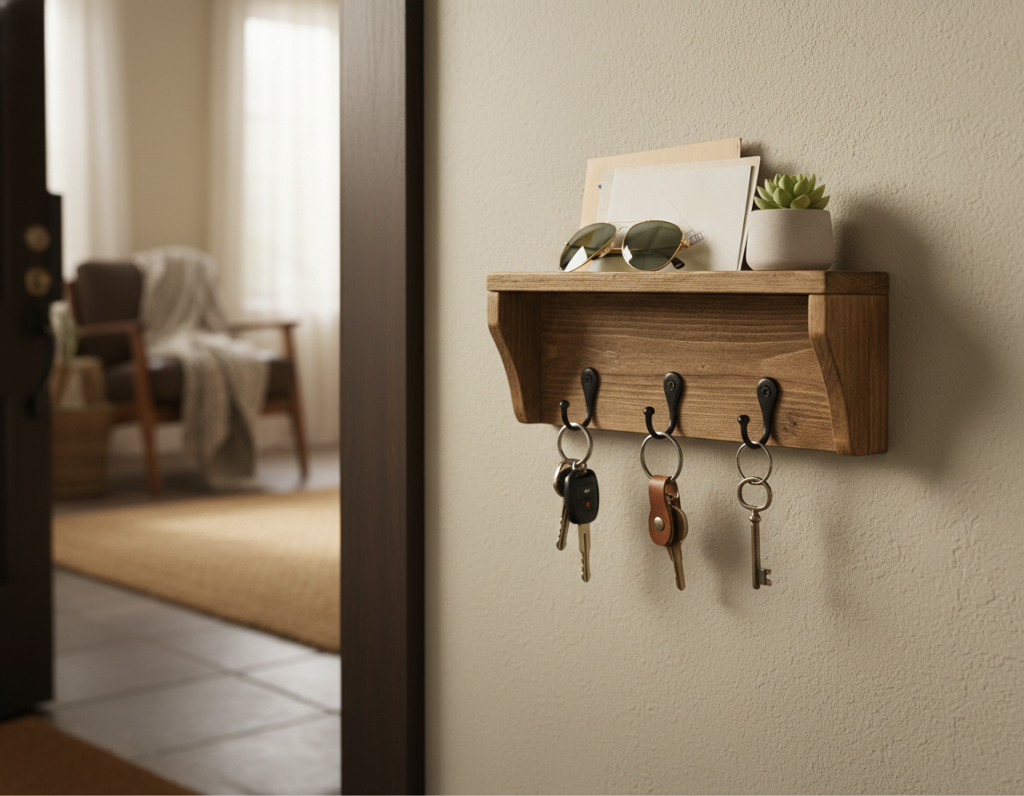
Never search for keys again with a dedicated holder. Mount a small board near your entrance. Add hooks for keys and a small shelf for mail.
Personalize with carved names or painted designs. This beginner project introduces basic mounting techniques. Your entryway stays organized and welcoming.
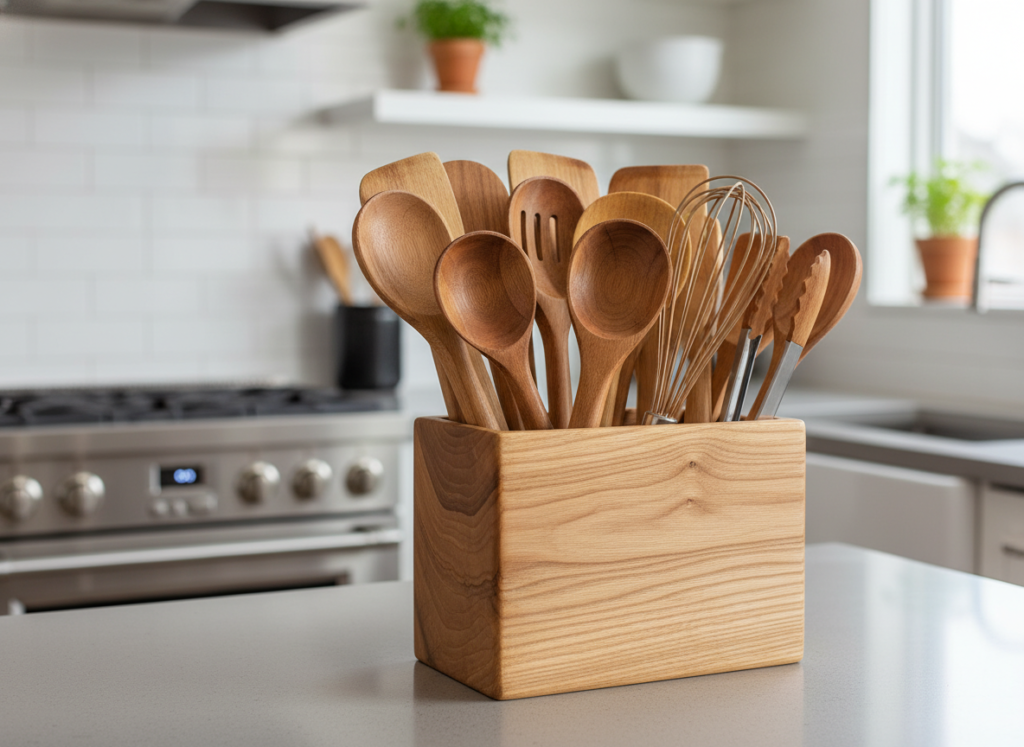
Kitchen Utensil Holder
Keep cooking tools organized with a countertop holder. Build a box with dividers or create individual slots. Pine or maple both work beautifully in kitchens.
Size your holder based on drawer space or counter area. Sand thoroughly since this piece gets daily handling. Apply food-safe mineral oil as a finish.
Your custom holder keeps utensils accessible while freeing up drawer space. This practical build complements any kitchen style.
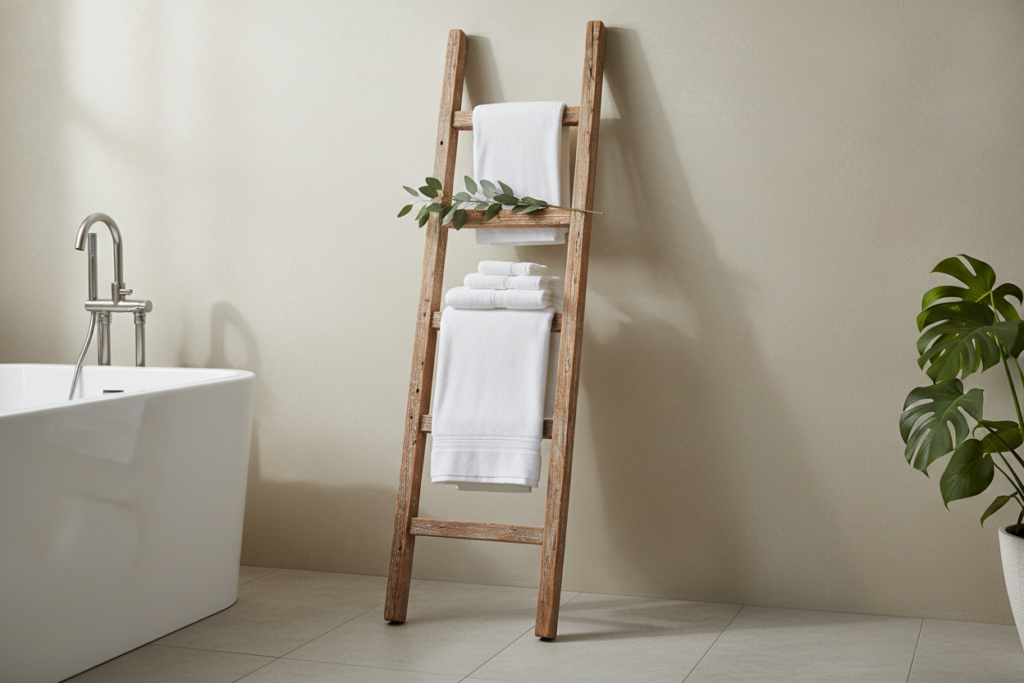
Bathroom Towel Ladder
A towel ladder adds storage and style to bathrooms. This leaning design requires no wall mounting. Build it from two long boards connected by crosspieces.
Space rungs evenly for towel storage. Sand everything smooth to prevent snags in fabric. Apply water-resistant finish suitable for humid bathrooms.
Your towel ladder becomes both functional storage and attractive decor. The design works in any size bathroom.
Decorative Wood Projects That Add Character
Decorative pieces showcase wood’s natural beauty. These projects emphasize design over function, though many serve both purposes.
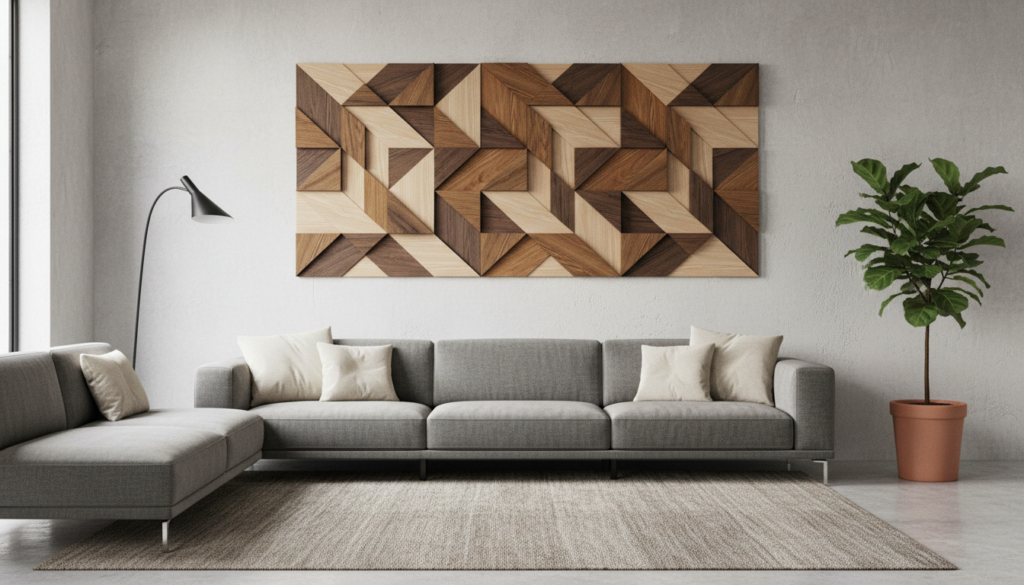
Geometric Wall Art
Create stunning wall art using different wood tones. Cut triangles, hexagons, or other shapes. Arrange them into patterns before gluing to a backing board.
Mix woods like walnut, maple, and cherry for contrast. Sand each piece smooth. The natural grain becomes part of your design.
Mount your finished artwork using picture hangers. This unique piece reflects your personal style while showcasing wood’s beauty.
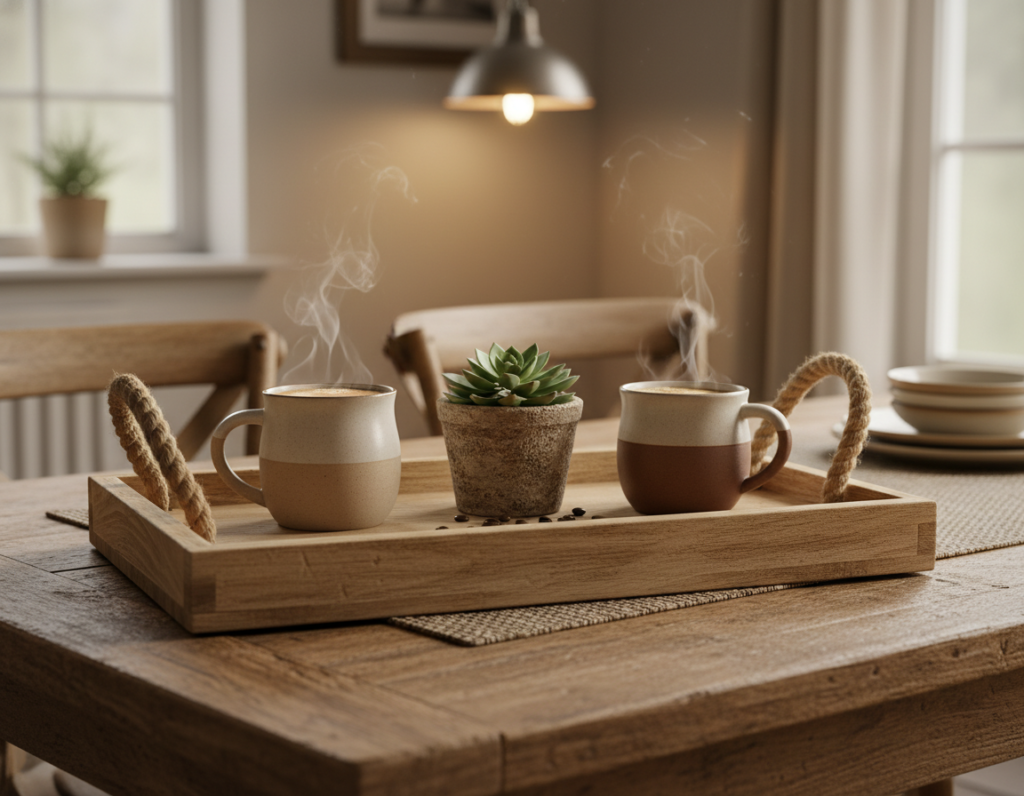
Serving Tray
A wooden serving tray suits breakfast in bed or outdoor entertaining. Build a rectangular frame with a plywood bottom. Add handles on each end.
Choose attractive wood with interesting grain. Sand until perfectly smooth. Apply food-safe finish like mineral oil or butcher block conditioner.
Your custom tray becomes a cherished household item. The simple design allows the wood’s beauty to shine.
Decorative Storage Boxes
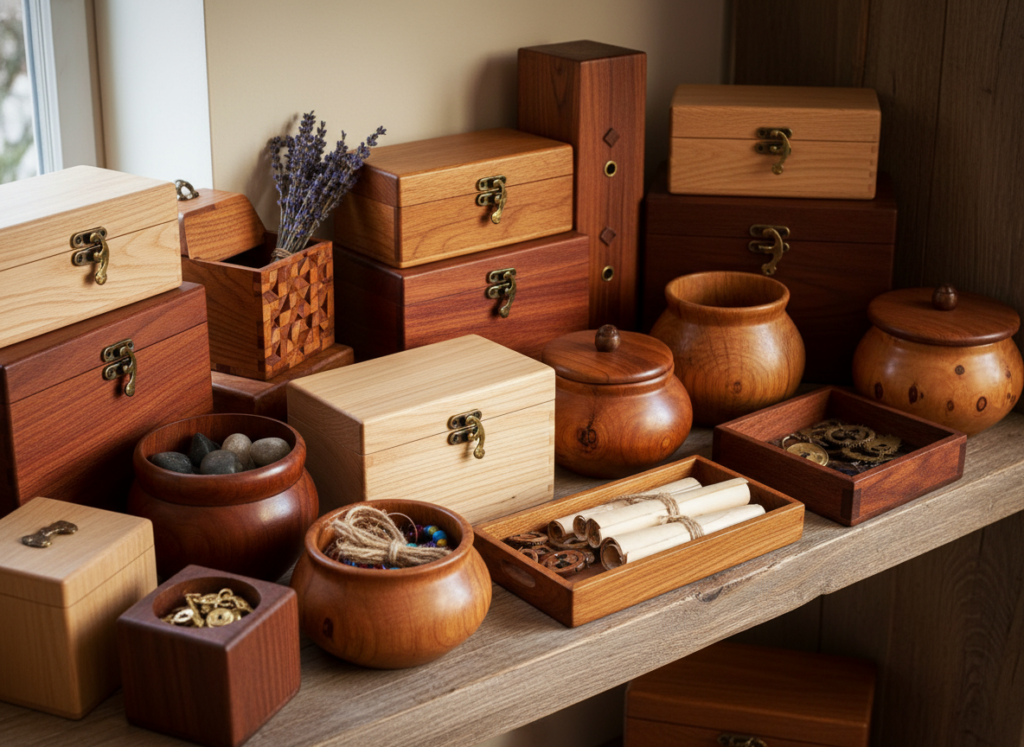
Small boxes organize jewelry, keepsakes, or desk supplies. Practice box-making techniques on these manageable projects. Try different joinery methods as you build.
Create boxes in various sizes for different uses. Add dividers inside for smaller items. Experiment with contrasting wood for lids.
These projects develop your precision cutting skills. Each box you complete improves your technique.
Wooden Candle Holders
Candle holders add warmth to any room. Turn simple wood blocks into elegant holders. Drill appropriately sized holes for candles.
Experiment with different heights and shapes. Group several together for visual impact. Sand thoroughly and finish with clear sealer.
These quick projects make excellent gifts. Your handmade holders bring natural beauty to candlelit evenings.
Leveling Up Your Woodworking Skills
As your confidence grows, explore more complex techniques. These skills expand your project possibilities significantly.
Joinery Methods
Strong joints create lasting furniture. Pocket holes offer the easiest starting point. A special jig guides your drill at the correct angle.
Mortise and tenon joints provide traditional strength. These require more precision but create beautiful results. Dovetails showcase advanced skill while providing incredible strength.
Practice each technique on scrap wood first. Mastering joinery elevates your work from basic to professional quality.
Finishing Techniques
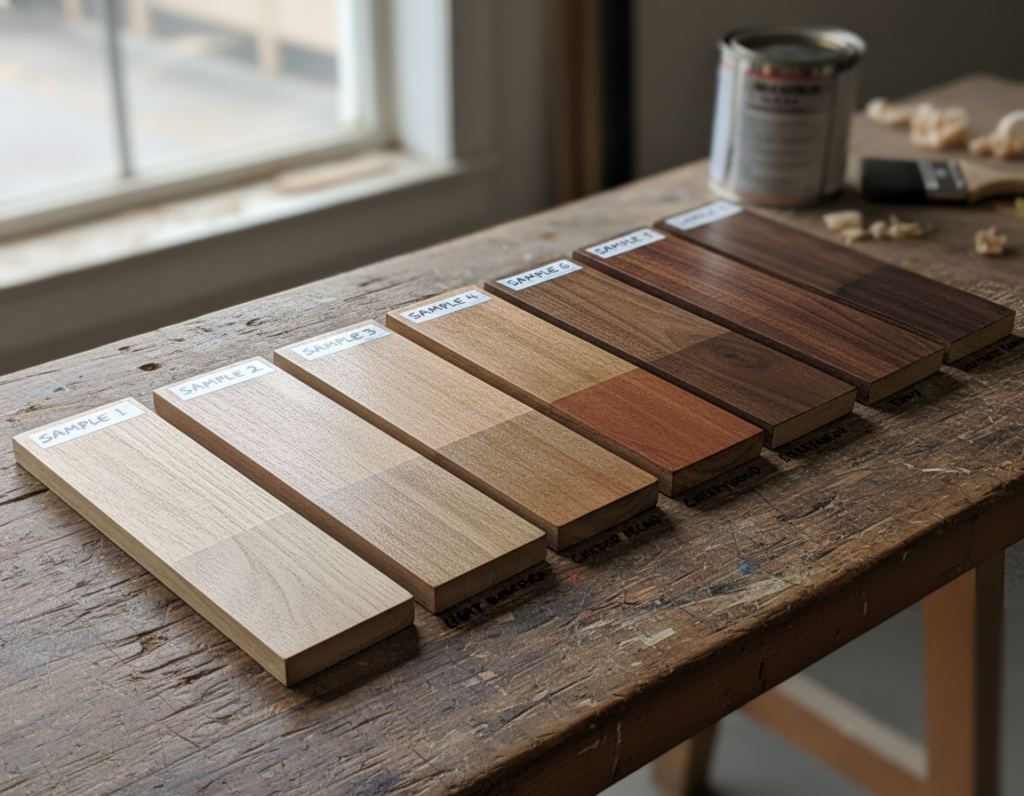
The right finish protects wood while enhancing appearance. Stain adds color depth. Oil finishes penetrate wood for natural protection.
Polyurethane creates a hard, protective surface. Apply thin coats, sanding lightly between each one. Three to four coats provide excellent protection.
Always sand between finish coats with fine-grit paper
Test stain colors on scrap pieces first
Apply finish in a well-ventilated space
Use quality brushes to avoid streaks
Let each coat dry completely before adding the next
Consider wax as a final protective layer
Working with Power Tools
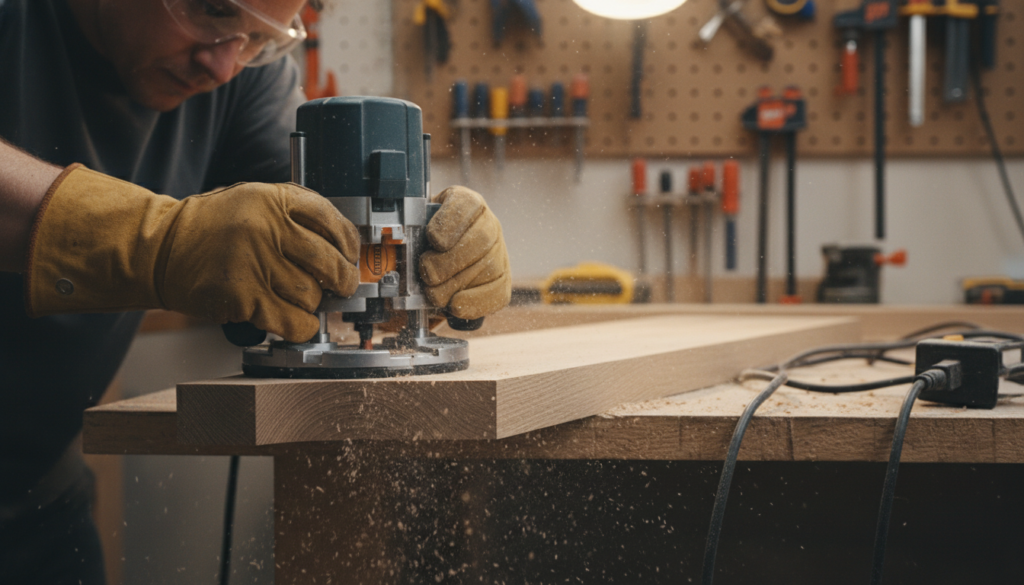
Power tools speed up projects dramatically. A table saw makes repetitive cuts consistent. A miter saw creates perfect angles for frames and trim.
Always prioritize safety when using power tools. Wear proper eye and ear protection. Keep hands clear of blades. Read instruction manuals thoroughly.
Start with basic cuts before attempting complex angles. Practice builds confidence and skill with each tool.
Creating Your Ideal Woodworking Space
A dedicated workspace improves both efficiency and enjoyment. Even small areas work with smart organization.
Essential Workshop Setup
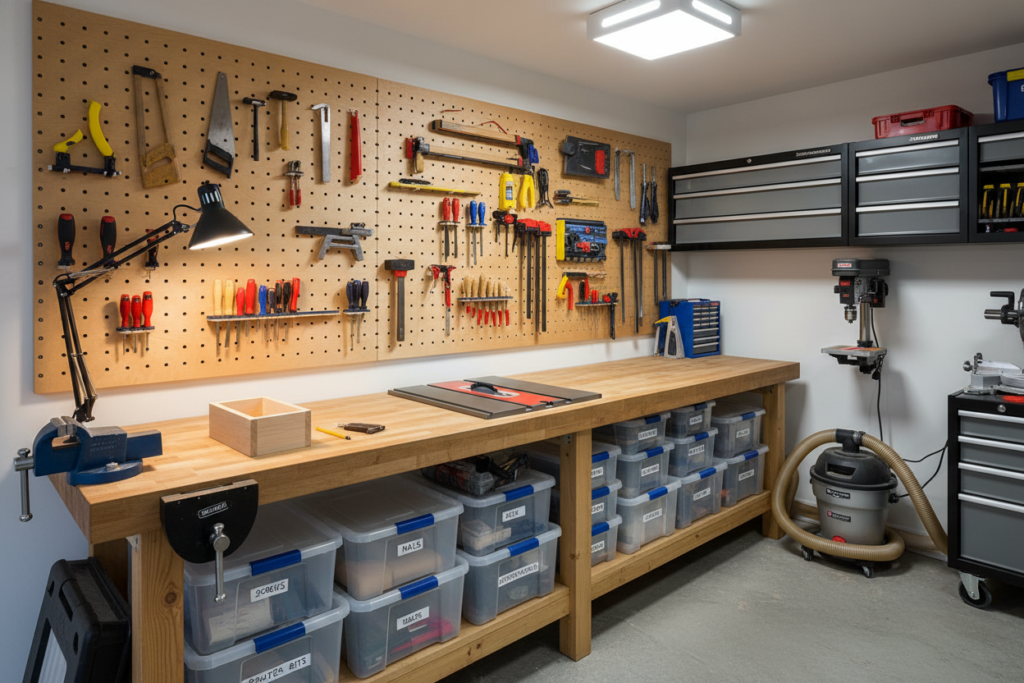
Good lighting prevents mistakes and eye strain. Natural light works best when available. Add bright LED fixtures for evening projects.
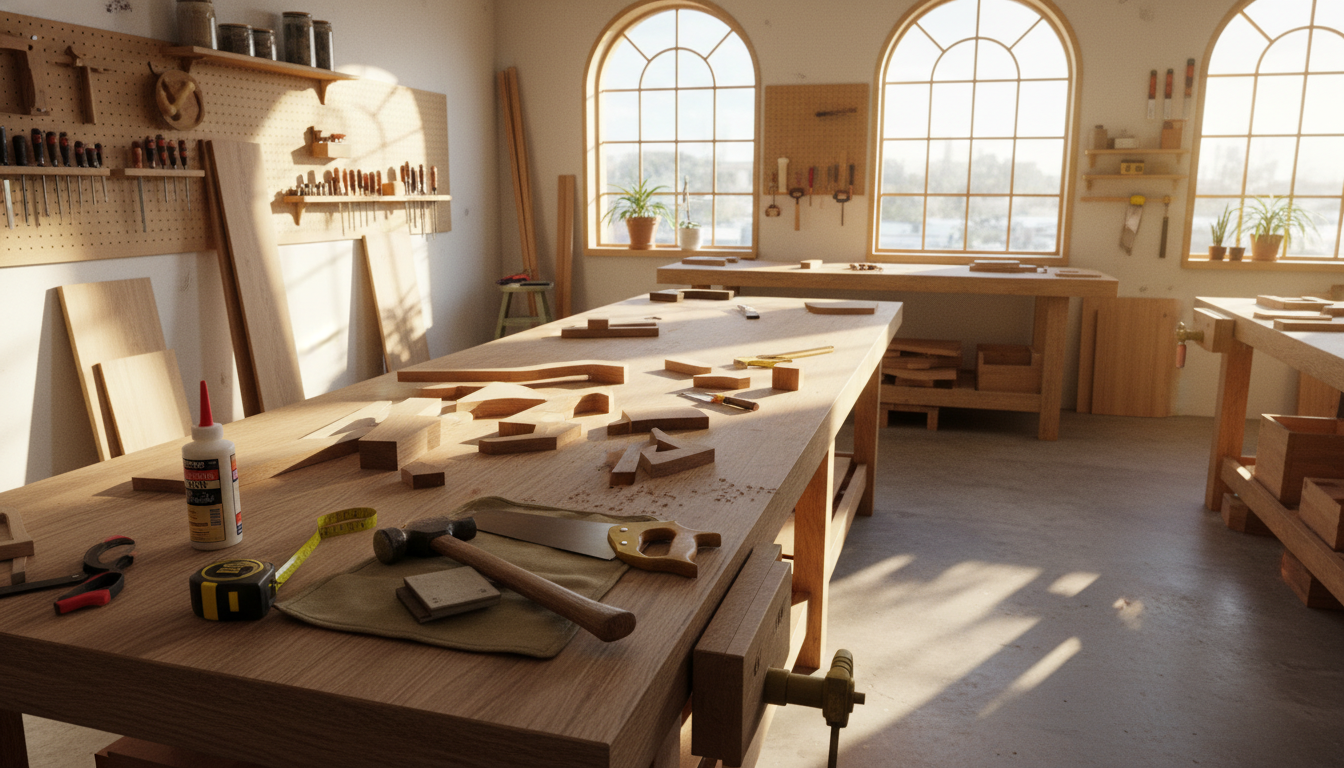
A sturdy workbench serves as your project foundation. Build one yourself or purchase a ready-made option. Height matters for comfortable working.
Store tools within easy reach. Wall-mounted pegboard keeps frequently used items visible. Drawer systems organize smaller supplies and hardware.
Safety Equipment
Protect yourself with proper safety gear. Safety glasses shield eyes from flying debris. Hearing protection prevents damage from loud tools.
Dust collection improves air quality and visibility. A shop vacuum works for smaller spaces. Larger workshops benefit from dedicated dust collection systems.
Keep a first aid kit in your workspace. Know how to respond to common workshop injuries. Safety always comes first.
Maintain proper ventilation when using finishes
Keep fire extinguisher accessible
Store chemicals and finishes properly
Clean up sawdust regularly
Inspect tools before each use
Budget-Friendly Woodworking Strategies
Quality woodworking doesn’t require unlimited funds. Smart shopping and resourcefulness stretch your budget significantly.
Finding Affordable Materials
Scrap wood bins at lumber yards offer great deals. Construction sites sometimes discard usable pieces. Always ask permission before taking materials.
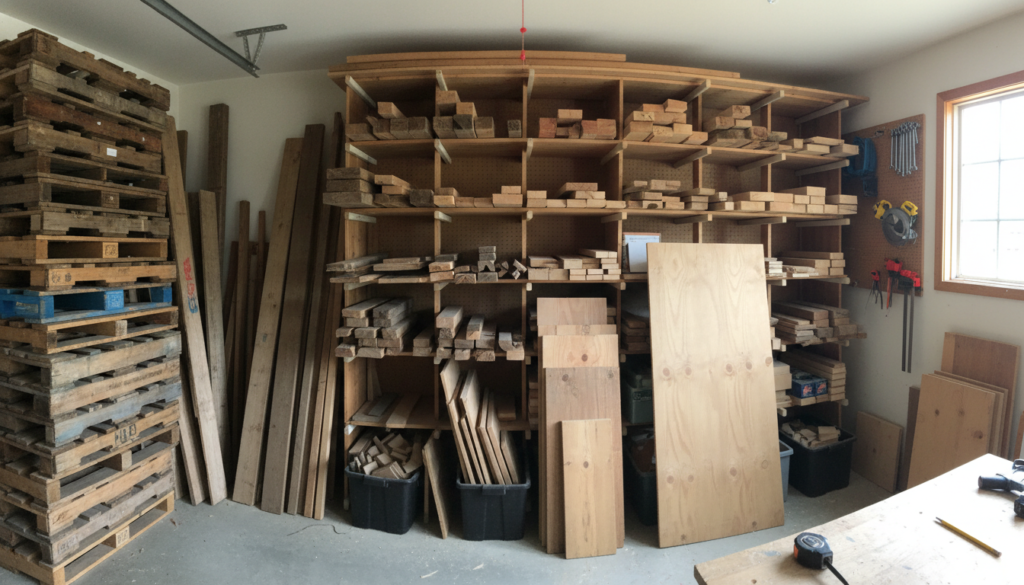
Pallet wood provides free material for rustic projects. Deconstruct carefully to maximize usable boards. Sand thoroughly to remove rough areas.
Buy common dimensions to reduce costs. Standard sizes like one-by-fours and two-by-fours cost less than specialty cuts. Plan projects around available lumber.
Tool Investment Strategy
Buy quality tools gradually rather than all at once. Start with essentials and add specialized tools as needed. Watch for sales at hardware stores.
Consider renting expensive tools for one-time uses. This saves money while letting you try before buying. Some libraries even loan tools to members.
Maintain your tools properly to extend their life. Sharp blades cut better and last longer. Clean and oil tools after each use.
Maximizing Material Use
Plan cuts carefully to minimize waste. Draw cutting diagrams before making any cuts. Small scraps work for test pieces and small projects.
Save cutoffs for future projects. A scrap wood bin holds pieces for repairs and small builds. These free materials add up over time.
Avoiding Common Woodworking Mistakes
Learning from others’ mistakes saves time and materials. These common errors trip up beginners frequently.
Measurement Errors
Measure twice, cut once remains excellent advice. Double-check measurements before cutting. Mark clearly with a sharp pencil.
Account for blade width when cutting. This “kerf” removes material and affects final dimensions. Test cuts on scrap verify measurements.
Rushing the Process
Quality work takes time. Rushing leads to mistakes and injuries. Plan adequate time for each project step.
Let glue dry completely before removing clamps. Patience during finishing prevents runs and drips. Multiple thin coats beat one thick coat.
Skipping Sanding
Thorough sanding makes every project look professional. Start with coarser grits and progress to finer ones. Sand with the grain for best results.
Feel the wood surface with your hand. Smooth areas need less attention. Rough spots require more sanding.
Wipe away dust between grits. This prevents scratches from trapped particles. Clean wood accepts finish better too.
Test fit pieces before applying glue
Pre-drill holes to prevent wood splitting
Check square frequently during assembly
Allow adequate drying time for finishes
Read plans completely before starting
Keep tools sharp and properly maintained
Planning Your Wood Projects Successfully
Good planning prevents problems and wasted materials. These steps guide you from idea to finished piece.
Creating a Project Plan
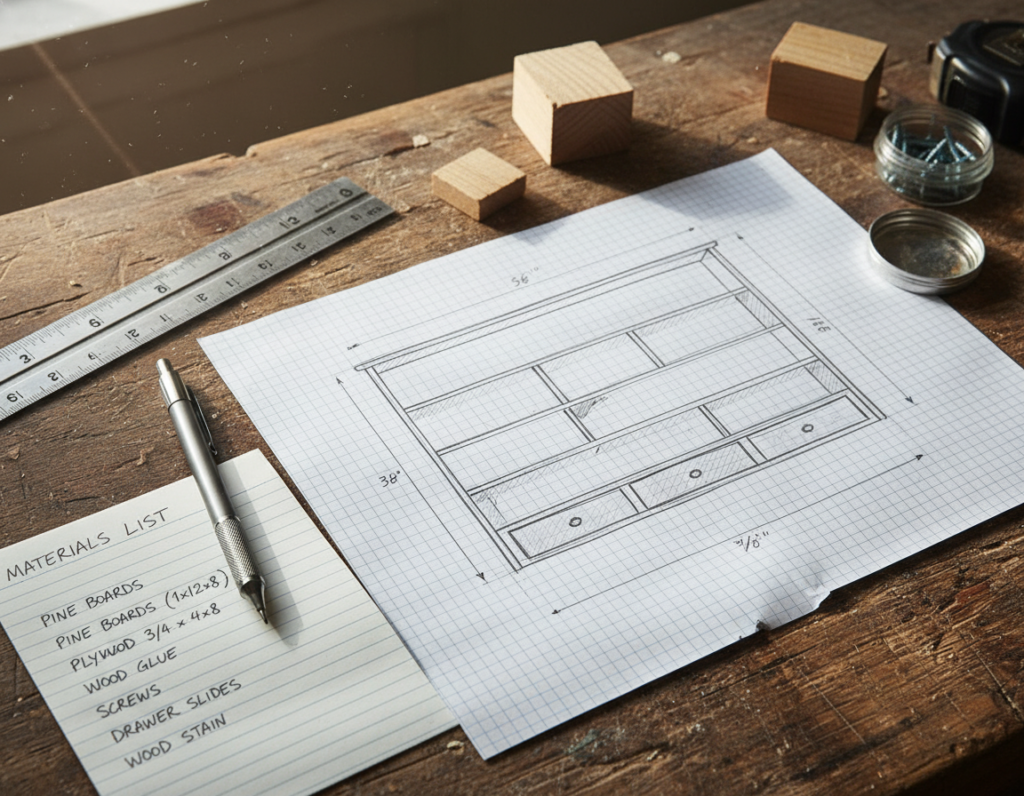
Sketch your design before buying materials. Include dimensions and joinery details. Simple drawings work fine for basic projects.
List all required materials including wood, hardware, and finish. Calculate quantities carefully with a small buffer for mistakes. This prevents mid-project shopping trips.
Break complex projects into steps. Tackle one section at a time. This approach makes large builds less overwhelming.
Time Management
Estimate project duration realistically. Beginners need more time than experienced woodworkers. Add buffer time for unexpected issues.
Some projects require multiple sessions due to drying time. Plan accordingly rather than rushing through steps. Quality results justify the wait.
Adapting Plans
Modify plans to suit your needs and space. Standard dimensions work as starting points. Customize sizes for your specific situation.
Simplify complex designs when starting out. Master basic techniques before attempting advanced joinery. Your skills will grow with each project.
Finding Woodworking Inspiration
Inspiration surrounds you once you start looking. These sources spark creativity and introduce new techniques.
Online Resources
Woodworking communities share countless project ideas. Browse photos for design inspiration. Many woodworkers post detailed build instructions.
Video tutorials demonstrate techniques clearly. Watch experienced builders work through each step. Pause and replay tricky sections as needed.
Nature and Architecture
Natural forms inspire organic designs. Tree branches suggest curves and angles. Leaf patterns create decorative motifs.
Architecture provides structural ideas. Notice how buildings use wood creatively. Furniture often echoes architectural elements.
Repurposing and Upcycling
Old furniture offers redesign opportunities. Strip away outdated finishes to reveal beautiful wood. Combine pieces in new ways.
Salvaged materials bring character to projects. Barn wood tells stories through weathered surfaces. Vintage hardware adds authentic detail.
Elevate Your Craftsmanship
Join thousands of woodworkers who have transformed their skills with our comprehensive masterclass. Advanced techniques, project libraries, and expert guidance await.
Every expert woodworker started with a first project. Your journey begins with that initial cut, that first assembly, that moment when pieces come together.
Start with simple builds that teach fundamental skills. Practice measuring, cutting, and assembling. Each completed piece builds confidence for more ambitious projects.
Wood forgives many beginner mistakes. Sand away imperfections. Fill gaps with wood putty. Learn from errors rather than letting them discourage you.
The satisfaction of creating something with your own hands never fades. Each project you complete enhances your home while developing your abilities. Your workspace becomes a creative sanctuary where ideas transform into reality.
Gather your tools and select your first project. The wood waits to become something beautiful through your efforts. Your woodworking adventure starts now.
Looking for a truly memorable gift that shows your boyfriend just how much you care? A 5 senses gift is the perfect way to create a thoughtful, personalized present that engages all of his senses. This creative gift concept involves selecting items that appeal to each of the five senses – taste, touch, sight, smell,…
Finding the perfect girlfriend birthday gifts can feel like a high-stakes mission. You want something that captures your feelings, matches her personality, and shows you’ve been paying attention to her hints and wishes. Whether you’ve been together for three months or three years, the right gift speaks volumes about your relationship and how well you…
Building beautiful furniture and home projects shouldn’t feel like guesswork. Whether you’re new woodworking or have some experience, the right plans make all the difference between success and frustration.This Website contains affiliate links. That means I may earn a small commission if you purchase through my links, at no extra cost to you. Many woodworkers…
Finding the perfect birthday gift for your boyfriend can feel like navigating a minefield of potential misses. You want something thoughtful that shows how well you know him, but also something he’ll genuinely use and enjoy. If you’ve been searching for inspiration, you’re in the right place. We’ve scoured Amazon to find the most talked-about,…
Your anniversary marks another chapter in your beautiful love story. Finding that perfect gift to celebrate the man who holds your heart isn’t just about checking a box—it’s about capturing the essence of your relationship in something tangible. Whether you’re commemorating your first paper anniversary or celebrating decades together, the right gift speaks volumes about…
Your teeth face constant attack from bacteria and acids every single day. Tooth decay affects nearly 90 percent of adults at some point in their lives. But what if you could protect your oral health using natural methods that work with your body instead of against it?This Website contains affiliate links. That means I may…