DIY Woodworking Projects for Beginners: Transform Your Home with Simple Builds
Starting your woodworking journey doesn’t require years of experience or expensive equipment. Many beginners worry they lack the skills to create beautiful pieces for their home. The truth is simpler than you think.
This Website contains affiliate links. That means I may earn a small commission if you purchase through my links, at no extra cost to you.
This guide walks you through twelve achievable diy woodworking projects for beginners. Each project builds your confidence while creating functional items you’ll actually use. You’ll learn essential techniques through hands-on practice.
Whether you want storage solutions, furniture pieces, or decorative elements, these projects deliver results. Let’s explore what you can build with basic tools and determination.
Why Woodworking Projects Make Perfect Beginner DIY Activities
Woodworking offers unique advantages for people starting their diy journey. The material is forgiving, and mistakes often become learning opportunities. Wood allows you to see immediate results from your effort.
Basic woodworking projects require minimal investment to start. A few essential tools and some lumber get you building right away. Many beginners complete their first project in a single weekend.
Benefits You’ll Experience
- Develop practical skills that last a lifetime
- Create custom pieces that fit your space perfectly
- Save money compared to buying furniture
- Experience the satisfaction of building with your hands
- Gain confidence with each completed piece

The learning curve feels manageable when you start with appropriate projects. Each build teaches new techniques you’ll apply to future work. Your skill development happens naturally through practice.
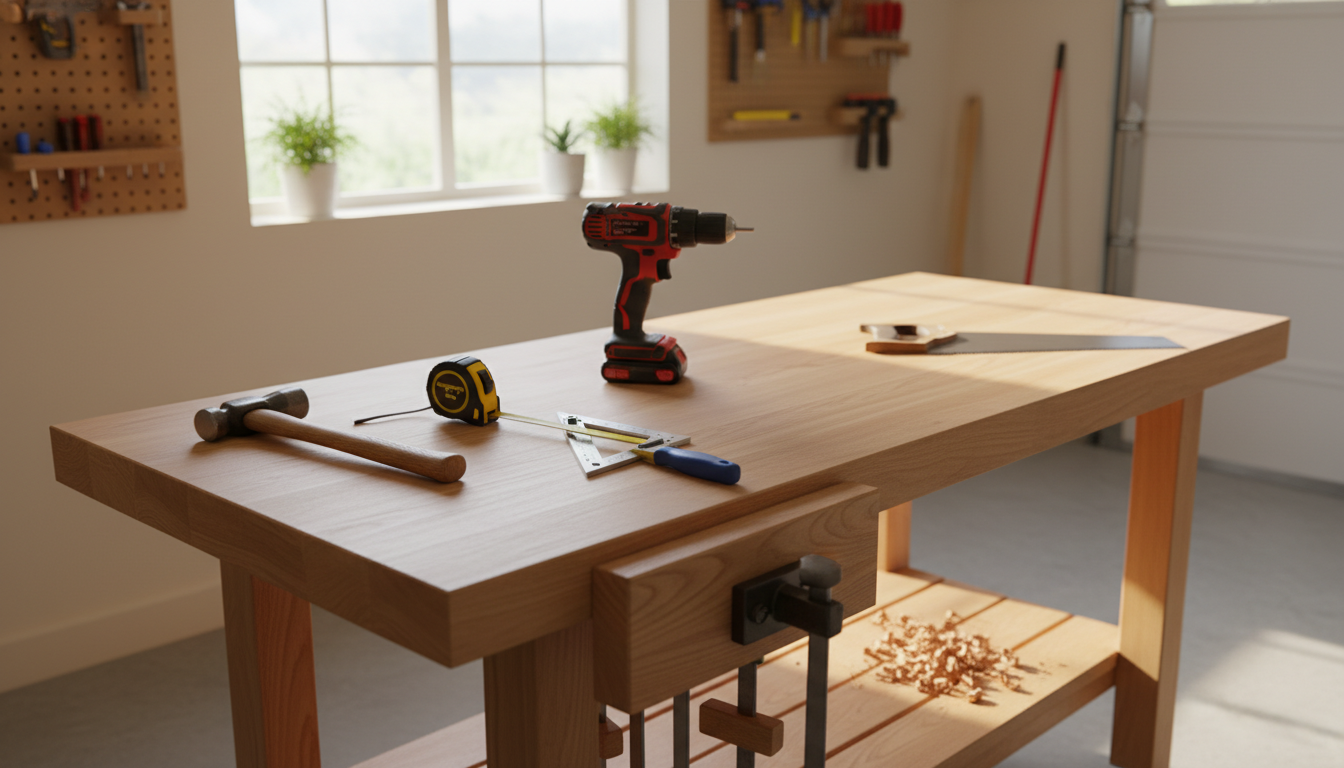
Essential Tools Every Beginner Woodworker Needs
You don’t need a fully equipped workshop to start these woodworking projects. A core set of tools handles most beginner builds effectively. Smart tool selection saves money while ensuring quality results.

Power Tools That Matter
- Cordless drill with basic bit set for holes and driving screws
- Circular saw or miter saw for straight cuts
- Random orbital sander for smooth finishes
- Jigsaw for curved cuts and detailed work
Hand Tools for Precision
- Tape measure for accurate dimensions
- Carpenter’s square for perfect right angles
- Clamps to hold pieces during assembly
- Hammer for traditional joinery
- Level to ensure straight installations
Quality matters more than quantity when selecting tools. One reliable drill outperforms three cheap alternatives. Invest in items you’ll use repeatedly across multiple projects.
Safety equipment protects you during every build. Eye protection and hearing protection are non-negotiable. A dust mask keeps your lungs clear when sanding or cutting.
Project 1: Floating Shelves for Any Room
Floating shelves create storage without taking floor space. This project teaches basic measuring, cutting, and mounting techniques. You’ll have functional wall storage in just a few hours.
The simple design works in any room of your home. Kitchen storage, bathroom organization, or bedroom display all benefit from custom shelves. You control the size to fit your exact needs.
What You’ll Need
- Pine or poplar boards cut to desired length
- Floating shelf brackets or hidden supports
- Wood screws and wall anchors
- Sandpaper for smooth edges
- Stain or paint for finishing

Step-by-Step Process
- Measure your wall space and cut boards to size
- Sand all edges until smooth to the touch
- Apply your chosen finish and let dry completely
- Locate wall studs using a stud finder
- Install brackets level with each other
- Slide shelves onto brackets and secure
This woodworking project builds confidence in your ability to create functional pieces. The techniques you learn apply to dozens of future builds. Wall shelves prove that beginners can achieve professional-looking results.
Project 2: Countertop Wine Rack
A wine rack adds elegance to your kitchen or dining room. This beginner-friendly design stores bottles horizontally to preserve wine quality. The project introduces angle drilling and assembly techniques.

Design Variations
You can build wine racks in multiple configurations. A simple four-bottle design takes less than two hours to complete. Larger versions accommodate more bottles while maintaining stability.
Tabletop Style
Compact design fits on counters or shelves. Perfect for small spaces or apartments.
- Holds 4-6 bottles comfortably
- Requires minimal wood and hardware
- Easy to move and rearrange
Wall-Mounted Rack
Save counter space with vertical storage. Great for displaying your wine collection.
- Stores 6-12 bottles efficiently
- Creates visual interest on walls
- Frees up valuable counter room
Stackable Units
Build multiple pieces that connect together. Expand your storage as your collection grows.
- Modular design adapts to needs
- Start small and add pieces later
- Creates custom configurations
Rustic Crate Style
Combine storage with farmhouse aesthetics. Wine and glasses in one attractive piece.
- Provides bottle and glass storage
- Adds character to your space
- Incorporates vintage design elements
The wine rack project teaches precision drilling at consistent angles. You’ll develop an eye for symmetry and balance. These skills transfer directly to more advanced woodworking endeavors.
Ready to Build with Confidence?
These projects are just the beginning. Discover comprehensive step-by-step plans, professional techniques, and expert guidance that transforms beginners into skilled woodworkers. Learn the secrets that make every project successful.
Project 3: Simple Coffee Table
A coffee table serves as the centerpiece of your living room. This woodworking project teaches basic furniture construction principles. You’ll work with larger pieces and learn structural assembly.

Construction Basics
Coffee tables combine a flat surface with sturdy leg support. The design allows for creativity in dimensions and style. Most beginners complete this project over a weekend.
- Cut table top from plywood or solid wood boards
- Attach legs using pocket hole screws for strength
- Add cross braces between legs for stability
- Sand entire piece smooth before finishing
- Apply stain and protective topcoat
Size Considerations
Your coffee table should fit your space proportionally. Measure your seating area before cutting materials. A standard height ranges from sixteen to eighteen inches.
The table top typically measures about two-thirds the length of your sofa. Width depends on available room traffic flow. Custom sizing means perfect fit for your home.
Project 4: Entryway Shoe Rack
Shoe storage keeps your entryway organized and welcoming. This rack design uses simple shelf construction with proper spacing. The project introduces repetitive cutting and assembly techniques.
Design Features
The basic shoe rack consists of horizontal shelves with vertical supports. Each shelf holds one row of shoes comfortably. You determine the height and width based on your needs.
Angled shelves improve visibility and airflow around shoes. This small detail makes a big difference in functionality. The design works equally well in closets or open spaces.
Material Options
- Pine boards offer affordability and easy working
- Cedar provides natural resistance to moisture and odors
- Plywood creates sturdy shelves at lower cost
- Hardwoods deliver durability for heavy use

This storage project teaches repetitive precision work. You’ll cut multiple pieces to identical dimensions. The assembly process reinforces fundamental joining techniques.
Project 5: Decorative Wall Hooks
Wall hooks combine functionality with visual appeal. This project lets you practice drilling precise holes for hardware. You’ll create custom storage that matches your home’s style.

Creative Variations
Wall hooks can be as simple or decorative as you choose. A basic board with mounted hooks takes minimal time to build. Add personal touches through wood selection and finish.
Pro Tip: Use a drill bit slightly smaller than your hook screws. This ensures tight grip without splitting the wood. Pre-drilling prevents cracks and makes installation easier.
Installation Steps
- Cut your backing board to desired length
- Sand and finish the wood surface
- Mark hook positions evenly spaced
- Pre-drill pilot holes at each mark
- Install decorative hooks securely
- Mount board to wall using appropriate anchors
This quick project delivers immediate satisfaction. You’ll have useful storage installed the same day you start. The techniques apply to countless other woodworking applications.
Project 6: Desktop Organizer
A desk organizer tames workspace clutter effectively. This small-scale project perfect for practicing joinery techniques. You’ll work with smaller pieces and tighter tolerances.

Component Planning
Desk organizers typically include sections for different items. Tall compartments hold pens and pencils vertically. Shallow sections store paper clips, sticky notes, and small supplies.
The size depends on your available desk space. Measure your work area before cutting materials. A compact design prevents the organizer from becoming clutter itself.
Assembly Techniques
This project teaches box construction fundamentals. You’ll join perpendicular pieces at right angles. Wood glue and small nails create strong, lasting connections.
- Cut dividers and base to precise measurements
- Apply wood glue to joining surfaces
- Clamp pieces while glue dries completely
- Reinforce joints with finishing nails
- Sand smooth and apply protective finish
Project 7: Custom Picture Frames
Picture frames showcase your memories in handmade style. This beginner project introduces miter cuts and corner joinery. You’ll create personalized frames for any photo size.

Frame Construction
Picture frames require four pieces cut at forty-five-degree angles. The corners meet precisely to form perfect rectangles. This project demands attention to measurement and cutting accuracy.
A miter box or miter saw ensures consistent angled cuts. Each piece must measure exactly the same as its opposite. Small errors in cutting become obvious in the final assembly.
Finishing Touches
Frame backs hold glass, artwork, and backing board securely. Small hardware pieces called glazier points keep everything in place. A paper backing covers the rear for a professional appearance.
- Cut glass or acrylic to fit frame opening
- Clean glass thoroughly before assembly
- Insert artwork between glass and backing
- Secure with glazier points around perimeter
- Add hanging hardware to back
Project 8: Tiered Plant Stand
Plant stands elevate your greenery while adding visual interest. This woodworking project combines shelves with an angled or stepped design. You’ll practice cutting consistent lengths and stable assembly.
Structure Planning
Tiered stands typically feature two to four levels at different heights. Each platform supports one or more potted plants. The design creates dimension in your room or outdoor space.
Stability matters more than appearance for plant stands. Water spills and plant weight demand strong construction. Reinforce joints and ensure level surfaces for pot placement.

Construction Tips
- Use weather-resistant wood for outdoor plant stands
- Apply waterproof finish to protect from moisture
- Ensure each tier is perfectly level before securing
- Add rubber feet to protect floors from scratches
- Test stability with weight before adding plants
This project teaches you to build structures that support substantial weight. The techniques apply to furniture and storage projects. You’ll gain confidence working with three-dimensional designs.
Master Every Woodworking Technique
You’ve seen what’s possible with basic skills. Imagine creating flawless furniture, intricate designs, and professional-grade projects every time. Access comprehensive training that covers every technique, tool, and trick experienced woodworkers use daily. Transform from beginner to confident craftsperson with proven step-by-step methods.
Project 9: Kitchen Cutting Board
Cutting boards make excellent gifts and personal kitchen tools. This project introduces wood selection for food safety. You’ll learn gluing techniques and surface finishing for kitchen use.

Wood Selection
Cutting boards require hardwoods that resist knife cuts and moisture. Maple, walnut, and cherry rank among popular choices. Avoid softwoods that show damage quickly or harbor bacteria.
Important: Only use food-safe finishes on cutting boards. Mineral oil and beeswax combinations protect wood without toxic chemicals. Never use regular wood stains or polyurethane on surfaces that contact food.
Build Process
- Select hardwood boards of consistent thickness
- Cut pieces to desired board dimensions
- Arrange wood for attractive grain patterns
- Apply wood glue and clamp boards together
- Allow twenty-four hours for complete drying
- Sand progressively from coarse to fine grit
- Round edges slightly for comfortable handling
- Apply food-safe mineral oil finish
Cutting board projects teach precision gluing and clamping. You’ll develop patience waiting for proper drying time. The smooth finishing techniques apply to all woodworking surfaces.
Project 10: Simple Bookshelf
Bookshelves provide essential storage while displaying your collection. This larger project combines multiple shelves with vertical supports. You’ll scale up techniques learned in smaller builds.
Bookshelf construction teaches load-bearing design principles. Books are heavy, requiring strong shelving and secure joints. Proper spacing prevents sagging over time.
Design Considerations
- Standard shelf depth runs ten to twelve inches
- Space shelves twelve to fourteen inches apart
- Support shelves every thirty-two inches maximum
- Use three-quarter inch thick boards minimum
- Anchor tall bookcases to walls for safety

Assembly Method
Bookshelves use several possible joining techniques. Pocket hole screws create invisible, strong connections. Dado joints cut into vertical pieces provide excellent shelf support.
Back panels add rigidity to the entire structure. A simple plywood backing prevents racking and keeps the unit square. This detail makes a significant difference in long-term stability.
This woodworking project demonstrates furniture-scale construction. You’ll work with larger materials and longer measurements. The completed piece becomes a functional centerpiece in any room.
Project 11: Workshop Tool Storage
Organized tool storage improves efficiency in your workspace. This project creates dedicated space for your growing collection. You’ll design custom storage matching your specific tools and needs.

Storage Solutions
Tool organization ranges from simple wall-mounted boards to complex drawer systems. Start with basic hanging storage that keeps tools visible and accessible. Add compartments as your collection grows.
Common Storage Types
Wall Panel System
Vertical storage maximizes wall space efficiently.
- Accommodates tools of various sizes
- Keeps frequently used items accessible
- Easy to customize and expand
- Clears valuable workbench surface
Rolling Tool Cart
Mobile storage brings tools to your work area.
- Moves tools where you need them
- Includes drawer and shelf space
- Locks in place during use
- Protects tools from damage
Overhead Rack
Ceiling storage for long materials and seasonal tools.
- Utilizes unused ceiling space
- Stores lumber and long pieces safely
- Keeps items out of the way
- Reduces workshop clutter
Drawer Cabinet
Enclosed storage protects tools from dust and moisture.
- Organizes small items and hardware
- Prevents tool rust and damage
- Creates dedicated storage zones
- Professional workshop appearance
Building your own tool storage saves money while perfectly fitting your space. You’ll practice drawer construction, hinge installation, and finishing techniques. This project grows more valuable as your tool collection expands.
Project 12: Raised Garden Box
Garden boxes bring vegetable growing within reach of any beginner. This outdoor project uses simple box construction at larger scale. You’ll work with weather-resistant materials and outdoor finishes.

Material Choices
Cedar and redwood naturally resist rot and insects without chemical treatment. These woods last years in outdoor conditions. Avoid pressure-treated lumber for vegetable gardens due to chemical concerns.
Garden Safety: Never use railroad ties, treated lumber, or painted wood for edible gardens. Chemicals can leach into soil and contaminate your vegetables. Stick with untreated cedar, redwood, or food-safe composite materials.
Construction Steps
- Cut boards to create rectangular box shape
- Join corners using galvanized screws or brackets
- Add internal corner supports for strength
- Level the box in your chosen location
- Line bottom with hardware cloth to exclude pests
- Fill with quality soil mix for planting
Garden boxes teach you to build structures that withstand weather exposure. You’ll select appropriate fasteners and joining methods for outdoor use. The finished project provides fresh vegetables while showcasing your skills.
Essential Tips for Woodworking Success
Success in these diy woodworking projects for beginners comes from following proven practices. Small details make the difference between frustration and satisfaction. These tips help you avoid common beginner mistakes.
Measurement and Planning
- Measure twice, cut once prevents wasted material
- Mark cut lines clearly with sharp pencils
- Account for blade thickness in measurements
- Test-fit pieces before applying glue
- Use square to verify right angles constantly
Safety Practices
- Wear safety glasses during all cutting and drilling
- Clamp workpieces securely before cutting
- Keep fingers away from blade paths
- Unplug power tools when changing blades
- Work in well-ventilated areas when finishing

Finishing Techniques
Proper finishing protects your work and enhances appearance. Sanding progresses from coarse to fine grits gradually. Each step removes scratches from the previous grit.
- Start sanding with 80-grit for rough surfaces
- Progress through 120, 150, and 220-grit papers
- Sand with the grain direction always
- Remove all dust before applying finishes
- Apply multiple thin coats rather than one thick coat
- Allow proper drying time between applications
These fundamentals apply across all woodworking projects. Master them early to build better pieces faster. Your attention to detail shows in every finished project.
Start Your Woodworking Journey with Expert Guidance
You’ve explored twelve achievable projects that demonstrate what beginners can accomplish. Now imagine having complete access to professional techniques, detailed plans for hundreds of projects, and expert instruction that eliminates guesswork. Join thousands of beginners who transformed into confident woodworkers. Get instant access to comprehensive training, detailed blueprints, and ongoing support that ensures your success with every build.
Your Woodworking Journey Starts Now
These twelve diy woodworking projects for beginners provide the foundation for a rewarding hobby. Each build teaches valuable skills while creating functional items for your home. You don’t need years of experience to produce quality results.
Start with projects matching your current skill level and available tools. Success builds confidence that carries forward to more ambitious builds. Every project completed adds to your knowledge and capability.

The satisfaction of building something with your own hands never gets old. Your first completed piece marks the beginning of countless future projects. The skills you develop open doors to furniture making, home improvement, and creative expression.
Take that first step today. Choose a project that excites you and gather your materials. Your journey from beginner to skilled woodworker begins with a single cut. The only thing standing between you and beautiful handmade pieces is getting started.